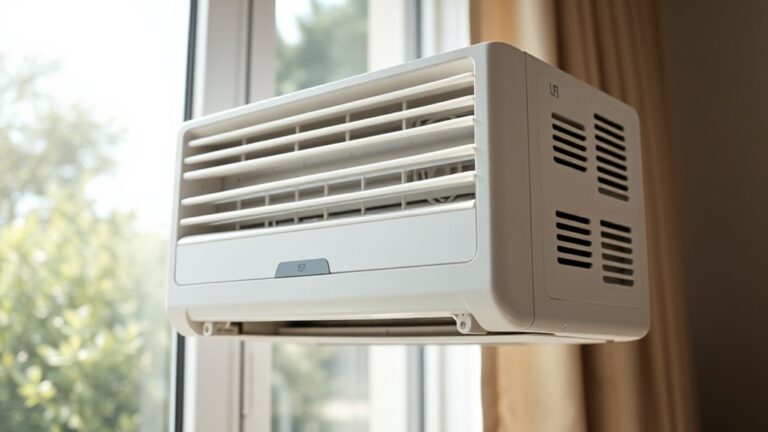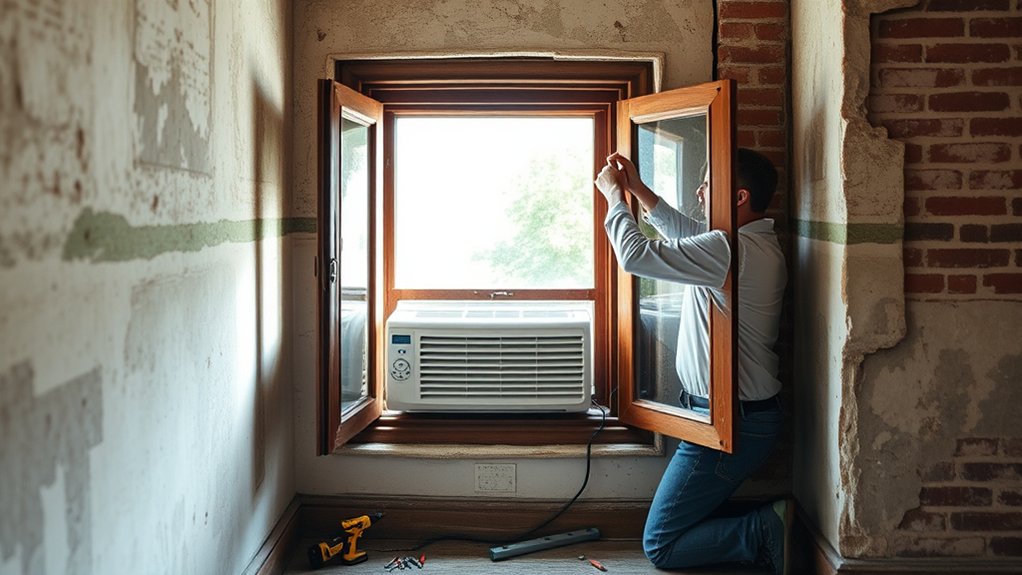
5 Essential Steps to Install a Window AC Unit in an Old House
Installing a window AC unit in an old house can be a real challenge. Many people struggle with fitting the unit securely and ensuring it works efficiently without damaging their historic windows or frames. If you’ve ever felt overwhelmed by the process, you’re not alone. But with a bit of guidance, you can do it right and enjoy cool comfort all summer long.
Start by inspecting your window frame for stability and damage, and measure for a proper fit. Gather your tools and clear the area, ensuring the space is clean and ready.
Carefully mount the AC unit, using a level to create a slight outward tilt for drainage, and seal any gaps. Troubleshoot issues like uneven sills or weak frames with shims or reinforcements.
Finally, maintain your unit regularly for long-lasting comfort. Keep going to uncover detailed tips for each step.
Key Takeaways
- Assess the window frame’s stability and reinforce any damaged areas to ensure a secure fit for the AC unit.
- Measure the window opening carefully to make sure the AC unit fits snugly.
- Prepare the space by cleaning the sill and surrounding area, and gather all the tools and materials you’ll need.
- Mount the AC securely, making sure to tilt it properly for drainage and seal any gaps with weatherproofing materials.
- Keep up with long-term maintenance by cleaning filters, inspecting seals, and lubricating moving parts regularly.
How to Check If Your Old Window Can Handle a New AC
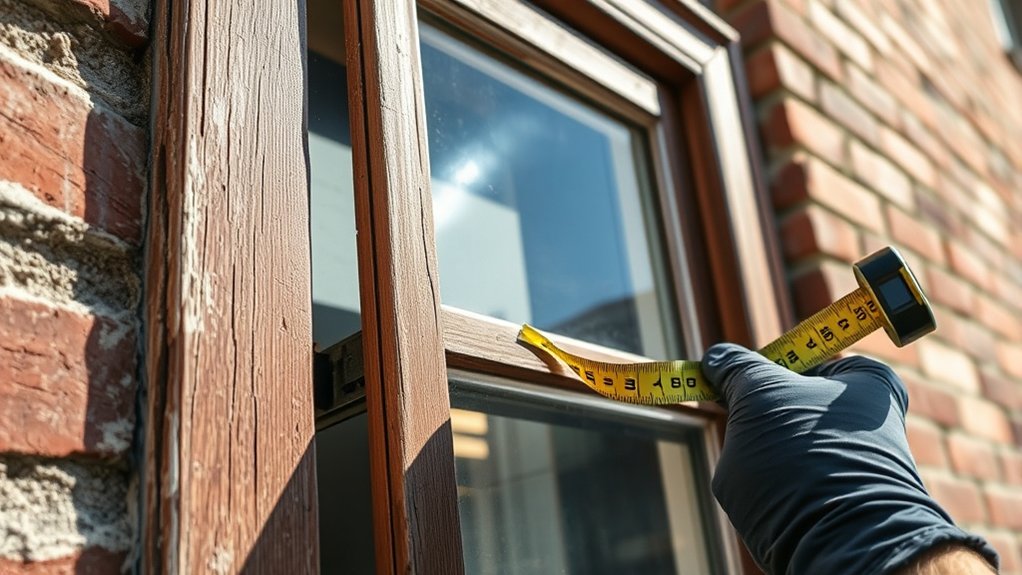
Before installing a new window AC unit, you need to check if your window can support its weight and size. Start by inspecting the window frame; it must be sturdy enough to hold the unit without sagging or cracking. Look for any signs of damage, rot, or rust that could weaken the support.
Next, measure the width and height of the window to make sure the AC fits securely within the frame. If your window is old or weakened, you might need extra reinforcement, like brackets or support braces, to handle the weight.
Don’t forget to evaluate the structural support around the window, including the sill and nearby walls. If these aren’t solid, the unit could become unstable or cause damage.
Gather Your Tools and Prepare the Space for Installation
Once you’ve confirmed that your window can support the new AC unit, it’s time to gather your tools and prepare the space. Start by collecting essential items like a screwdriver, level, measuring tape, and a utility knife.
You’ll also need weatherproofing materials such as foam insulation strips or weatherproofing tape to seal gaps. Inspect the window frame for damage or rot, and clear the area of any obstructions.
Properly preparing the space includes cleaning the window sill and surrounding area to ensure a secure fit. When handling insulation techniques, focus on sealing all gaps around the unit to improve efficiency and prevent drafts.
Measure the window opening carefully to make sure the AC unit fits snugly. Having everything ready before you start makes the installation smoother and helps avoid delays.
Proper preparation and the right tools set the foundation for a successful, secure, and energy-efficient AC installation.
Mount Your Window Air Conditioner Step-by-Step
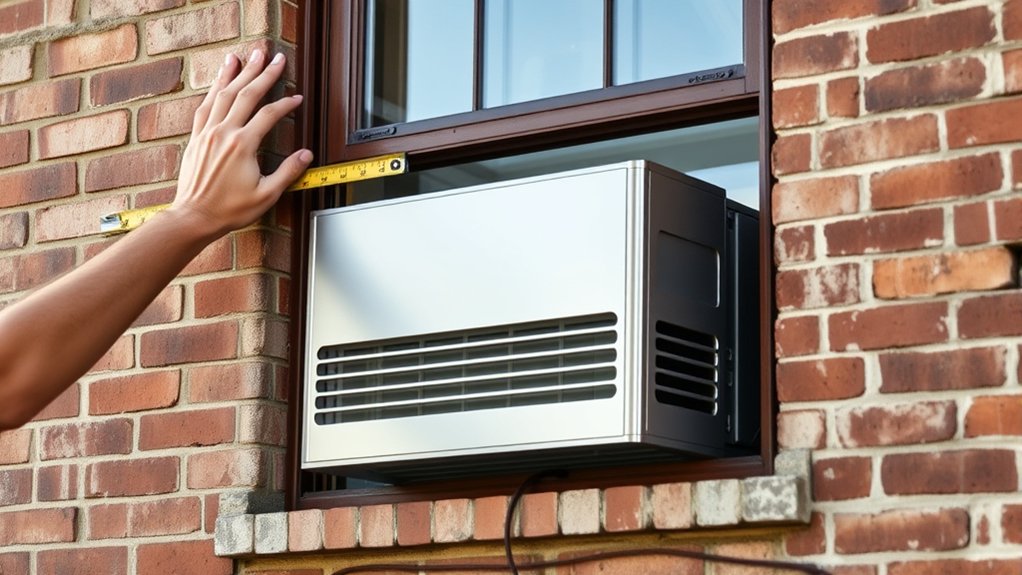
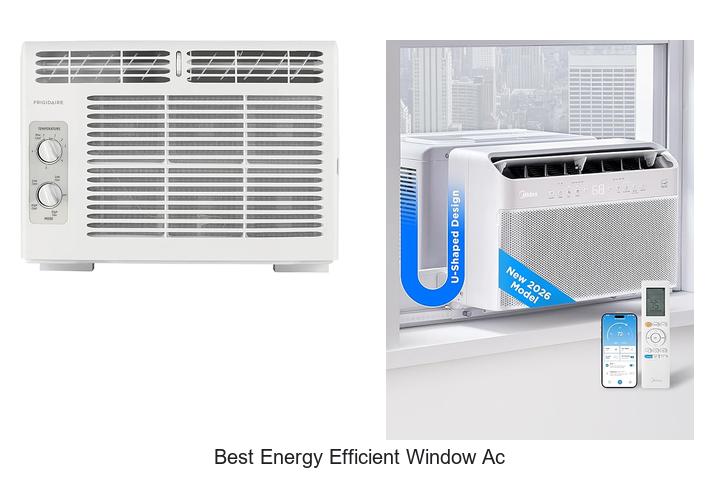
To mount your window air conditioner securely, start by placing the unit on the window sill with the control panel facing into the room. Extend the side panels and adjust the width so the unit fits snugly within the window frame.
Place the unit on the sill with the control panel facing into the room for secure mounting.
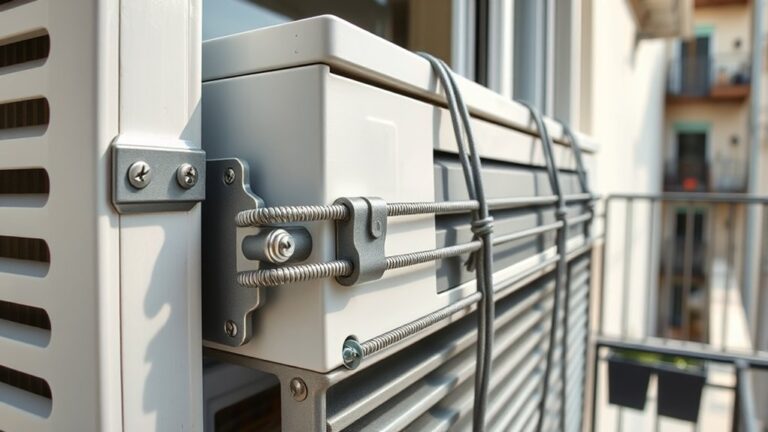
Use a level to confirm the unit is slightly tilted downward outward, which helps with proper drainage and energy efficiency. Secure the top mounting brackets or screws to hold the AC firmly in place.
Install the side panels or accordion panels to seal any gaps. This reduces noise and keeps warm air out, making your unit more energy-efficient. Close the window carefully, making sure the unit stays stable.
Proper mounting minimizes vibrations, which cut down on noise. Make sure the unit is tightly sealed against the window frame to maximize energy efficiency and reduce sound transmission.
Finally, double-check all screws and brackets for stability before turning on the unit.
Troubleshooting Common Installation Problems in Vintage Homes
Installing a window AC unit in vintage homes often presents unique challenges that newer properties don’t face. The age and craftsmanship of these homes can lead to issues like compromised window frame integrity and outdated vintage insulation. These problems can cause gaps, drafts, and installation instability.
First, check the window frame’s condition. Reinforce or replace rotten or warped sections to ensure a secure fit. Next, evaluate the vintage insulation inside the wall; poor insulation can lead to inefficient cooling and air leaks. Seal any gaps with weatherstripping or foam insulation.
Finally, be cautious of uneven window sills or irregular frame sizes. You might need custom mounting brackets or shims to get everything fitting properly. Addressing these issues helps guarantee a safe, effective installation and better cooling performance.
How to Maintain Your Old House Window AC for Long-Term Comfort
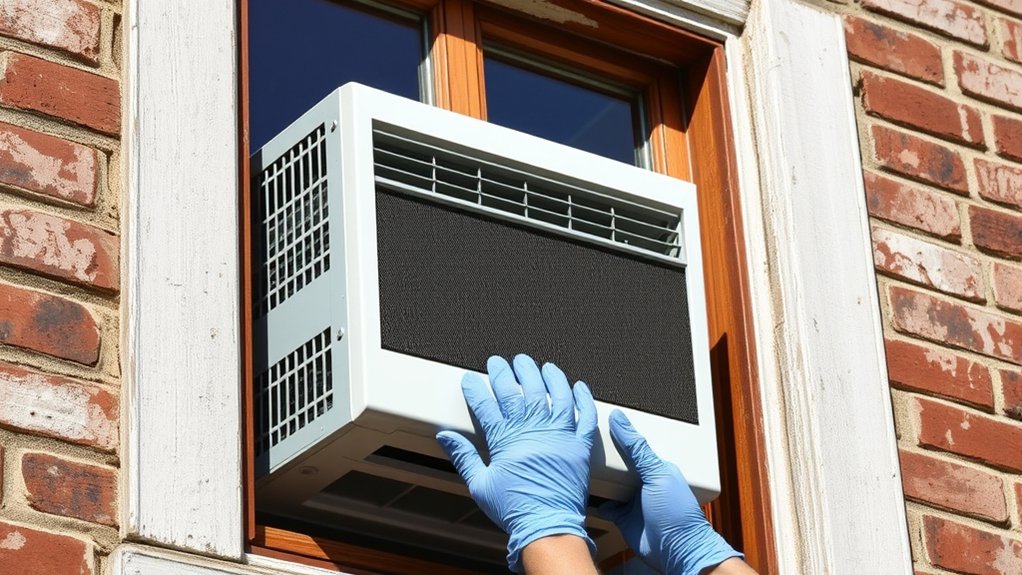
Maintaining your old house window AC is key to keeping it running efficiently and reliably for years to come. Regularly cleaning filters and coils helps airflow stay smooth and prevents dust from building up.
Check the window frame to make sure it’s secure and seals properly. This helps prevent drafts and reduces energy loss. Also, inspecting vintage insulation around the window keeps cooled air inside, boosting efficiency.
Lubricate the moving parts now and then to cut down on noise and wear. Don’t forget to seal any gaps with weatherstripping or caulk to improve insulation and stop outside heat from sneaking in.
Frequently Asked Questions
Can I Install a Window AC Without Professional Help?
You can install a window AC unit yourself, but it’s important to follow DIY tips carefully. Make sure you understand the tools needed, like a screwdriver, level, and possibly a wrench.
Always read the manufacturer’s instructions and check your window’s size and strength. If you’re comfortable with basic tools and safety precautions, you can do it.
But don’t hesitate to call a professional if you run into any issues or feel unsure.
What Safety Precautions Should I Take During Installation?
You should prioritize electrical safety and tool safety during installation. Always unplug the unit before working on it to avoid any risk of electrical shock. Use insulated tools and handle cords carefully.
Wear safety goggles and gloves to protect your eyes and hands from sharp edges or debris. Make sure the window frame is sturdy enough to support the unit’s weight.
Taking these precautions helps prevent accidents and ensures a smooth, safe installation.
How Do I Improve Energy Efficiency in an Old House?
To improve energy efficiency in your old house, start with insulation improvements to prevent heat loss and drafts.
Next, focus on window sealing to block air leaks and keep the cool air inside.
Consider upgrading old windows or adding weatherstripping. These steps help reduce your energy bills, improve comfort, and make cooling more effective.
Regular maintenance and sealing gaps also keep your house energy-efficient all year round.
Are There Specific AC Models Recommended for Vintage Windows?
Think of vintage window compatibility as a delicate dance. Finding the right fit is key. For old houses, look for AC models from recommended brands like Frigidaire, LG, or Friedrich.
These brands often offer units designed for unique window styles. They provide models with slim profiles and adjustable features, making them more compatible with vintage windows. Always double-check measurements to guarantee a snug, secure fit that works seamlessly with your historic home’s character.
How Often Should I Service My Old House Window AC?
You should service your old house window AC at least once a year. During maintenance, focus on cleaning or replacing the air filter to ensure good airflow.
Check for refrigerant leaks and recharge the refrigerant if needed to keep the cooling working well. Regular inspections can prevent breakdowns and help your unit last longer.
This keeps your home comfortable and energy-efficient. Just remember to turn off the unit before servicing for safety.
Conclusion
Installing a window AC in an old house might seem intimidating, but with the right steps, you’ll have cool comfort quickly. Just remember, rushing can cause issues later on. Take your time, double-check everything, and don’t hesitate to ask for help if needed.
When you do it right, you’ll enjoy a cool home—proving that patience really pays off when installing a window AC unit in an old house.