9 Simple Steps to Put AC in a Garage Without Windows
Many people struggle with keeping their garages cool, especially when there are no windows for ventilation. It can feel overwhelming trying to figure out how to install an AC in a windowless space. But don’t worry—you’re not alone in this, and with a little know-how, you can make it happen.
To install an AC in a windowless garage, start by evaluating your space and cooling needs. Then, choose a suitable unit like a ductless mini-split or portable AC. Clear your garage of clutter, prepare your electrical system, and guarantee proper ventilation and insulation.
Follow step-by-step installation, including mounting and wiring safely. Test the system for leaks or issues, and keep it maintained for efficiency. If you want to know more tips, keep exploring these simple steps.
Key Takeaways
- Assess the garage’s size, insulation, and ventilation to figure out the right AC unit and what installation will involve.
- Pick a system that works without windows, like a ductless mini-split or a portable AC.
- Make sure your electrical system can handle it; you might need dedicated wiring or a subpanel.
- Mount the AC securely on an interior wall or ceiling, and seal around it to prevent leaks.
- Seal gaps and insulate the walls to improve cooling and cut down on heat transfer.
Assess Your Garage’s Cooling Needs and Space
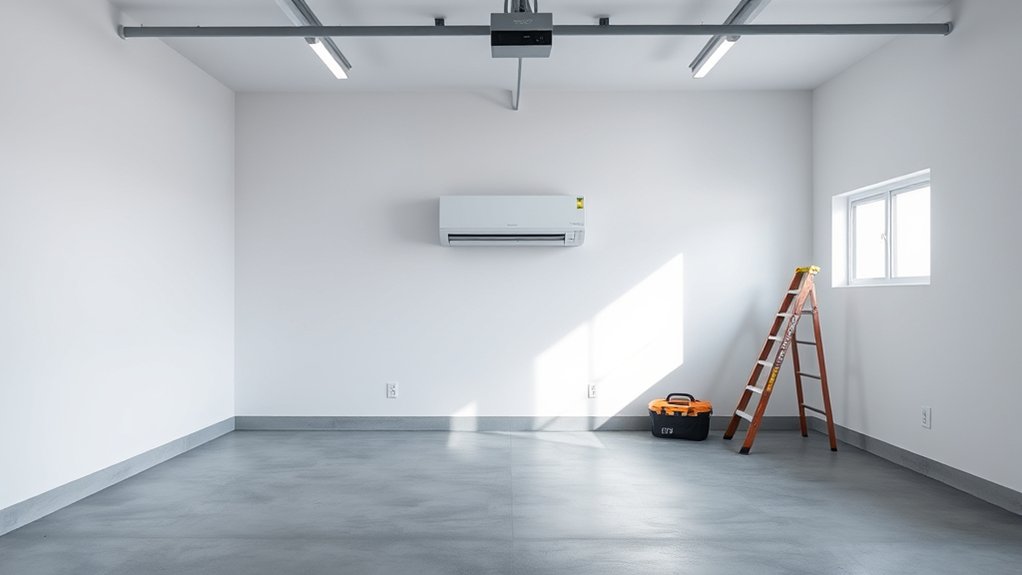
Before installing an AC in your garage, figure out how much cooling power you’ll need. Start by measuring the length, width, and ceiling height to find the total cubic footage. This helps you choose the right-sized unit.
Good garage organization matters too. Clutter can block airflow and make your AC less efficient. Next, check the insulation in the walls, ceilings, and garage doors. Proper insulation reduces heat transfer, making your AC work better and save energy.
Good organization and proper insulation boost AC efficiency and energy savings in your garage.
If your garage isn’t well insulated, you might need a stronger unit or upgrades to the insulation. Knowing your space’s specific needs helps you avoid overspending on a big unit or feeling uncomfortable with one that’s too small.
Taking these steps now ensures you pick a cooling solution that fits perfectly, keeping your garage comfortable while saving energy.
Choose the Best Air Conditioner for a Windowless Garage
Selecting the right air conditioner for a windowless garage depends on the space’s size, insulation, and ventilation. An energy-efficient unit helps save on electricity bills while effectively cooling your space. Look for models with high Energy Efficiency Ratios (EER) or Seasonal Energy Efficiency Ratios (SEER) to get the most savings.
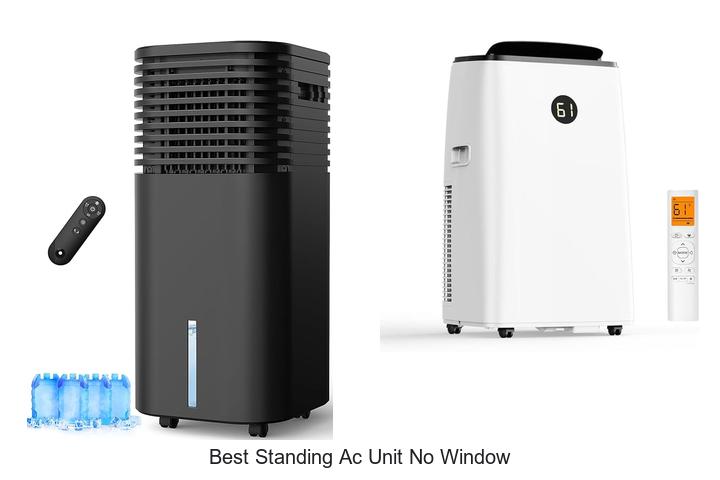
Since your garage doesn’t have windows, noise reduction is important. Choose a unit designed for quiet operation to avoid disturbing nearby areas. Portable or ductless mini-split systems are often perfect for garages without windows, offering more flexibility and less noise than traditional units.
Make sure the AC has the right capacity. Too small, and it won’t cool well; too large, and it wastes energy. Also, consider units with adjustable settings and timers for better control. By picking an energy-efficient, quiet model suited to your garage’s size, you’ll create a comfortable space without high costs or excess noise.
Prepare and Clear Your Garage for Installation
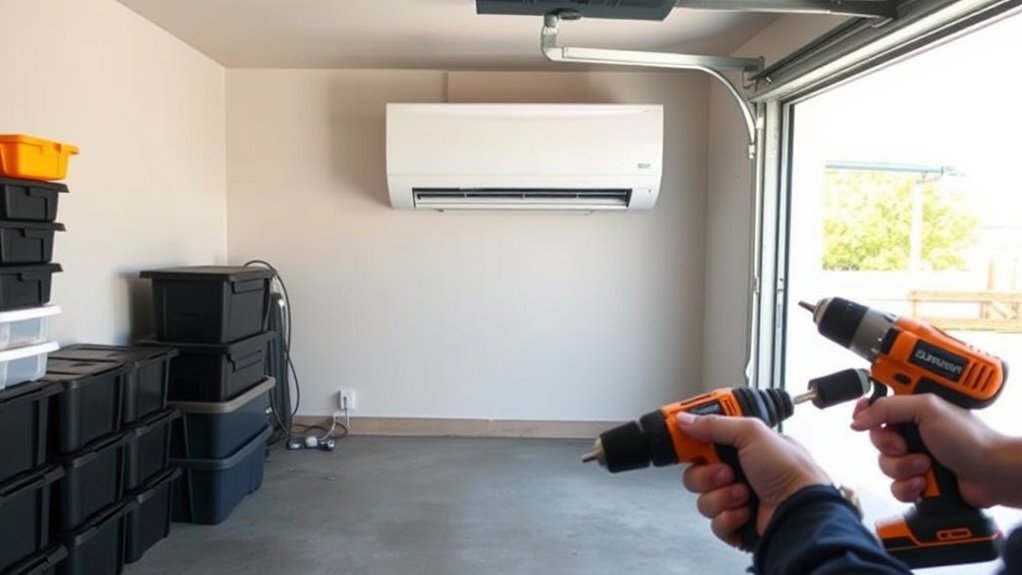
Before you start installing your AC, it’s a good idea to clear out any clutter and debris from the garage. This helps create a safe and organized workspace, making the whole process much easier. Once that’s done, take a moment to assess the space and layout. You want to make sure there’s enough room for the unit itself and that airflow isn’t blocked.
Also, don’t forget to check if your garage has good ventilation. Proper airflow is key for the AC to work efficiently and to keep the air quality in check. Taking these simple steps beforehand can really make a difference in a smooth installation.
Clear Clutter and Debris
Clear clutter and debris to create a safe, efficient space for your AC installation. First, gather your tools like trash bags, a broom, and a dustpan.
As you clear the area, wear gloves and a mask to protect yourself from dust and sharp objects. Remove old boxes, tools, and any stored items that block access or could interfere with the install.
Sweep the floor thoroughly to get rid of dust and debris. Clearing clutter not only makes space but also reduces tripping hazards.
Keep things organized by placing removed items in a separate area for recycling or disposal.
A clean, clutter-free environment ensures a safer, smoother installation and helps you avoid delays or accidents.
Assess Space and Layout
Once you’ve cleared out the clutter and debris, it’s time to carefully evaluate the space you have available for the AC unit. Focus on garage organization to create a clear, unobstructed area for installation.
Measure the dimensions to verify the AC fits comfortably without blocking doorways or access points. Consider the layout and find a spot that allows for proper airflow and easy maintenance.
Use storage solutions like shelves or wall-mounted hooks to keep tools and other items out of the way, maintaining a functional space for the AC. Keep in mind that you’ll need enough room for electrical connections and ventilation, so plan your layout accordingly.
A well-organized garage makes installation smoother and ensures your new AC unit operates efficiently.
Ensure Proper Ventilation
To make sure your garage AC works well, keep the area clear of anything that could block airflow or make it hard to access. This means removing clutter, stored items, or anything covering vents or ducts.
Good ventilation is key for effective HVAC maintenance and keeping the air quality high, especially in a closed space like a garage. Make sure there’s enough space around the unit for proper airflow and future upkeep.
Check that vents and intake areas are clear so air can circulate freely. Proper ventilation not only boosts your AC’s efficiency but also helps prevent humidity buildup and stale air.
Install Your Garage AC Step-by-Step
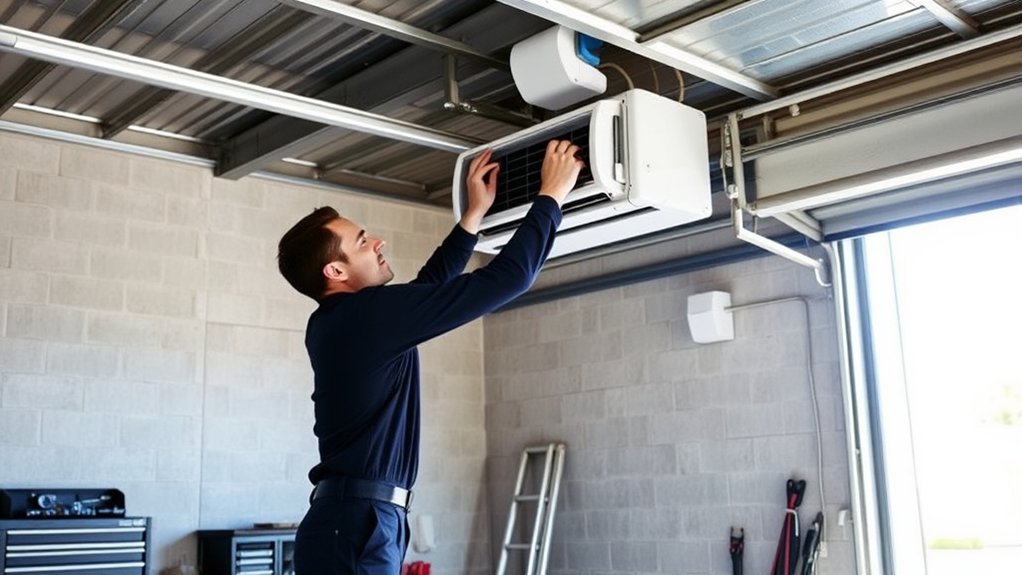
Installing your garage AC may seem intimidating, but breaking it down into clear steps makes the process manageable. First, choose an energy-efficient unit with good noise reduction features to keep your garage comfortable without increasing your energy bill or disturbing your surroundings.
Installing a garage AC is manageable with clear, step-by-step guidance for efficient, quiet comfort.
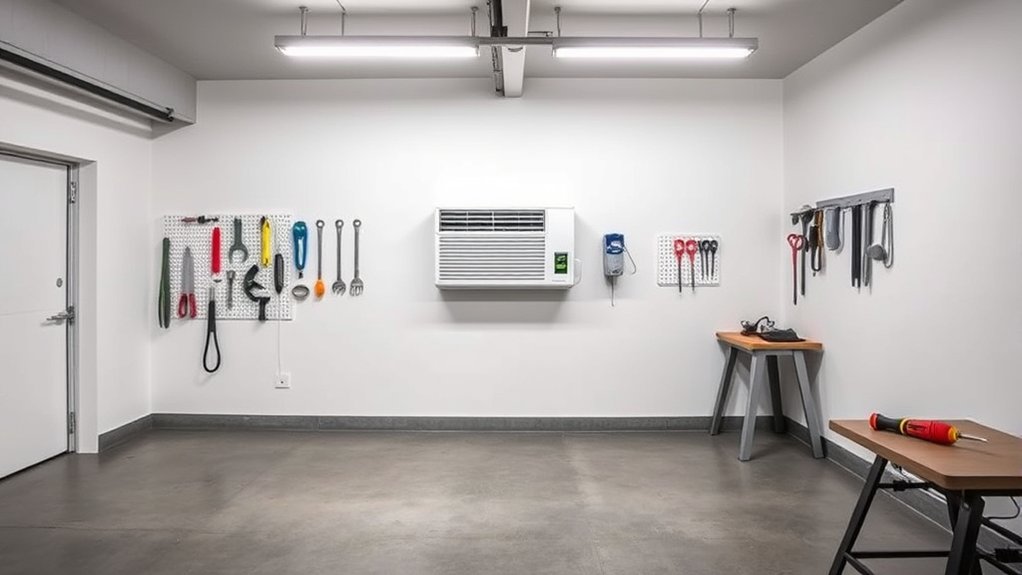
Next, locate a suitable spot on an interior wall or ceiling where you can mount the unit securely. Confirm there’s enough clearance for airflow and maintenance. Turn off power to the area before beginning installation.
Attach the mounting bracket to the wall or ceiling, following the manufacturer’s instructions. Connect the refrigerant lines and electrical wiring carefully, making sure all connections are tight and insulated.
Mount the AC unit onto the bracket, then seal around it to prevent air leaks. Finally, turn the power back on and test the system to confirm proper operation.
This step-by-step approach ensures your garage stays cool efficiently and quietly.
Properly Ventilate and Insulate Your Garage for Better Cooling
If you want to keep your garage cooler, the first thing to look at is ventilation. Good airflow helps to move out the hot air and bring in cooler air, making a big difference. You might consider installing vents or exhaust fans to improve circulation.
Next, don’t forget about insulation. Choosing the right insulation materials can really help keep the heat out and maintain a more comfortable temperature inside. It’s also important to seal up any air leaks around doors and windows so warm air doesn’t sneak in, which can make cooling even harder.
Effective Ventilation Strategies
Have you considered how proper ventilation can make a big difference in cooling your garage? Good airflow helps cut down humidity and keeps temperatures more manageable.
To improve ventilation, install exhaust fans or vents that promote air exchange, especially on hot days. Using indoor plants can also help control humidity by absorbing excess moisture, making the space more comfortable.
Keep doors and windows open when you can, and consider using ceiling or portable fans to encourage circulation. Regularly check that vents aren’t blocked, and create a cross-breeze by positioning fans strategically.
These strategies work together to keep stale, humid air out, making your garage cooler and more comfortable—especially when running an AC unit. Proper ventilation is key to effective cooling and creating a pleasant environment.
Insulation Material Options
Choosing the right insulation material is key to keeping your garage cooler and more energy-efficient. Since there are different types, think about options based on their pros like R-value, ease of installation, and moisture resistance.
Foam board insulation offers high R-values and quick installation, making it great for sealing gaps. Fiberglass batt insulation is affordable and widely available, providing good thermal resistance, but it needs proper installation to avoid gaps.
Spray foam insulation creates an airtight seal, which improves energy efficiency and soundproofing, although it can be more expensive. Your choice depends on your budget, climate, and what you need from your insulation.
Sealing Air Leaks
Sealing air leaks is one of the most effective ways to improve your garage’s cooling efficiency. By sealing gaps around doors, windows (if any), and utility penetrations, you prevent hot air from entering and cool air from escaping.
This boosts your garage’s energy efficiency, reducing the load on your AC system. Proper sealing also *improves* air filtration by limiting dust, pollen, and debris from entering through small openings.
Use weatherstripping on doors and foam sealant on cracks to create a tight barrier. Check around electrical outlets, vents, and gaps in the walls.
When done correctly, sealing air leaks keeps your garage cooler, lowers energy costs, and *strengthens* a more controlled environment for your AC to operate effectively.
Safely Wire and Power Your Garage AC
Before wiring your garage AC, make sure your electrical system can handle the extra load safely. Checking that your wiring is proper and your circuit has enough capacity helps prevent overloads and hazards. Always start by turning off the main power before working on any wiring. Use a dedicated circuit for your AC to avoid tripping breakers or damaging other appliances.
Remember to:
- Check your existing electrical panel to see if it can support the new load.
- Use wires and circuit breakers rated for your AC’s power needs.
- Consider installing a subpanel if your current system isn’t enough.
Never skip inspections or ignore local electrical codes. If you’re unsure about your circuit capacity or wiring safety, it’s best to consult a licensed electrician. Proper wiring makes sure your garage AC runs efficiently and safely without risking electrical fires or damage.
Taking these precautions will keep your installation safe and reliable.
Test Your Garage Air Conditioner and Troubleshoot Common Issues
Once your garage air conditioner is installed, it’s important to test it thoroughly to make sure it’s working properly. Turn it on and see if it cools well and runs efficiently.
After installation, test your garage AC to ensure it cools effectively and operates efficiently.
Pay attention to any unusual noises, as reducing noise helps keep your workspace comfortable. If it’s loud, check for loose parts or obstructions that could cause vibrations.
Make sure the airflow is steady and consistent. Poor airflow might mean filters are clogged or vents are blocked. If your AC isn’t cooling enough, double-check the thermostat settings and refrigerant levels.
Listen for strange sounds like hissing or banging, which could indicate mechanical problems. Regular troubleshooting helps catch issues early, saving energy and avoiding costly repairs.
Maintain and Clean Your Garage AC for Longevity
Regular maintenance and cleaning are essential to keep your garage AC running smoothly and extend its lifespan. Proper upkeep not only improves performance but also promotes better garage organization and energy efficiency.
To maintain your unit, regularly inspect and replace air filters. Dirty filters restrict airflow and strain the system. Clean the condenser coils to prevent overheating and ensure optimal cooling.
Additionally, clear debris around the unit to boost airflow and prevent obstructions. You can also check electrical connections for wear or corrosion, and ensure drainage lines are clear to prevent water buildup.
Don’t forget to schedule professional inspections annually for thorough maintenance.
Expert Tips for Upgrading and Expanding Your Garage Cooling System
Upgrading or expanding your garage cooling system can significantly boost comfort and efficiency, especially as your needs change or if you’re adding new space. To get the best results, think about installing smart thermostats. These let you control your garage temperature remotely, saving energy and cutting costs.
Upgrading your garage cooling system enhances comfort and efficiency, especially with smart thermostats for remote control and energy savings.
When expanding your system, choose energy-efficient units with high SEER ratings to maximize savings and performance. Improving your insulation and sealing gaps also makes a big difference by preventing heat transfer and keeping things cooler.
If you’re adding new zones or sections, go for multi-zone systems. They allow independent temperature control for different areas. Regular maintenance like cleaning filters and checking ductwork helps keep your system running smoothly.
Finally, it’s a good idea to consult HVAC professionals. They can design a tailored solution that fits your space and needs, making sure your garage stays cool and energy-efficient all year round.
Frequently Asked Questions
Can I Install a Ductless Mini-Split in My Garage?
Yes, you can install a ductless mini-split in your garage. Its advantages include easy installation and zone-specific cooling, making it perfect for garages without windows.
Plus, mini-split efficiency means you get effective heating or cooling without high energy costs. You just need to pick the right size and ensure proper placement.
This way, you can enjoy a comfortable space all year round with minimal hassle.
How Much Does Installing a Garage AC Typically Cost?
Installing a garage AC usually costs between $1,500 and $3,500, depending on the system type and installation complexity. Think of it as planting a seed that grows into a comfortable oasis—your perfect temperature control.
Energy efficiency varies; a ductless mini-split often offers better savings and precise temperature control, helping you save on bills while keeping your garage cool. Proper installation guarantees your investment cools efficiently and lasts longer.
Is It Safe to Run an Extension Cord for My Garage AC?
Running a garage AC with an extension cord isn’t safe because extension cords often can’t handle the high power demands. This can lead to overheating or even electrical fires.
Instead, you should focus on proper garage wiring to ensure your AC is safely powered. Good wiring reduces risks and helps your AC run efficiently.
This way, you get safe, consistent cooling without the hazards that come with using an extension cord.
What Is the Best Placement for Indoor AC Units in a Garage?
You should place your indoor AC unit high on an interior wall, ideally away from garage doors and direct sunlight. This helps the cool air circulate better and keeps the unit protected from external elements.
Make sure your garage has proper insulation and ventilation improvements. These steps help maintain consistent temperatures and boost the unit’s efficiency.
Positioning the unit correctly maximizes airflow and cooling performance. Keep it clear of obstructions to ensure the cool air can spread evenly throughout the space.
Consider adding exhaust fans or vents to improve air circulation. This makes your garage more comfortable and helps the AC work more effectively.
How Often Should I Service My Garage Air Conditioner?
Think of your garage AC as a trusted friend. Regular visits keep it happy and efficient. You should service your unit at least once a year, ideally before the peak summer months.
This helps ensure maximum energy efficiency and keeps noise levels low. Regular maintenance, like cleaning filters and checking refrigerant, helps your AC run smoothly.
It also saves you money and prevents unexpected breakdowns. Stay proactive to keep your garage comfortable year-round.
Conclusion
So, after all that effort, you’ve turned your windowless garage into a cool haven—proof that even challenging spaces can be tamed. Ironically, the hardest part wasn’t the installation or wiring but resisting the temptation to enjoy a well-cooled garage instead of just storing things.
Now, with your newfound HVAC skills, you might find yourself wanting to hang out there more than in your living room. Who knew that putting an AC in a garage without windows could be so satisfying?