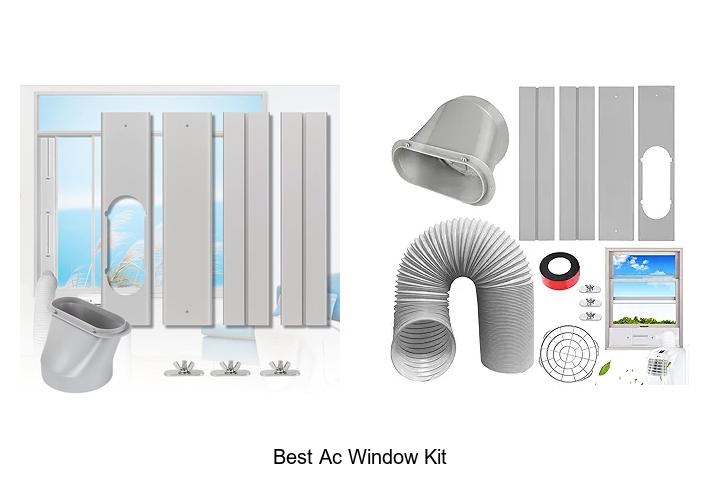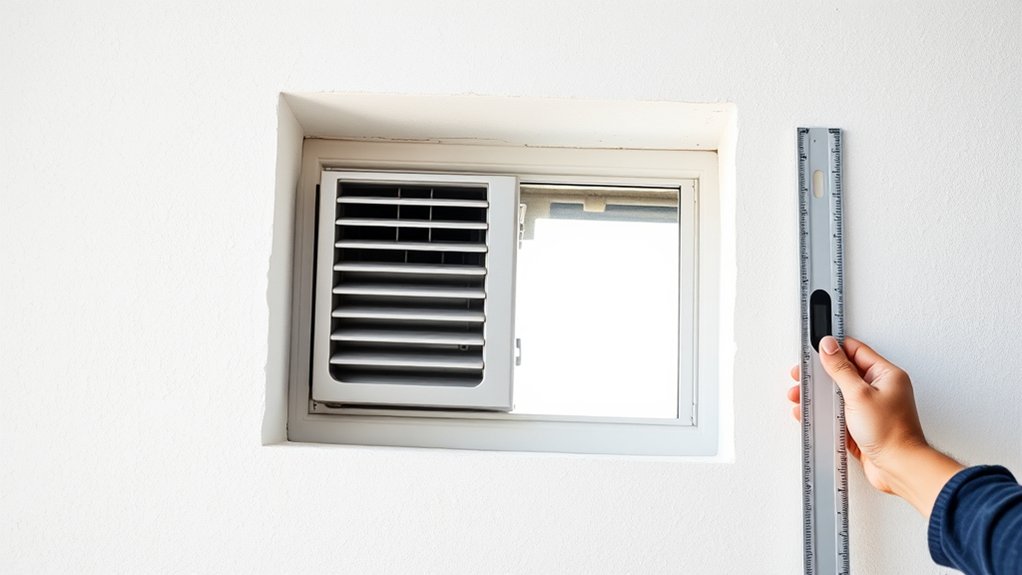
How to Install a Window AC Unit in a Wall
Are you tired of dealing with the heat during summer and struggling to find effective ways to cool your space? You’re not alone—many people find installing a window AC unit in a wall daunting and confusing. But don’t worry, with some guidance, you can do it yourself and stay cool all season long.
To install a window AC unit in a wall, first check if your wall is strong enough and suitable for mounting. Measure and mark the opening carefully, ensuring it’s level and square.
Cut the wall opening using proper tools, and install support brackets into studs or solid backing. Secure the AC unit firmly, seal around it to prevent air leaks, and connect the electrical connections safely.
If you want to master each step thoroughly, keep exploring further.
Key Takeaways
- Check the wall material and support to make sure it’s strong enough. Reinforce the area if needed to hold the AC unit securely.
- Mark and cut a level, square opening in the wall that matches the size of your AC unit.
- Install sturdy mounting brackets and make sure the AC unit is firmly secured into the wall opening.
- Seal around the unit to prevent air leaks and make sure it’s well insulated.
- Connect the electrical wiring safely, then test the unit to check its operation, airflow, and cooling performance.
How to Determine If Your Wall Is Suitable for a Mounted AC
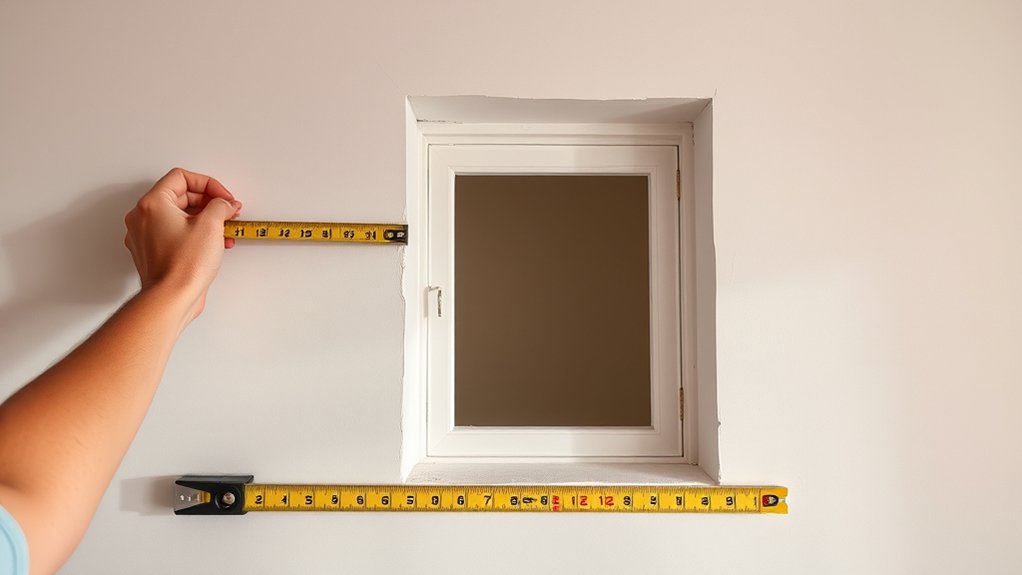
Before installing a wall-mounted AC unit, you need to check if your wall can support it. Start by looking at the wall material. Concrete, brick, or solid wood walls are usually strong enough to hold the weight, while drywall or plaster might need reinforcement.
Next, inspect the wall’s structural support. Use a stud finder to locate studs or beams that can bear the load. These vertical supports are perfect mounting points. If your wall doesn’t have enough support, you may need to add reinforcement like a mounting board or heavy-duty brackets.
Avoid mounting on weak or hollow sections that can’t support the weight. Doing so risks damage or failure. Making sure your wall material and support are suitable is key for safety and stability.
Taking these steps beforehand saves you time and helps prevent accidents during installation.
Pros and Cons of Wall-Mounted Air Conditioners
Wall-mounted air conditioners are great because they save space and tend to be more discreet than window units. That’s why a lot of people prefer them for their homes. But, keep in mind, installing them can sometimes be tricky, and if they’re not installed properly, there could be some risks involved. Also, it’s worth thinking about how energy-efficient they are, since that can really depend on the specific model and how you use it.
Space-Saving Design Benefits
One of the main advantages of wall-mounted air conditioners is their space-saving design. They free up valuable floor space and let you arrange your room more flexibly. Unlike traditional window units, they don’t block your view or clutter your window frame, making your space look larger and more open.
Plus, wall installation means you avoid the hassle of installing in a window or blocking natural light. This design is perfect for small rooms or apartments where every inch counts. It also keeps your window area clear for other uses.
Here’s how the benefits compare:
| Benefit | Emotional Impact | Practical Advantage |
|---|---|---|
| Saves floor space | Frees up room to breathe and move | More flexible room arrangements |
| No window blocking | Maintains view and natural light | Enhances room aesthetics |
| No window installation | Less hassle, cleaner look | Simplifies setup |
| Keeps window frame clear | Preserves your window’s function | Better overall room flow |
| Compact design | Less clutter, more comfort | Fits easily in tight spaces |
Installation Challenges and Risks
While wall-mounted air conditioners have many advantages, they also come with some installation challenges and risks you should be aware of. One concern is how they look; placing the unit can affect your room’s aesthetic, making it less seamless.
Proper installation requires precise wall modifications, which can weaken the structure if not done carefully. Drilling into walls also risks damaging electrical wiring or insulation.
Ens’s also the challenge of making sure the unit is level and secure, especially in older or uneven walls. If not installed properly, these issues could lead to safety problems, poor performance, or costly repairs.
Thinking about these challenges will help you decide if a wall-mounted AC is the right fit for your space.
Energy Efficiency Considerations
Because they are installed directly into a wall, wall-mounted air conditioners often offer improved energy efficiency compared to portable units. This setup helps prevent air leaks around the unit, reducing energy loss and lowering your utility bills.
Furthermore, wall-mounted units typically operate more quietly, providing noise reduction that enhances indoor comfort. They also help maintain better indoor air quality by filtering out dust, allergens, and pollutants more effectively than portable models.
However, if not properly sealed or installed, they can still cause energy inefficiency or air leaks. Keep in mind that their fixed position might limit airflow and cooling coverage.
Choosing the Right Wall-Mounted AC for Your Space
Choosing the right wall-mounted AC for your space involves considering several key factors to guarantee ideal cooling and energy efficiency.
Selecting the perfect wall-mounted AC ensures optimal comfort and energy savings for your space.
First, assess your room size to select a unit with the appropriate BTU rating. This helps ensure efficient cooling without wasting energy.
Next, think about your interior decor. Pick a model that complements your style and color scheme for a seamless look.
Pay attention to noise levels, especially if your space is a bedroom or study. Choose a quieter unit to avoid disruptions.
Consider installation requirements like wall thickness and accessibility to make sure the unit fits properly and works well.
By focusing on these factors, you’ll find an AC that cools effectively and enhances your space’s aesthetic and comfort.
Tools and Materials Needed for Installing a Wall-Mounted AC
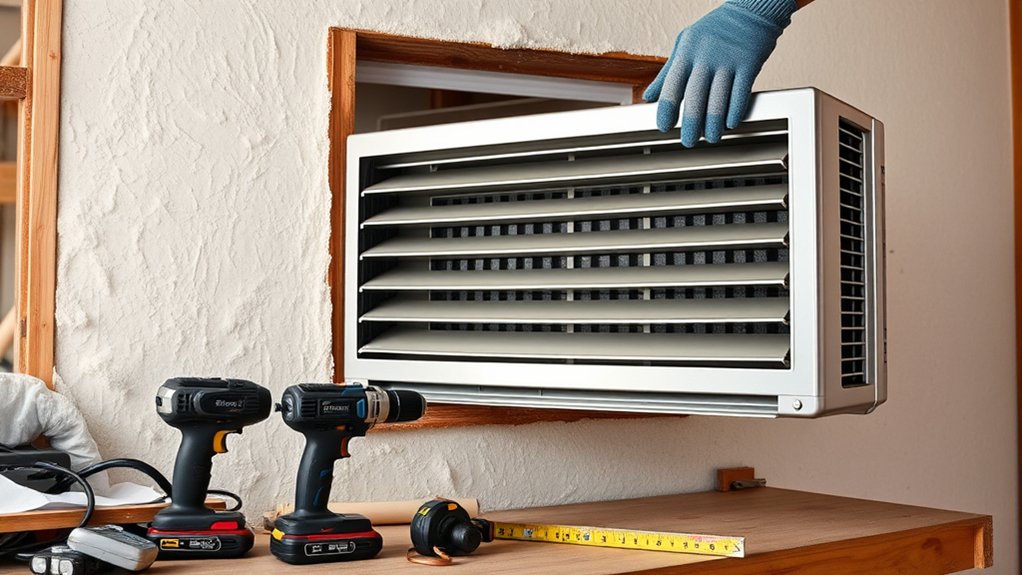
Before you get started, make sure you have all the hand tools, installation materials, and safety gear you’ll need. Having everything ready beforehand makes the whole process much easier and safer. It’s a good idea to double-check that you’ve got everything on hand so you won’t have to stop halfway through to run out and grab supplies.
Now, let’s go over what you’ll need to set up your wall-mounted AC unit smoothly and efficiently.
Essential Hand Tools
What tools and materials do you need to successfully install a wall-mounted AC unit? You’ll want a few essential hand tools to get started.
First, a screwdriver or drill will help secure brackets and panels. Second, a level ensures the unit is perfectly aligned for the best operation.
Third, a measuring tape is necessary to mark the correct placement. Fourth, a utility knife or saw may be needed to cut any drywall or framing.
Don’t forget the decorative grille, which covers the unit’s exterior, and the remote control for easy operation afterward.
Having these tools on hand makes the installation process easier, so you can mount the unit securely and neatly, ready for testing and use.
Required Installation Materials
To successfully install a wall-mounted AC unit, you’ll need a few specific tools and materials. These include a drill, screwdriver, level, measuring tape, and a utility knife.
You’ll also require mounting brackets, screws, anchors, weatherproof sealant, and insulation materials to ensure a secure fit. Using the right materials helps prevent air leaks and reduces energy consumption.
Understanding the history, wall-mounted units became popular for their space efficiency. However, improper installation can affect energy efficiency and the environment.
Considering the environmental impact, opt for eco-friendly sealants and insulation to minimize energy loss. Proper materials support sustainable practices and a more efficient system.
Make sure all components are compatible with your unit and wall structure. This helps ensure a safe, efficient, and environmentally conscious installation.
Safety Equipment Needed
Installing a wall-mounted AC unit requires safety equipment to protect you from potential hazards. First, wear safety goggles to shield your eyes during cutting and drilling, especially when handling debris or dust from outdoor maintenance.
Second, use work gloves to prevent cuts or abrasions when handling sharp tools or metal parts. Third, don a dust mask or respirator to avoid inhaling dust or insulation particles, which helps with noise reduction.
Fourth, make certain you have ear protection if you’ll be working with loud power tools. These items keep you safe from debris, loud noises, and accidental injuries.
Proper safety gear is essential for a secure installation, especially when working outdoors or in confined spaces.
How to Mark and Cut the Wall Opening for Your AC Unit
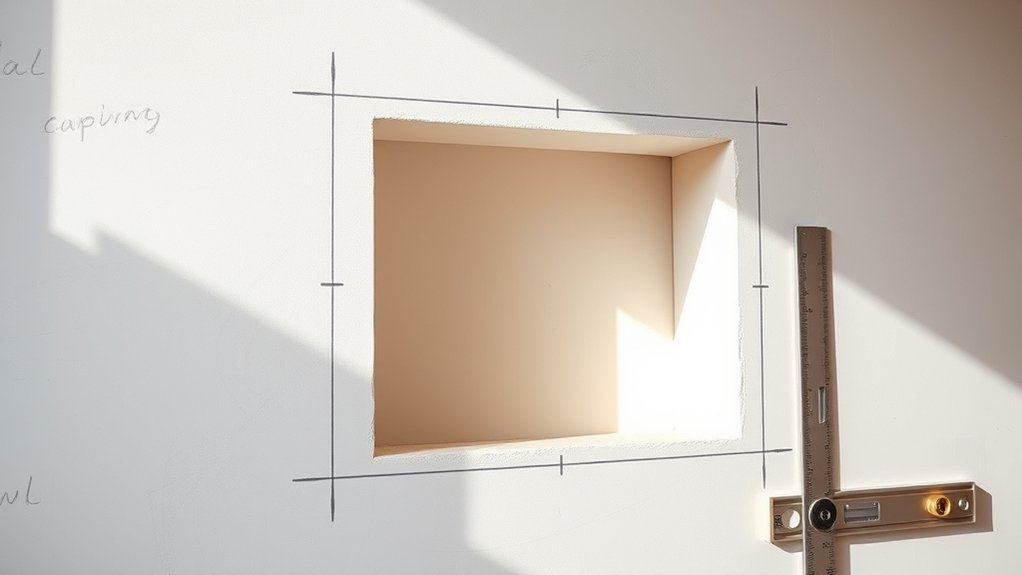
Marking and cutting the wall opening accurately is key for a good fit and secure installation of your window AC unit. Start by measuring your AC unit’s dimensions carefully, including any extra space needed for insulation or framing.
Precise marking and cutting ensure a secure, neat fit for your window AC unit.
Use a pencil to outline the opening directly on the wall, making sure it matches the unit’s size and looks good with your interior. Double-check your measurements before you start cutting to avoid any mistakes.
When cutting, pick a suitable saw like a reciprocating or drywall saw to get a clean edge. Remember, a precise cut helps reduce noise by closing gaps that could let sound escape.
Make sure the opening is level and square so the AC fits perfectly. This also makes your installation look neat and professional.
Taking your time with marking and cutting will ensure your AC unit sits correctly, runs quietly, and blends well with your home’s interior.
Installing the Mounting Bracket and Securing Your Wall AC
Once you’ve marked the opening, the next step is to position the mounting bracket correctly. Align the bracket with your markings and make sure it’s level for proper support. Secure it to the wall using the right fasteners, making sure to hit studs or solid backing for stability.
Keep these steps in mind:
- Attach the bracket firmly, checking for levelness.
- Use a drill to secure screws into the wall, avoiding any gaps.
- Confirm the bracket can support the weight of your AC unit.
- Keep the remote control nearby for quick access once installed.
Remember to plan for easy filter maintenance by making sure the unit’s access panel is reachable. This setup ensures your wall-mounted AC stays secure and easy to operate, with simple access for filter checks and remote use. Proper securing also helps prevent vibrations and noise during operation.
Ensuring Proper Ventilation and Safety During Installation
To guarantee safety and proper ventilation during installation, focus on ensuring good airflow and avoiding blockages of vents or air pathways. Proper ventilation helps keep humidity levels in check and prevents moisture buildup that could cause mold or damage.
Make sure the unit’s vents are clear so air can flow efficiently. This not only improves performance but also helps reduce noise by minimizing vibrations and sound reflection. Keep the area free of debris and obstructions that might block airflow or create safety issues.
Use the right tools and follow the manufacturer’s instructions carefully. Avoid shortcuts that could compromise safety or security. Keeping air pathways clear reduces the risk of overheating or electrical problems.
Also, double-check that the unit is securely mounted. This prevents accidents and noise disturbances. Good ventilation and proper setup make the environment safer, quieter, and more efficient.
Focusing on these steps will ensure a smooth installation process and optimal operation of your unit.
Connecting Electrical Components Safely and Correctly
When you’re setting up the electrical components, it’s really important to pick the right power source that can handle the AC unit’s electrical load. You don’t want to risk using a power supply that’s too weak, or it could cause problems down the line.
Also, make sure you’re using the correct wiring techniques. Proper wiring helps prevent shorts and other electrical hazards, keeping everything safe and reliable. And don’t forget to properly ground the unit—that’s key to protecting yourself from shocks and making sure everything runs smoothly.
Proper Power Source Selection
Have you chosen the right power source for your wall-mounted air conditioner? Ensuring proper power capacity and circuit compatibility is essential for safe operation.
First, check if your circuit can handle the AC unit’s power needs by looking at the amperage rating. Then, verify that the outlet’s voltage matches the unit’s specifications—most require a dedicated 120V or 220V circuit.
Next, take a look at your electrical panel to make sure it has enough capacity and isn’t overloaded. If needed, consider installing a dedicated circuit to prevent overloads and electrical hazards.
Making these careful choices ensures your AC gets consistent power, reduces the risk of tripping breakers, and keeps everything running safely and efficiently. Proper power source selection is a vital step before moving forward with installation.
Correct Wiring Techniques
Ensuring proper wiring techniques is essential for connecting your air conditioner’s electrical components safely and correctly. Start by matching wire colors to their functions for clarity and safety.
Use consistent color coordination—black for hot, white for neutral, green or copper for ground—to prevent errors. Proper wiring reduces noise, ensuring quieter operation.
When connecting, secure all connections tightly to prevent loose contacts that can cause electrical noise or hazards. Double-check connections for tightness and avoid overloading circuits to maintain safety and noise reduction.
Use the following table as a guide:
| Wire Color | Function |
|---|---|
| Black | Hot (Live) |
| White | Neutral |
| Green/Copper | Ground |
| Red | Additional hot (if needed) |
Ensuring Grounding Safety
Proper grounding is essential for safety when installing a window AC unit, as it helps prevent electrical shocks and protects your equipment from power surges.
To guarantee proper electrical grounding, follow these steps:
- Confirm the outlet has a grounding wire connected to the building’s grounding system.
- Use a grounding wire that’s securely attached to the AC unit’s grounding terminal.
- Check that the grounding wire is properly connected to a grounded metal outlet box or grounding rod.
- Test the grounding connection with a circuit tester to verify electrical grounding safety.
Sealing, Finishing, and Finalizing Your Wall-Mounted AC Installation
Once you’ve secured the unit in the wall, the next step is to seal the gaps and finish the installation to guarantee it operates efficiently and looks polished. Use expanding foam or weatherproof sealant around the edges to prevent air leaks and drafts.
After sealing, trim any excess foam with a utility knife for a clean, professional appearance. When choosing finishing materials, consider color options that match your wall or decor to create a seamless look.
If you’re unsure which brand comparison suits your needs, research reviews for durability and energy efficiency. Some brands offer specific finishing kits designed for wall-mounted units, making the process easier.
Once sealed and finished, install any decorative covers or trim pieces to hide the installation edges. This final touch not only improves aesthetics but also protects the unit from dust and debris, ensuring your wall-mounted AC functions smoothly for years to come.
Testing Your Wall-Mounted AC and Troubleshooting Common Problems
After installing your wall-mounted AC, it’s important to test it thoroughly to make sure it works properly and efficiently. First, turn it on using the remote control and make sure it powers up smoothly. Then, check the airflow and cooling performance to see if it cools the room evenly. Keep an ear out for any loud noises, which could mean a loose part or imbalance.
If you run into common problems, try these steps. If the remote isn’t working, replace the batteries and re-sync it with the unit. If the AC isn’t cooling well, clean or replace the filters. For loud noises, check for loose panels or debris inside the unit. And if the unit trips the circuit breaker, verify the electrical connections and make sure the outlet provides enough power.
Regular testing and troubleshooting will help keep your wall-mounted AC running smoothly and quietly.
Frequently Asked Questions
How Do I Estimate the Energy Consumption of My Wall-Mounted AC?
To estimate your wall-mounted AC’s energy consumption, check its Energy Efficiency Ratio (EER) and power usage details on the label.
Divide the unit’s wattage by 1000 to get kilowatts, then multiply by hours of use per day.
This calculation helps you understand power consumption and compare models for better energy efficiency.
Ultimately, it can save you money and reduce your environmental impact.
Can I Install a Wall-Mounted AC Myself Without Professional Help?
You can absolutely try to install a wall-mounted AC yourself, but don’t underestimate how tricky it can be. It’s almost like trying to tame a wild beast!
Make sure to follow safety precautions, like turning off the power and checking that the wall can support the unit. If you’re handy and confident, it might be doable.
But if you’re not sure, it’s a good idea to call in a professional. Proper installation is key to safety and avoiding costly mistakes.
What Maintenance Is Required to Keep the AC Unit Functioning Properly?
You should regularly replace the filter to ensure clean airflow and prevent dust buildup, which helps maintain efficiency.
Moreover, clean the coils periodically to remove dirt and debris, improving cooling performance and reducing energy consumption.
Check the manual for specific cleaning instructions and recommended intervals, usually every one to three months. Proper maintenance keeps your AC running smoothly, extends its lifespan, and keeps your space comfortable.
How Loud Are Typical Wall-Mounted Air Conditioners During Operation?
Think of your wall-mounted AC as a gentle breeze or a distant hum—its noise levels typically range from 50 to 60 decibels, similar to a quiet conversation.
Sound insulation helps keep this hum from becoming a nuisance, muffling vibrations and reducing noise transmission.
While some models are quieter, most produce a steady background sound that blends into your environment, making it unobtrusive during daily activities.
What Should I Do if My Wall-Mounted AC Leaks Water Inside?
If your wall-mounted AC leaks water inside, start by checking the drip tray for buildup or cracks and clean it if necessary.
Next, inspect the drainage hose for clogs or kinks, making sure it’s clear and properly positioned to drain outside.
Regular drip tray maintenance and drainage hose inspection can prevent leaks and help your unit run smoothly.
If the problem continues, it’s a good idea to call a professional to avoid causing any further damage.
Conclusion
Remember, a well-installed wall-mounted AC can transform your comfort zone, but rushing the process can lead to costly mistakes. Take your time, follow each step carefully, and prioritize safety.
As the saying goes, “Measure twice, cut once,” which is a good reminder that thorough preparation prevents problems later. Being patient and paying attention to details makes all the difference.
With careful planning, you’ll enjoy a cool, efficient space. Proper installation of your window AC unit in the wall is worth the effort, turning your home into a true sanctuary of comfort.