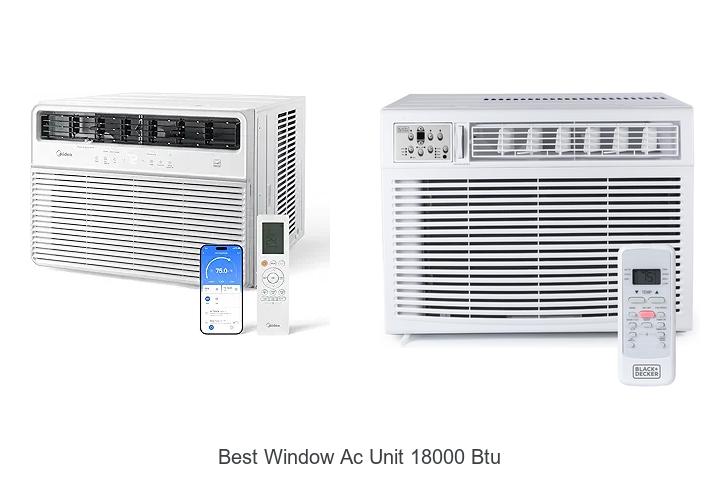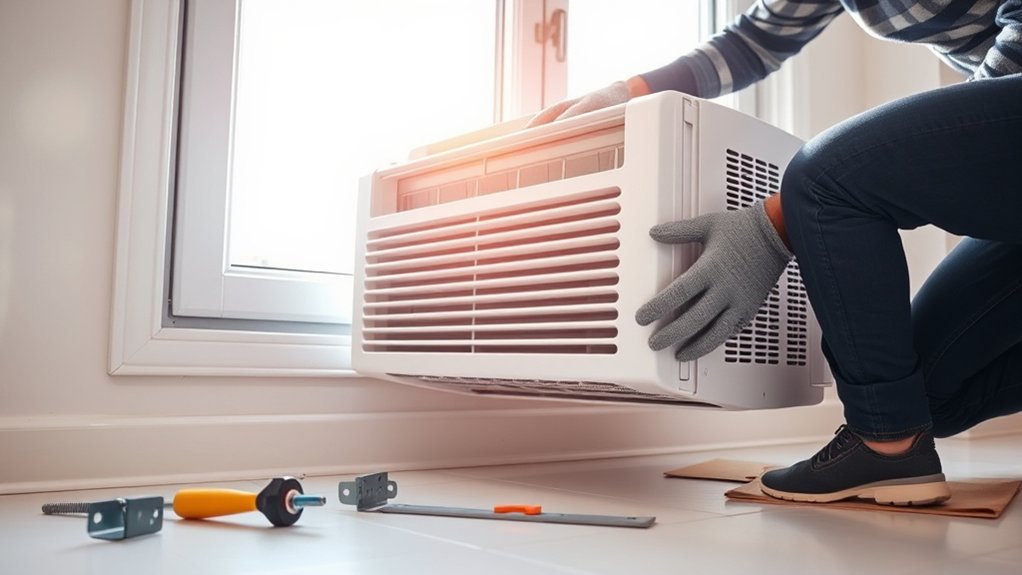
7 Simple Steps to Install Your Window AC Unit
Feeling comfortable during hot summer days is a priority for many, but installing a window AC unit can feel overwhelming or tricky. You’re not alone—many people struggle with getting it just right. The good news is, with a few simple steps, you can have your cool oasis up and running in no time.
To install your window AC unit, start by inspecting the window frame for damage and measuring the opening to guarantee a good fit. Gather tools and clear the area around the window. Open the window, clean the sill, and position the unit with the air filter inward.
Secure it with brackets, seal gaps, and level the unit for maximum operation. Finally, test the AC and learn tips for keeping it running smoothly for years to come.
Key Takeaways
- Measure the window opening and gather all the tools and materials you’ll need before you start installing.
- Pick a good window spot that’s stable, has good airflow, and isn’t exposed to too much heat.
- Open the window, give the sill a quick clean, and position the AC with the filter facing inward.
- Secure the unit using mounting brackets, make sure it’s level, and seal any gaps with weatherstripping or foam.
- Turn on the AC to check its cooling power, then do regular maintenance like cleaning the filters to keep it running efficiently.
Getting Your Space Ready for Window AC Installation
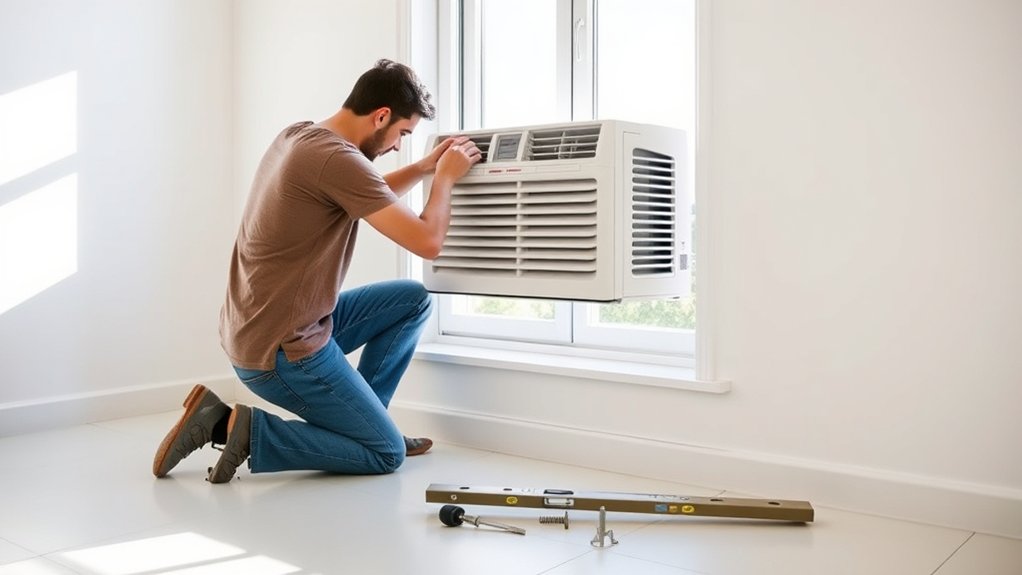
Before installing your window AC unit, it’s important to prepare your space to guarantee a smooth process. Start by inspecting your window frame for any damage or gaps that could affect the installation. Clean the frame thoroughly to remove dust and debris, making sure it’s clean for a secure fit.
Next, gather insulation materials like foam strips or weatherstripping to seal gaps around the unit once installed. Proper insulation helps improve energy efficiency and keeps warm air from entering. If your window frame isn’t level or has uneven surfaces, consider making adjustments or using shims to create a stable base.
Remove any curtains, blinds, or obstructions from the window area. Measure the window opening carefully to confirm your unit will fit, and double-check the dimensions of the window frame for compatibility. Preparing your space with these steps will help ensure a secure and efficient installation.
Choosing the Best Location and Measuring Your Window
Selecting the right spot for your window AC unit is key for good cooling and safety. Place it where it can evenly blow cool air without anything blocking it.
Try to avoid spots with direct sunlight or near heat sources. These can make the unit work harder and use more energy.
Avoid direct sunlight and heat sources to ensure your AC runs efficiently and saves energy.
For less noise, pick a window that minimizes vibrations and sound transfer into your living space. Make sure the window opens wide enough for the AC and has enough space on both sides for proper airflow.
Measure your window carefully, noting the width and height, so you choose a unit that fits snugly without gaps. This helps prevent air leaks and improves energy efficiency.
Also, check that your window frame is sturdy enough to hold the weight of the unit. Following these steps will help you find the best spot and size, making cooling more efficient and keeping things quieter.
Tools and Materials You’ll Need
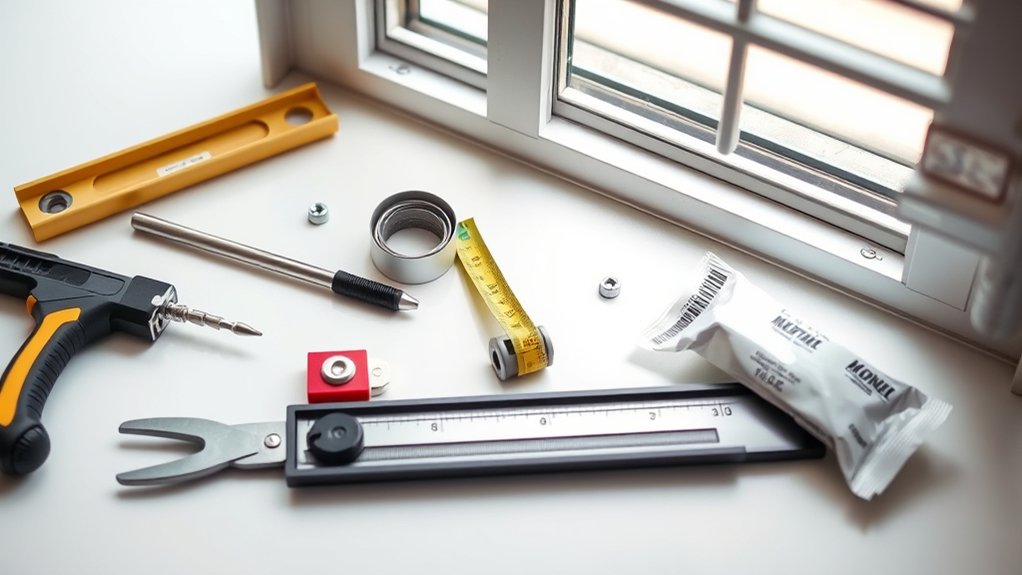
To install your window AC unit safely and effectively, gather the essential tools and materials beforehand. This will help ensure a smooth process and improve your unit’s energy efficiency while keeping noise levels down during operation.
You’ll need a Phillips-head screwdriver for secure mounting and adjustments. Weatherproof sealant or foam strips are also important to seal gaps and boost energy efficiency. A level is helpful to make sure your unit is properly positioned, which reduces noise and vibrations.
Depending on your specific unit, you might also need additional materials like mounting brackets, insulation, and a power cord. Having these tools ready allows you to install your AC correctly, preventing air leaks and saving energy. Proper installation also makes your space more comfortable by reducing unwanted noise.
Make sure your tools are in good condition to ensure a safe and efficient setup. Preparing everything in advance saves you time and frustration during the installation process.
Step-by-Step Guide to Installing Your Window Air Conditioner
Once you’ve gathered all the necessary tools and materials, you can start installing your window air conditioner.
Open your window and clean the sill to ensure a secure fit. Place the unit on the sill, making sure the air filter faces inward for better energy efficiency.
Open the window, clean the sill, and position the unit with the air filter facing inward for better efficiency.
Use the side panels and fit them snugly to fill gaps. This helps reduce noise and prevents air leaks.
Secure the unit with brackets or screws if your model needs it. This keeps it from wobbling or shifting.
Check that the unit is level for optimal performance and energy efficiency. Proper installation minimizes noise and maximizes cooling.
Adjust the side panels to seal gaps around the window frame. This improves noise reduction and keeps hot air out.
Finally, plug in your unit and test it on different settings to make sure it operates properly.
A good installation ensures quieter operation and better energy efficiency, saving you money on bills.
Securing and Sealing the Unit for Safety and Efficiency
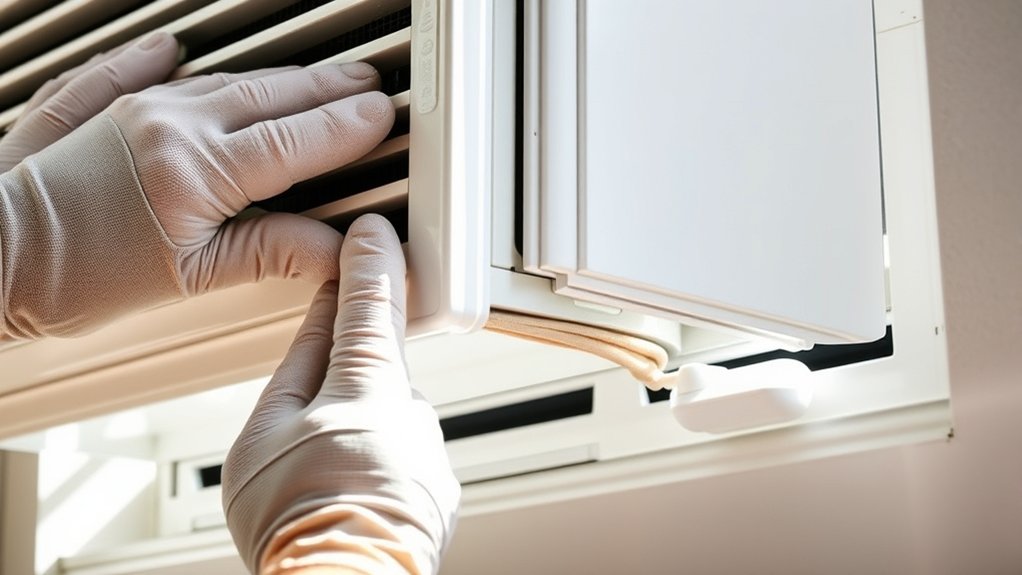
Securing and sealing your window air conditioner is key to preventing accidents and making it more efficient. Proper security keeps the unit stable, which reduces the chances of it falling or getting damaged. Sealing the gaps around the unit helps with insulation, stopping warm air from coming in and cool air from escaping.
To secure your AC, use brackets or screws to firmly attach it to the window frame. Install a sturdy window lock or support to hold the window in place. Also, check for any loose or unstable parts and tighten them up.
For sealing, apply weatherstripping or foam insulation around the edges of the unit. Seal gaps with expanding foam or caulk to block drafts. You can also use a sturdy panel or board to cover any remaining open space.
Testing Your AC and Troubleshooting Common Issues
Once your AC is installed, go ahead and turn it on to see if it’s cooling properly. It’s always good to give it a test run and make sure everything feels comfortable.
If you notice any strange noises or if the airflow seems weak, don’t worry—these are common issues you can troubleshoot. Sometimes, it’s just a clogged filter or a simple electrical glitch.
Fixing these small problems quickly can help keep your AC running smoothly and ensure your space stays nice and cool.
Checking Cooling Performance
How can you tell if your window AC unit is cooling effectively? First, see if the room feels noticeably cooler within 15-20 minutes of turning it on. Listen for unusual noises that might indicate problems, and check your energy bills—if they go up without better cooling, something’s off.
To evaluate its performance, verify that cool air is steadily flowing from the vents. Make sure the unit keeps a consistent temperature setting. Also, observe if noise levels stay within normal ranges.
If your room isn’t cooling well or the noise is louder than usual, it might be time to troubleshoot further. Checking the cooling performance regularly helps you catch issues early and keeps your AC running smoothly.
Addressing Common Malfunctions
When your window AC unit isn’t cooling properly or makes unusual noises, it’s important to test it thoroughly and spot potential issues quickly. Start by checking the power supply—make sure the unit is plugged in securely and the circuit breaker hasn’t tripped.
If it still doesn’t respond, try remote troubleshooting. Replace the batteries or reset the remote control. Sometimes, the remote may not communicate properly with the AC, causing operational problems.
Also, listen for any unusual noises. These could mean loose parts or debris inside the unit. If problems continue, check the user manual for specific troubleshooting tips.
Addressing these common issues promptly helps your air conditioner run smoothly and lasts longer.
Long-Term Maintenance Tips for Your Window AC
Regular maintenance is essential to keep your window AC running efficiently and extend its lifespan. Proper care helps maintain energy efficiency and guarantees your unit performs at its best year-round.
To do this, regularly clean or replace the filters. This improves airflow and reduces energy consumption. During off-seasons, consider seasonal storage by thoroughly cleaning the unit and storing it in a dry, cool place to prevent damage.
Also, inspect the fins and coils for dirt and debris, gently cleaning them to maximize heat transfer. Check and tighten any loose parts or screws to prevent malfunctions.
Make sure to clear the area around your unit so it can breathe properly and avoid strain. And don’t forget to schedule professional inspections annually to catch potential issues early.
Following these tips helps your window AC stay efficient, saves energy, and prolongs its life. That way, your cooling system will be more reliable when you need it most.
Frequently Asked Questions
Can I Install a Window AC in a Brick or Stucco Wall?
You can’t directly install a window AC in a brick or stucco wall without some modifications. Wall mounting needs structural reinforcement to support the weight of the unit safely.
You’ll have to create an opening in the wall and reinforce the area around it to prevent damage. Installing a custom bracket or support system is also necessary.
This process ensures safety and stability. It’s a good idea to consult a professional to handle the wall modifications and proper installation techniques.
How Do I Remove an Existing Window AC Safely?
Imagine gently releasing a delicate butterfly from its cocoon; you’ll do the same with your old AC. First, unplug the power supply to avoid shocks.
Remove the mounting brackets carefully, making sure the unit doesn’t fall. Support the AC as you slowly slide it out of the window frame.
Check for any remaining screws or attachments before fully removing it. Handle it with care, like cradling a fragile treasure, to keep yourself safe and avoid damage.
What Should I Do if My Window Frame Is Damaged?
If your window frame is damaged, you should start with frame repair to guarantee stability and safety. Carefully inspect the damage, then use appropriate materials like wood or metal patches to fix cracks or rotting areas.
After repairing, seal gaps with weatherproof caulk or foam to prevent air leaks and improve insulation. This process helps secure your AC unit and maintains energy efficiency in your space.
Is It Necessary to Hire a Professional for Installation?
You don’t necessarily need to hire a professional for installation if you’re comfortable with DIY tips and follow safety precautions.
Make sure you understand the unit’s instructions, use proper tools, and wear safety gear.
Take your time to secure the window and AC properly, avoiding any hazards.
If you’re unsure or uncomfortable, it’s safer to consult a professional to prevent injuries or damage, especially if your window frame is damaged.
How Can I Increase the Energy Efficiency of My Window AC?
To boost your window AC’s cooling efficiency and save energy, regularly clean or replace filters. Make sure the unit is properly sealed in the window to prevent cool air from escaping.
Set the thermostat to a comfortable yet energy-efficient temperature, like 78°F. Use energy-saving tips such as closing blinds during peak sunlight hours and using fans to circulate air.
These simple steps help reduce energy consumption while keeping your space cool effectively.
Conclusion
With a little preparation and patience, your window AC can quickly become a cool, comfortable corner of your home.
By following these simple steps, you’ll master the installation with minimal mess and maximum efficiency.
Remember, proper placement, secure sealing, and steady maintenance will help your unit last longer.
So, stay savvy, stay simple, and enjoy the soothing, secure sanctuary of a well-installed window AC.
This way, every summer becomes a season of comfort and care.