How to Fix My Window AC Leaking Water
Dealing with a leaking window AC can be frustrating, especially when you’re trying to stay cool. Many people struggle with water dripping inside or outside their units, which can lead to damage or discomfort. If you’re facing this issue, you’re not alone—leaks are a common problem.
If your window AC is leaking water, start by checking the drain pan for cracks or blockages and clear any debris from the drain line. Make certain the unit is properly tilted outward to allow water to flow outside.
Inspect and replace dirty filters, as clogged filters can cause ice buildup, which then melts and leaks. Confirm the installation is secure and sealed properly.
For more detailed steps on fixing leaks and preventing future issues, continue exploring the solutions ahead.
Key Takeaways
- Check and clear the drain hole and drain line for clogs or debris to make sure water can drain properly.
- Verify the unit is tilted outward so water flows away from the indoor part of the AC.
- Inspect the drain pan for cracks, rust, or damage, and replace it if needed.
- Clean or replace dirty air filters to prevent excess moisture and coil freezing.
- Seal any gaps around the unit and make sure it’s installed securely to avoid leaks and condensation problems.
Why Is My Window Air Conditioner Leaking Water?
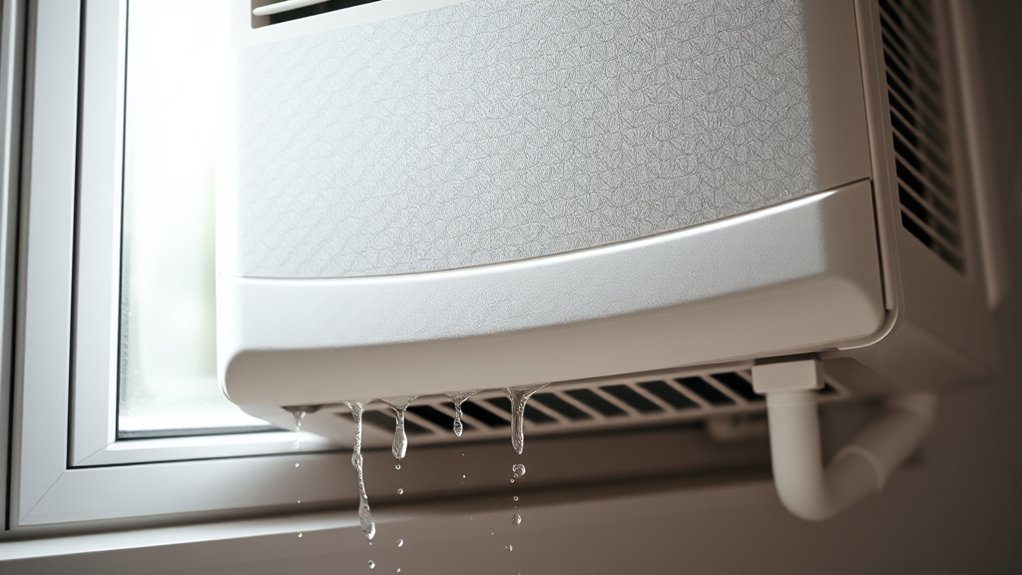
Have you noticed water dripping from your window air conditioner? This usually happens when the unit isn’t draining properly, which can affect its energy efficiency.
When excess moisture isn’t removed, your AC has to work harder, wasting energy and increasing your utility bills. A leaking unit can also cause noise issues—like dripping sounds or vibrations that become more noticeable.
Excess moisture forces your AC to work harder, raising energy bills and causing noticeable leaks and noise.
Poor drainage might be caused by a clogged drain hole or an improperly tilted unit, preventing water from flowing out. If your AC isn’t level, water can build up and leak inside instead of draining outside.
Keeping the drain clear and making sure the unit is properly tilted helps maintain energy efficiency and reduces noise. Regular maintenance not only prevents leaks but also keeps your AC running quietly and efficiently, saving you money and avoiding potential damage.
How to Check the Drain Pan and Clear Blockages
First, take a look at the drain pan and see if there are any cracks or signs of corrosion. These can sometimes cause leaks, so it’s good to catch them early.
Then, move on to the drain line itself. Check if there’s any clog or debris blocking the flow, and clear it out if needed. Sometimes even a small blockage can cause water to back up.
Finally, make sure the drain pan is sitting in the right spot so that water can flow smoothly into the drain line. Adjust it if necessary to keep everything working properly.
Inspect Drain Pan Condition
To guarantee your window AC isn’t leaking water due to a blocked or damaged drain pan, you need to examine its condition carefully. Start by turning off the unit and inspecting the pan for cracks, rust, or warping. A damaged pan won’t drain properly, which can cause leaks.
Check the air filter—if it’s dirty, it can impact airflow and refrigerant levels, leading to excess condensation. Make sure the refrigerant level is appropriate; low levels can cause the evaporator coil to freeze and then leak water when it melts.
While inspecting, look for any standing water or debris inside the pan. These can indicate blockages or damage. Keeping the drain pan in good shape is essential for preventing leaks and ensuring your AC runs efficiently.
Clear Drain Blockages
If your window AC is leaking water, a common cause is a clogged drain that prevents proper drainage.
Check the drain pan for debris or algae buildup that could block water flow. Clear any obstructions with a flexible brush or pipe cleaner, making sure the drain line is free of clogs.
When the drain is clear, your AC runs more efficiently, saving energy and putting less strain on the unit.
Clearing blockages also reduces noise caused by overflowing water or vibrating parts.
Regular maintenance of the drain line helps prevent future leaks and keeps your AC working smoothly.
Check Pan Placement
Wondering whether the drain pan is causing your window AC to leak? First, turn off your unit and open it up to access the drain pan. Check if it’s properly positioned beneath the evaporator coil; it should sit flat without tilting.
An improperly placed drain pan can lead to water overflowing, which causes leaks. Also, make sure the pan isn’t cracked or rusted, as that can block water flow. Clearing any debris or blockages will help prevent water buildup.
While you’re at it, consider sealing gaps around your window. This helps improve insulation, reducing excess condensation and noise. Proper drain pan placement not only stops leaks but also helps with noise reduction and keeps your window insulated.
This way, your AC runs smoothly and quietly.
Ensuring Your AC Is Properly Installed and Level
A crucial step in preventing water leaks from your window AC is making sure it’s installed correctly and remains level. When your unit is properly aligned, it operates more efficiently, which helps save on energy costs.
An uneven installation can cause water to pool or leak, leading to potential damage and mold growth. Use a level to check the unit’s tilt; most window ACs should have a slight tilt toward the outside to help with drainage.
Proper installation also minimizes noise, making your space more comfortable. Secure the unit tightly in the window frame to prevent vibrations that cause noise and wear.
Make sure the unit is flush against the window frame, with no gaps that could cause leaks or drafts. Taking the time to install your AC correctly ensures it runs smoothly, quietly, and efficiently, while also preventing water from leaking inside your home.
How to Inspect and Replace a Dirty Air Filter
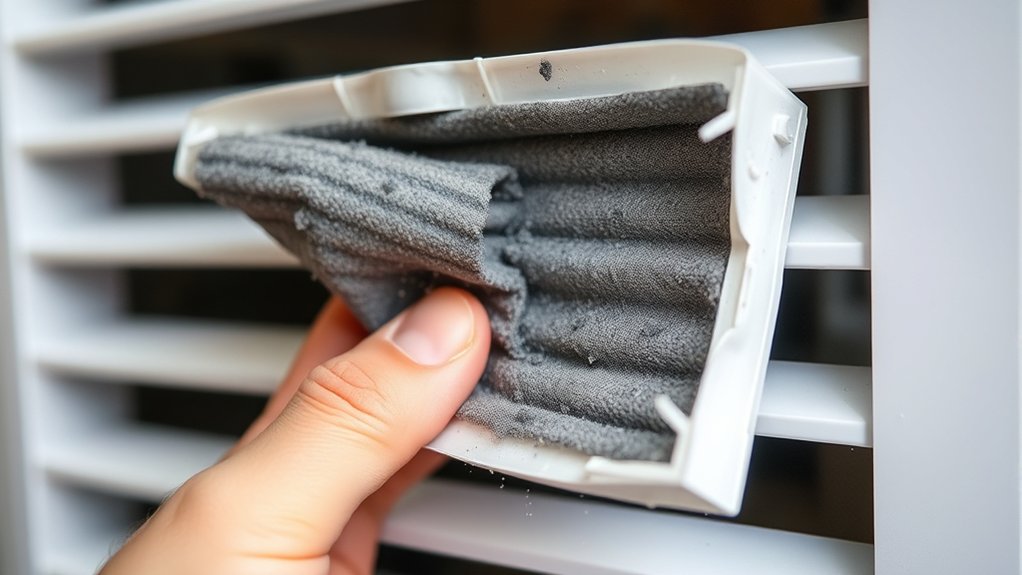
First off, take a quick look at your air filter. If it looks all dusty, dirty, or clogged, that’s probably the culprit causing poor airflow and possibly leading to water leaks. Be gentle when you remove it so you don’t accidentally damage anything nearby.
Once you’ve got the old filter out, pop in a new, clean one. After that, turn your AC back on and see if the leak has gone away. Usually, a fresh filter makes a big difference!
Identifying Clogged Filters
How can you tell if your air filter is clogged? If your AC isn’t cooling well or there’s excess moisture, your air filter might be blocking airflow.
Check for visible dirt or dust buildup, and see if the filter feels damp or blocked. These are signs it might need replacing.
Use this table to spot signs and find solutions:
| Symptom | Cause | Action |
|---|---|---|
| Reduced airflow | Clogged air filter | Replace the filter |
| Musty odors | Mold on the filter | Replace the filter |
| Excess moisture or leaks | Poor airflow circulation | Clean or change the filter |
| Increased energy use | Strained system | Replace the filter |
| Visible dirt or debris | Dirty filter | Replace the filter |
Regularly inspecting your air filter helps prevent AC leaks and keeps your system running efficiently.
Safely Removing the Filter
Before removing the filter, make sure your AC is turned off to prevent debris from falling into the system or causing injury. Carefully locate the air filter, usually behind the front grille or panel.
During air filter inspection, check for dirt, dust, or mold buildup that can block airflow and cause leaks. To remove it safely, slide the filter out gently, avoiding force that could damage the filter or the filter slot.
While you’re at it, inspect the drain pan for any debris or mold, and consider drain pan replacement if it looks cracked or excessively dirty. Properly removing the filter ensures an effective inspection and helps prevent further issues with leaking water.
Once done, store the filter in a safe place if you plan to clean or replace it later.
Replacing and Testing Filter
Inspecting and replacing a dirty air filter is a simple process that can really boost your window AC’s performance and help prevent leaks.
First, carefully remove the filter and check it for dust, dirt, or mold. If it looks clogged or dirty, it’s time to swap it out.
Replace the old filter with a new one that matches your unit’s specs. After installing, turn on the AC and check the airflow.
If the airflow feels weak or uneven, the filter might still be dirty or not installed correctly. Regular testing keeps your AC running smoothly.
It also reduces strain on the system and helps prevent leaks caused by poor airflow or excess moisture. Keep your filter clean for the best performance.
How to Detect and Fix Ice Formation on Evaporator Coils
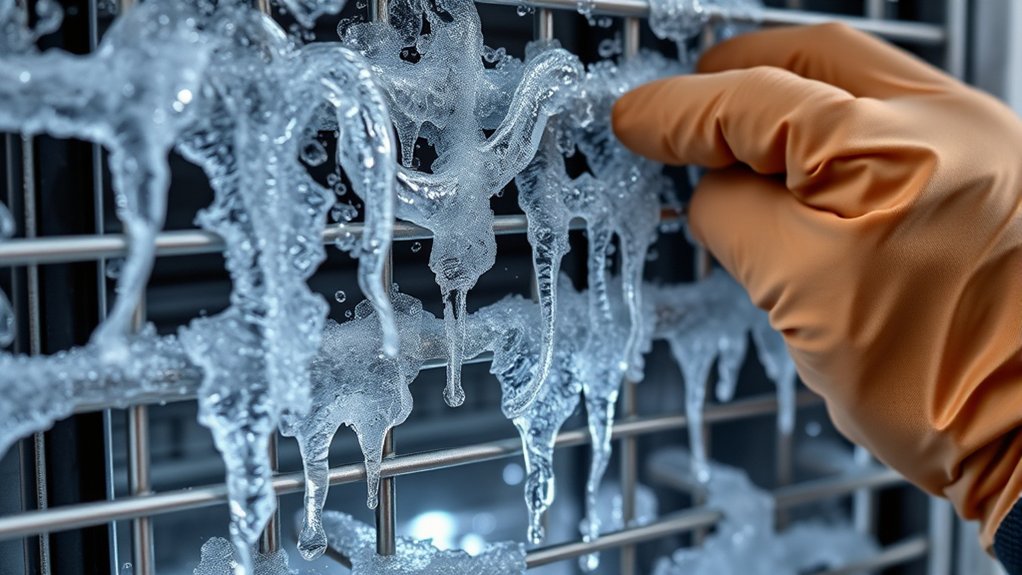
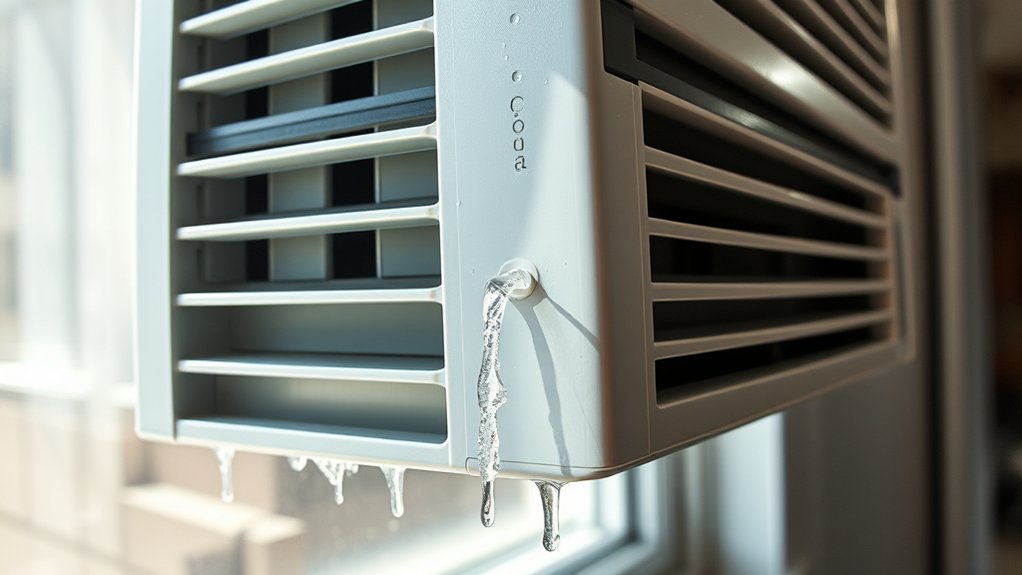
Ice formation on your evaporator coils can cause water leaks from your window AC and reduce its cooling power. When the coil freezes, it’s usually because of poor airflow, low refrigerant levels, or high humidity.
To spot ice buildup, check if the coils are covered in frost or ice while the unit is running. If you see ice, it’s time to take action.
First, turn off your AC and let the ice melt completely. Then, check the air filter—replace it if it’s dirty or clogged. Make sure all vents are open and airflow is unobstructed.
If ice keeps forming, it could mean a refrigerant leak or a thermostat problem. Regular maintenance and quick fixes help prevent coil freezing. Catching ice early stops water leaks and keeps your AC working efficiently.
How to Safely Clear a Clogged Drain Line
A clogged drain line can cause water to back up and leak from your window AC, leading to potential water damage and reduced efficiency. To clear the clog safely, start by turning off the unit and unplugging it.
A clogged drain line can cause leaks and reduce your window AC’s efficiency. Turn off and unplug before clearing the clog.
Locate the drain line, which is usually a PVC pipe or rubber hose at the back or side of the unit. Use a wet/dry vacuum at the drain opening to gently suck out debris or algae buildup.
If the vacuum doesn’t work, try flushing the drain line with a mixture of vinegar and water to break up any blockages. Proper window installation and controlling indoor humidity can help prevent future clogs.
Regular maintenance like cleaning the drain pan and ensuring good ventilation also reduces buildup. Always be cautious around electrical parts, and avoid forcing anything that could damage the drain line.
Clearing the clog ensures your AC runs efficiently and helps prevent leaks.
Replacing Damaged Drain Components to Prevent Leaks
First off, take a good look at your drain pan. If you notice any cracks or signs of corrosion, it’s time to replace it. Damaged pans can easily lead to leaks, which nobody wants.
Next, check out your drain lines. If they’re clogged or broken, it’s best to replace them to make sure water flows out properly. Blocked or damaged lines can cause water to back up and potentially damage other parts of your AC.
Finally, make sure to seal any cracked drain components. Doing this helps prevent leaks from happening again and keeps your AC running smoothly without any hiccups.
Inspect Drain Pan Condition
Have you checked whether your drain pan is cracked or damaged? A compromised drain pan can cause water leaks and affect your window insulation, reducing the unit’s efficiency.
To inspect it:
- Remove the cover and carefully examine the pan for cracks, corrosion, or warping.
- Check for mineral buildup or debris that might block water flow.
- Verify the pan sits properly and isn’t displaced, which can cause noise or leaks.
If you find damage, replace the drain pan promptly to prevent water leaks. A new, intact pan helps maintain proper drainage, supports noise reduction, and keeps your window AC operating smoothly.
Regular inspection ensures your unit stays efficient and leak-free.
Replace Clogged Drain Line
Wondering why your window AC is still leaking water even after inspecting the drain pan? The issue could be a clogged drain line. Over time, debris, dirt, or algae can block the line, preventing proper drainage.
Start by turning off your unit and locating the drain line, usually a small PVC pipe. Clear any visible obstructions with a pipe cleaner or a vacuum. You might also want to check the thermostat calibration, as incorrect settings can cause excess condensation.
Adjust the fan speed to ensure ideal airflow and reduce moisture buildup. If the drain line remains clogged, consider replacing the damaged or faulty section to prevent future leaks.
Proper maintenance of this line is essential for efficient operation and preventing water leaks.
Seal Cracked Drain Components
When inspecting your drain line, you might notice cracks or damage in the drain components that can lead to leaks. To prevent this, you need to seal cracks and replace damaged drain components. Here’s what to do:
- Carefully remove the damaged drain component.
- Thoroughly clean the area to ensure a good seal.
- Apply a waterproof sealant to the cracked or damaged parts.
- Replace the component and tighten it securely.
- After sealing and replacing parts, check for leaks.
Sealing cracks in your drain components prevents water from escaping and causing leaks. Make sure to use a sealant suitable for AC systems to get a long-lasting fix. Proper maintenance of drain components keeps your AC running smoothly and leak-free.
Signs You Need a Professional AC Repair
If your window AC starts leaking water unexpectedly, it’s a clear sign that something isn’t working right and needs professional attention. Water leaks can point to issues like clogged drain lines or refrigerant problems that affect your unit’s efficiency.
When your AC isn’t running smoothly, it uses more power, which can lead to higher energy bills. Plus, a malfunctioning unit often makes more noise, disrupting your comfort.
If you notice persistent leaks, increased noise, or a drop in cooling performance, it’s time to call in a professional. Addressing these signs quickly helps keep your AC running efficiently, saving you money and preventing further damage.
A skilled technician can diagnose the root problems, optimize your unit’s operation, and restore its energy efficiency. Don’t ignore these signs; timely repairs will keep your AC quiet, effective, and energy-efficient.
Preventive Tips to Avoid Future Water Leaks
Regular maintenance is key to preventing water leaks in your window AC. Keeping it clean and in good shape helps improve energy efficiency and reduces noise.
To avoid future leaks, consider these tips:
- Clean or replace the air filter regularly. A clogged filter makes your unit work harder, which can lead to leaks and more noise. Plus, it boosts energy efficiency.
- Check the drainage pan and drain line for clogs or damage. Clearing blockages helps prevent water from overflowing and causing leaks.
- Inspect the seals around your unit. Proper sealing keeps warm air out, reducing excess condensation and leaks. It also helps with noise reduction.
Following these simple steps keeps your AC running smoothly, saves energy, and minimizes noise, helping you avoid leaks before they happen.
Top Signs Your Window AC Needs Maintenance
Noticing odd noises, reduced cooling performance, or water leaks are clear signs your window AC needs maintenance. If your indoor plants seem less healthy or overwatered, it could be a sign your AC isn’t working properly. Excess water might be leaking or causing humidity issues.
Water leaks from your unit often mean clogged drainage or refrigerant problems, so don’t ignore them. If you see streaks or dirt on your window, it’s time to clean—dirt buildup can block airflow and make cooling less effective.
Reduced airflow or uneven cooling suggests internal parts need attention, possibly from a professional. Keep an eye on your unit and its surroundings. Regular window cleaning helps prevent dust and debris from causing bigger issues.
Addressing these signs early keeps your window AC running smoothly, prevents leaks, and keeps your indoor space comfortable and safe.
Frequently Asked Questions
Can Window AC Leaks Cause Water Damage to My Wall or Window Frame?
Yes, window AC leaks can cause water damage to your wall or window frame. When the window seals fail or there’s too much condensation, water can escape and seep into the surrounding areas.
This moisture can weaken the wall or frame over time, which might lead to mold or rot. To avoid damage, regularly check the seals, clear the drainage paths, and make sure the installation is proper.
Doing these simple things can help minimize leaks and condensation problems, keeping your walls and window frames safe.
How Often Should I Inspect My Window AC for Leaks?
Think of your window AC as a vigilant guardian. Regular inspections help keep it in top shape. You should check for leaks at least once a month, especially during peak use or after heavy rain.
Follow simple maintenance tips like cleaning filters and making sure the drainage is clear. This helps prevent leaks and keeps everything running smoothly.
Staying proactive means you’ll catch any issues early. That way, you protect your wall and window frame from water damage and ensure your AC runs efficiently all season long.
Are There Specific Types of Window AC Units Less Prone to Leaks?
Certain window AC units are less prone to leaks, especially those with better maintenance features. Look for models with an accessible drain pan and a well-designed drainage system, as these help prevent water buildup.
Regularly inspecting and cleaning the drain pan ensures proper drainage. Units with efficient condensate management are less likely to leak.
Choose a model known for reliable drainage and easy maintenance to reduce leak risks.
What Are the Environmental Factors That Can Increase Leak Risks?
Think of your window AC as a sponge soaking up excess moisture. High outdoor humidity causes more condensation inside, which can increase leak risks.
External debris like leaves or dirt can also block the drain line, leading to water backup and leaks.
To prevent this, keep the area clear and make sure your drainage is working properly.
Monitoring indoor humidity levels and keeping your unit clean help prevent leaks and avoid watery surprises.
Is It Safe to Use DIY Methods to Fix Water Leaks on My Own?
DIY repair can be safe if you follow proper safety precautions, but it’s important to know your limits. Make sure the unit is unplugged before working on it, wear protective gear, and work in a well-ventilated area.
If you’re unsure or uncomfortable with any step, it’s best to call a professional. Taking these safety steps helps prevent injuries and avoids causing more damage.
Conclusion
If your window AC is leaking water, don’t ignore it. Think of it as your home’s heartbeat, and ignoring it could lead to bigger problems.
By following some simple steps like checking for blockages, making sure your unit is properly installed, and replacing any damaged parts, you can stop that leak fast.
Regular maintenance is key to keeping your AC running smoothly. It saves you from costly repairs and keeps you cool during even the hottest days.
Remember, fixing a leaking window AC is essential to prevent water damage and ensure your unit works efficiently.