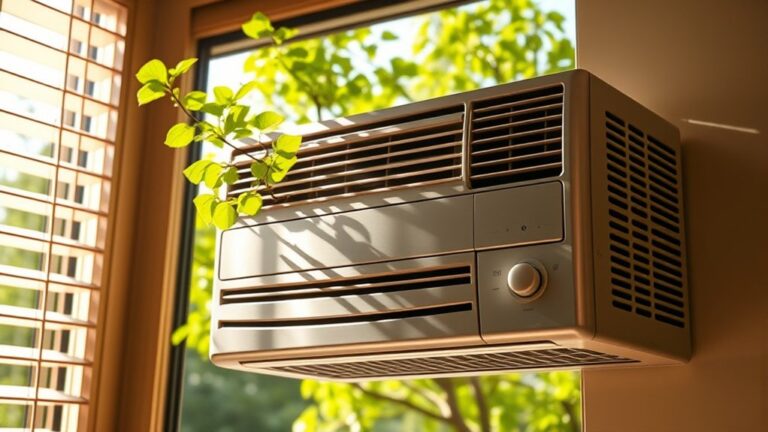
How to Diagnose My Window AC Not Blowing Cold Air
If your window AC isn’t blowing cold air, you’re not alone—many people struggle with this frustrating issue during the hotter months.
Luckily, a few simple troubleshooting steps can often get your unit back to cooling efficiently.
Start by checking the thermostat settings and confirm the unit’s powered correctly.
Inspect and replace the air filter if dirt or dust clog it.
Clean the condenser coils and look for visible damage or dirt.
Verify refrigerant levels and check for leaks, making sure no vents or airflow paths are blocked.
Test electrical components and fuses.
For more troubleshooting tips, continue exploring how to keep your AC running efficiently.
Key Takeaways
- Make sure your thermostat is set to “cool” and the temperature is below the current room temperature.
- Check the air filter; if it’s dirty or clogged, replace it to ensure good airflow.
- Look at the condenser coils for dirt, debris, or damage, and clean them if needed.
- Confirm that the refrigerant levels are adequate. Low levels might mean leaks or other system problems.
- Listen to the compressor to see if it’s running properly. Watch out for strange noises or if it’s running constantly.
How Can I Tell If My Window AC Isn’t Blowing Cold Air?
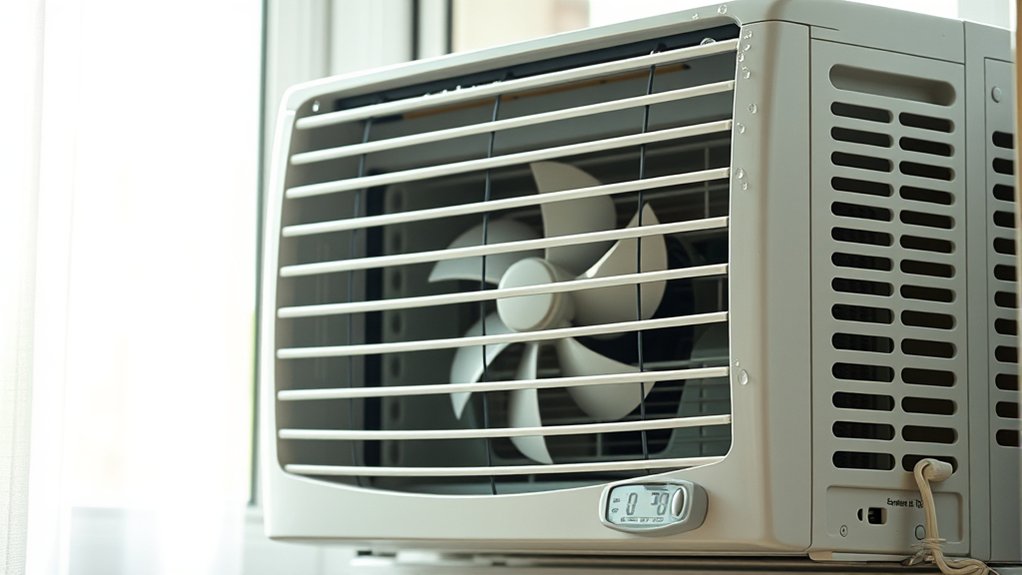
If your window AC isn’t blowing cold air, start by checking if the unit is producing any cool breeze at all. Feel near the vents—if there’s no cool air, your AC might be struggling with efficiency.
Less effective cooling can be caused by dirty filters or low refrigerant. These issues force the unit to work harder and reduce its overall performance.
Dirty filters or low refrigerant can make your AC work harder, reducing cooling efficiency and performance.
Pay attention to noise levels too. An unusual or loud noise could point to a mechanical problem that impacts cooling. If your AC runs but doesn’t produce cold air, it’s probably not operating at its best.
Also, if the air isn’t as cool as it used to be or feels lukewarm, that’s a clear sign something’s off. Spotting these signs early can help you troubleshoot whether you need a simple fix or professional repair.
Check Your Thermostat Settings and Power Supply First
Before jumping into complex repairs, make sure your thermostat is set correctly and your unit is getting power. A miscalibrated thermostat can stop your AC from cooling, so double-check its settings and make sure it’s on “cool” mode.
Also, check that the thermostat’s temperature is set lower than the current room temperature to trigger cooling. Next, inspect the power supply:
- Power outlet safety: Make sure the AC is plugged into a working outlet. Test the outlet with another device to confirm it’s providing power.
- Circuit breaker: Look at your home’s circuit breaker or fuse box. Reset any tripped breakers or replace blown fuses.
- Thermostat calibration: If your thermostat is digital, recalibrate it if possible or replace it if it’s faulty. Proper calibration helps ensure it signals your AC to start cooling.
These simple checks can save you time and prevent unnecessary repairs.
How to Inspect and Change Your Air Filter
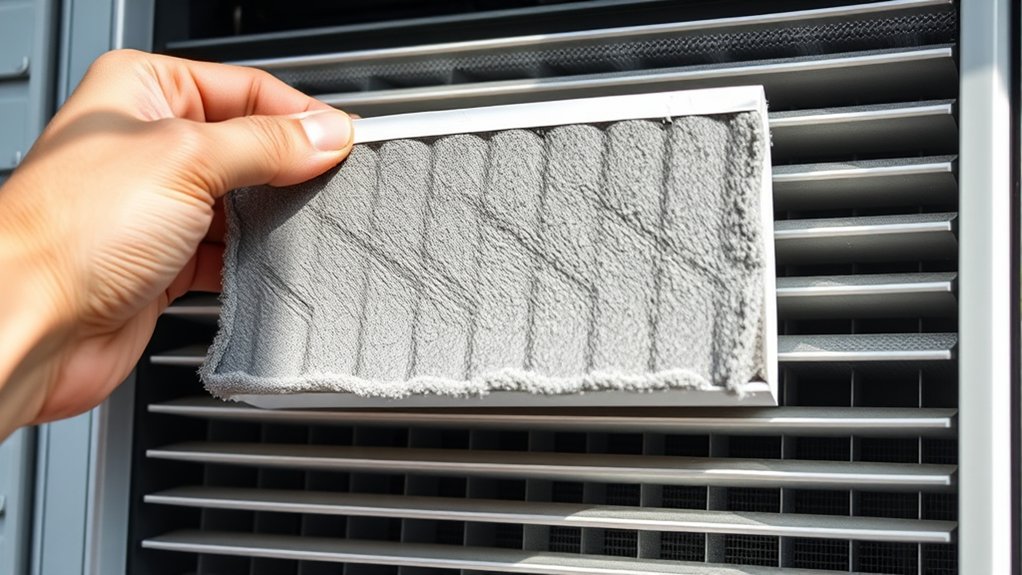
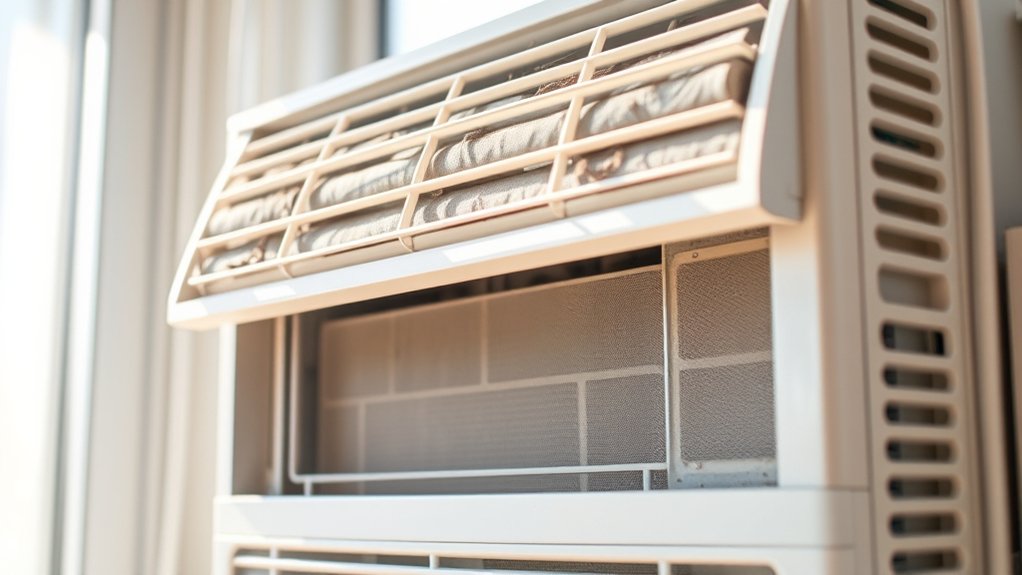
First, find your air filter — it’s usually near the front panel or on the side of your AC unit. Once you’ve found it, take a good look at it. If it’s covered in dust or dirt, then it’s probably time to swap it out.
If you need to replace it, just get a new filter that fits your unit. Doing this helps your AC run smoothly and keeps the air blowing cold and fresh.
Locate the Air Filter
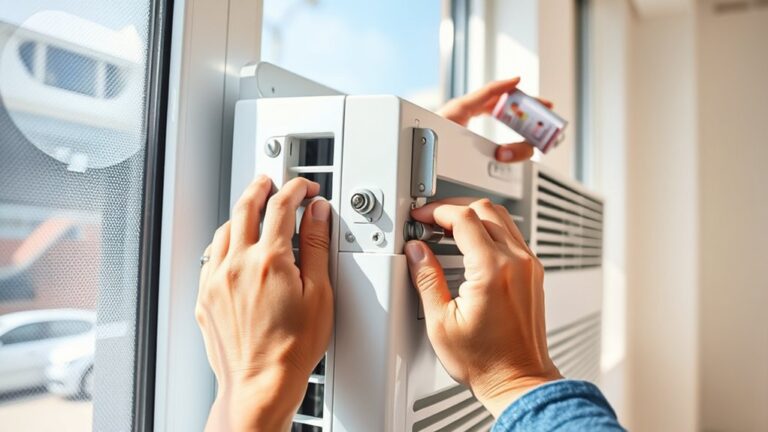
Where exactly is the air filter located in your window AC? Usually, it’s behind the front grille or access panel. To find it, gently remove the cover—this will reveal the filter, which is often a rectangular piece of mesh or foam.
Once you spot it, you’ll feel a mix of relief and determination, knowing you’re taking control. Carefully remove the old air filter, feeling a sense of accomplishment.
Check its condition—if it’s dirty or clogged, it’s time to replace it. Prepare to install a fresh filter, knowing you’re improving airflow and cooling efficiency.
Locating and replacing the air filter is simple but essential for your window AC to perform at its best.
Check Filter Condition
To keep your window AC running efficiently, it’s important to check the air filter regularly. A dirty or clogged filter blocks airflow, which can reduce cooling and boost your energy bills.
Regular filter maintenance helps maintain good airflow and keeps your system working well. Look for dust, stains, or clogs on the filter. If you see any of these, it’s time to clean or replace it.
A clean filter is ideal and needs no action. If it’s slightly dirty, clean it soon. If it’s dirty, replace or clean it. When it’s very dirty or clogged, replace it immediately to prevent airflow issues and keep your AC running smoothly.
Replace if Necessary
If your air filter looks dirty or clogged when you check it, it’s time to replace it. This helps ensure proper airflow and keeps your cooling efficient. A clean filter makes your window AC run smoothly and quietly.
When replacing the filter, follow these simple steps:
- Pick a filter that matches your unit’s specs for better energy savings.
- Insert the new filter correctly to keep airflow steady and noise low.
- Check and replace filters every 1-3 months to stay efficient and quiet.
Replacing your air filter not only boosts cooling but also helps your AC last longer. Good airflow improves energy use and cuts down on noise, making your space more comfortable. Don’t wait—keep your AC running at its best.
Clean and Examine the Condenser Coils for Dirt or Damage
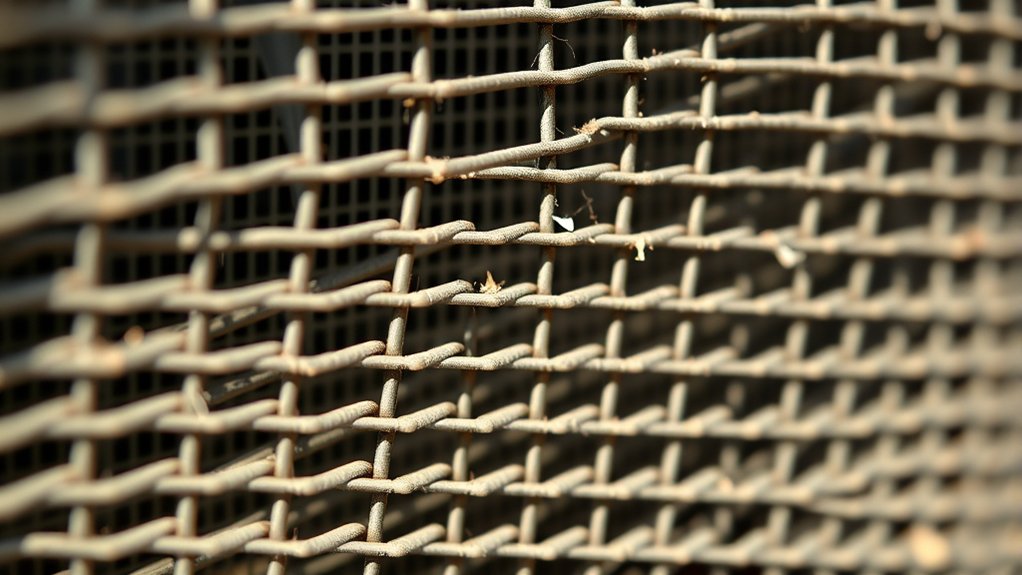
First, see if the condenser coils are easy to get to and accessible. Give them a quick look to spot any dirt, debris, or obvious damage. These can block airflow or mess with how well the system cools.
If you notice a lot of dirt or any damage, it’s a good idea to clean the coils or replace them if needed. Doing this will help your system run smoothly and keep everything working at its best.
Check Coil Accessibility
Ensuring easy access to the condenser coils is key before cleaning or inspecting them. If you find it hard to reach the coils, it can make your inspection more difficult and cause you to miss potential issues.
To improve access, start by clearing the area around your AC. Remove any obstructions or debris that might block your view or hinder your movement.
Next, carefully remove any protective grills or panels. Be gentle so you don’t damage clips or fasteners that hold them in place.
Then, inspect the coils for any visible damage or blockages. Look for dirt buildup or bent fins that could affect performance.
Inspect for Dirt Buildup
Dirt and debris can quickly build up on your condenser coils, making it harder for your AC to do its job. This buildup blocks airflow and reduces cooling efficiency.
Dust on the coils creates a layer that stops heat from escaping. This makes it tougher for the coil to release heat, which can cause your unit to work harder.
To check for dirt, turn off your AC and find the condenser coils—usually outside the window unit. Carefully look over them for dirt, dust, or debris.
If you see a lot of buildup, gently clean the coils with a soft brush or a vacuum with a brush attachment. Just be careful not to damage the fins with harsh tools.
Keeping the coils clean helps ensure good airflow and proper heat dissipation. Regular inspections and cleaning can really boost your window AC’s cooling and energy efficiency.
Identify Physical Damage
Before proceeding with cleaning, it’s important to carefully examine your condenser coils for any physical damage, such as bent fins, cracks, or holes. Look for cosmetic scratches that might seem minor but can affect performance. Damage to the fins or surface can hinder airflow, reducing cooling efficiency.
Take these steps:
- Check for bent or crushed fins, which can block airflow.
- Inspect for cracks or holes that might leak refrigerant or let debris inside.
- Notice any cosmetic scratches or damage that could indicate rough handling or impact.
Be thorough—physical damage can significantly impair your AC’s ability to cool. Addressing these issues ensures your unit functions properly and restores cold airflow.
How to Check Refrigerant Levels and Detect Leaks
Checking refrigerant levels in your window AC is an important step to figure out if low refrigerant is why it’s not blowing cold air. Low refrigerant usually means there’s a leak, so you’ll want to detect that before adding more refrigerant.
To check, use a manifold gauge set to measure the pressure in the system. If the readings are below the recommended level, it’s a sign you have low refrigerant.
| High Pressure | Low Pressure |
|---|---|
| Indicates adequate refrigerant | Indicates low refrigerant |
| Normal operation | Possible leak |
| Check for leaks if pressure is low | Refill refrigerant after leak detection |
If you think there’s a leak, don’t just add refrigerant blindly. Look for oil residue or dye around fittings, coils, and joints to find the leak. Proper leak detection helps ensure you recharge your AC with the right amount of refrigerant and avoid causing more damage.
Is the Compressor Running Properly? Signs to Watch For
The compressor is the heart of your window AC, and if it’s not running properly, your unit won’t blow cold air. Pay attention to signs that indicate trouble.
First, listen for unusual compressor noise—loud rattling or knocking sounds can signal issues. Second, check if the compressor runs continuously without cycling off; this could mean it’s overworking or failing.
Listen for loud rattling or knocking sounds from the compressor as a sign of trouble.
Third, consider the compressor’s lifespan—if your unit is older, it may be nearing the end of its life, especially if the compressor noise has worsened over time. These signs suggest that the compressor isn’t functioning well, which impacts cooling performance.
Ignoring these indicators risks damaging the compressor further, leading to costly repairs or replacement. Regularly monitoring compressor noise and operation can help you catch problems early.
This way, you can keep your window AC working efficiently when you need it most.
Ensure Nothing Is Blocking Airflow or Vents
Make sure there’s nothing blocking your AC’s vents or airflow paths. Take a quick look around to see if furniture, curtains, or debris might be getting in the way. Clearing out any obstructions helps the air flow smoothly and ensures your AC can cool your space properly.
Check for Obstructions
Often, the simplest reason your window AC isn’t blowing cold air is that something is blocking the airflow or vents. Check for obstructions like furniture, curtains, or debris that could be hindering airflow.
Make sure your air filter is clean because a clogged filter reduces efficiency and airflow, causing the unit to struggle. Also, verify refrigerant levels since low refrigerant can prevent the AC from cooling properly.
Here are the key points to focus on:
- Remove any objects blocking vents or air intake areas.
- Replace or clean the air filter to ensure unobstructed airflow.
- Confirm refrigerant levels are adequate; low refrigerant hampers cooling performance.
Addressing these issues can restore proper airflow and improve your AC’s cooling efficiency.
Clear Vent Blockages
To ensure your window AC cools properly, check for anything blocking the vents or air intake areas. Start by inspecting the air vent for dust, debris, or anything that might block airflow.
If the vent is dirty or covered, it can restrict the airflow and make your unit less efficient. Remove any objects or debris and clean the vent thoroughly.
Make sure nothing is blocking the air intake area behind or around the unit. Good airflow is key to good cooling, so clear any obstructions.
Regularly checking and maintaining the air vent helps your AC run smoothly and keeps cold air flowing freely.
Ensure Proper Airflow
Ensuring proper airflow is key for your window AC to cool effectively. Check that nothing is blocking the vents or air intake areas.
Blockages can reduce indoor air quality and make your unit work harder, wasting energy. To improve airflow:
- Remove furniture, curtains, or debris near vents to keep the air moving freely.
- Clean or replace filters regularly to maintain good indoor air quality.
- Make sure vents are fully open and clear of obstructions for the best cooling performance.
Test Electrical Components and Fuses in Your AC
When diagnosing why your window AC isn’t blowing cold air, checking the electrical components and fuses is an important first step. Start with electrical testing to make sure power is flowing correctly through the unit.
Look for any blown fuses because inspecting fuses can often reveal simple issues. Use a multimeter to test for continuity in fuses and electrical connections. If you find a blown fuse, replace it with one of the same rating.
Check the wiring to ensure all connections are secure and undamaged. Loose or damaged wires can interrupt the power supply and cause the problem. Also, confirm that the outlet is providing the proper voltage to the unit.
When Should You Call a Professional for Repairs?
While some AC problems can be fixed with basic troubleshooting, there are times when calling a professional is the safest and most effective option. If your window AC is causing persistent issues that affect energy efficiency or produce unusual noise levels, it’s time to seek expert help.
You should call a professional if:
- The unit isn’t cooling effectively despite clean filters and proper settings.
- You notice excessive noise, indicating possible motor or compressor problems.
- Your energy bills spike unexpectedly, suggesting the AC is working harder than it should.
Ignoring these signs can lead to further damage, decreased efficiency, and higher repair costs. A professional technician can diagnose underlying issues, optimize your AC’s performance, and ensure it operates quietly and efficiently. Don’t compromise on comfort or safety—know when to call in the experts.
Tips to Maintain Your Window AC and Prevent Future Problems
Regular maintenance of your window AC can keep it running smoothly and help you avoid costly repairs down the line. To boost energy efficiency, regularly clean or replace filters. Clogged filters make your unit work harder, which uses more energy.
Keep the condenser coil free of dirt and debris. This improves airflow and cooling performance. Schedule seasonal maintenance before summer to ensure your AC operates at peak efficiency.
Check for leaks or gaps around the unit. This prevents cool air from escaping and reduces strain on the system. Keep the drain pan and drain line clear to avoid water buildup that could cause damage or mold growth.
Lubricate moving parts if needed, following manufacturer guidelines. These simple steps help your window AC run more efficiently, lower energy bills, and extend its lifespan.
Consistent seasonal maintenance saves you money and keeps your cooling system dependable when you need it most.
Frequently Asked Questions
What Are Common Causes of a Window AC Not Cooling Effectively?
You might find your window AC isn’t cooling effectively because of a dirty air filter blocking airflow or incorrect thermostat settings.
Check if the air filter needs cleaning or replacing, since a clogged filter can really reduce cooling power.
Also, make sure your thermostat is set to a temperature lower than the current room temperature.
These simple steps can help improve your AC’s performance and keep your space comfortably cool.
How Often Should I Schedule Professional Maintenance for My Window AC?
You should schedule professional maintenance for your window AC at least once a year to keep it running efficiently. Think of it as seasonal servicing, which helps preserve energy efficiency and prevents costly breakdowns.
Regular check-ups ensure your unit operates at its best during peak cooling seasons. Skipping maintenance can lead to decreased performance and higher energy bills.
Can a Dirty Drain Pan Affect Cooling Performance?
A dirty drain pan can really impact how well your cooling system works. When it gets clogged with dirt or mold, water can back up, causing issues.
This backup can reduce efficiency and even lead to leaks. It makes it harder for the AC to drain excess moisture properly.
As a result, the unit has to work harder and might not cool as effectively. Regularly cleaning the drain pan helps keep your cooling performance on point and prevents problems.
What Safety Precautions Should I Take Before Inspecting My AC?
Before inspecting your AC, make sure to turn off the power at the circuit breaker. This helps prevent electrical shocks and keeps you safe.
Wear gloves and safety glasses to protect yourself from any sharp edges or debris that might be around.
Check the air filter; a clean filter helps improve airflow and reduces the strain on your unit.
Always put safety first when dealing with electrical components. If you’re unsure about handling them, it’s best to call in a professional for help.
How Long Does It Typically Take to Diagnose AC Cooling Issues?
Diagnosing AC cooling issues usually takes about 30 minutes to an hour, depending on what’s wrong.
You’ll want to check for refrigerant leaks, which cause insufficient cooling, and look into compressor problems that can block airflow.
If you notice strange noises or the unit isn’t cooling properly, that’s a sign to inspect these components.
Quick, targeted checks help figure out whether a refrigerant leak or compressor issue is causing the problem, which can speed up repairs.
Conclusion
If your window AC isn’t blowing cold air, don’t give up just yet. Try these troubleshooting steps first—you might find the problem before it becomes a bigger hassle.
Regular maintenance is key to keeping your AC running smoothly. But if you’ve tried everything and it’s still not cooling, it’s a good idea to call in a professional.
Remember, sometimes it’s better to get expert help. Better safe than sorry when it comes to fixing your window AC and keeping your home comfortable.