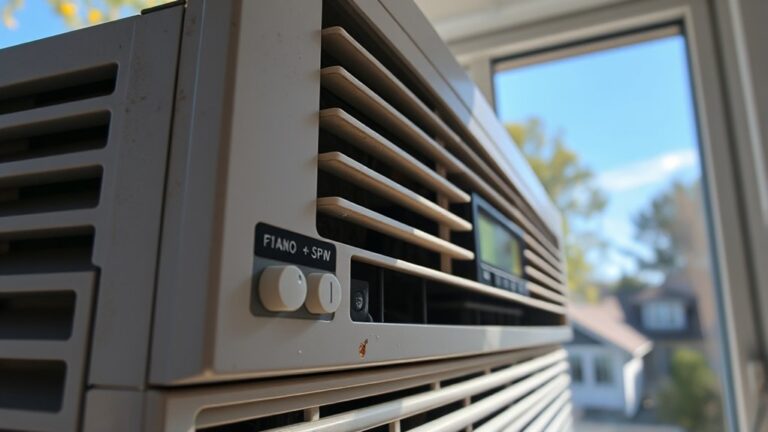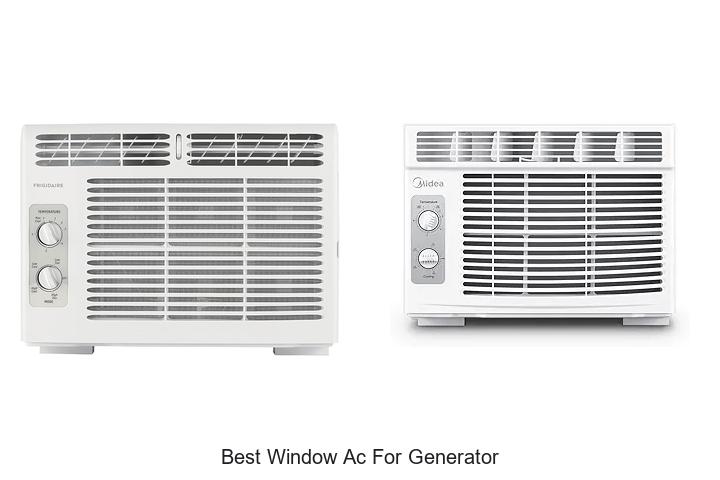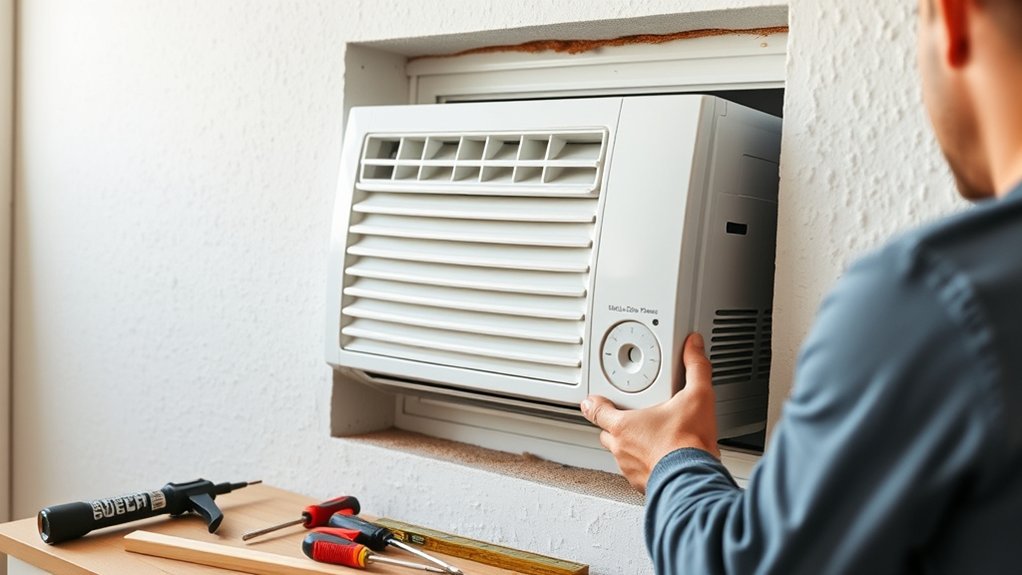
How to Put a Window AC Unit in Your Wall
Many people struggle with keeping their homes cool during the hotter months, especially if they don’t have central air conditioning. Installing a window AC unit in your wall might seem like a daunting task, but you’re not alone in feeling overwhelmed by the process.
To install a window AC unit in your wall, first check if your wall can support the weight and ensure you have a suitable spot away from heat sources and direct sunlight.
Measure and mark the opening carefully, then cut it out using proper tools, making sure not to damage structural elements.
Secure the unit with support brackets, level it, and seal around it with high-quality caulking to prevent leaks.
If you want to know more about the detailed steps, keep going.
Key Takeaways
- Choose a suitable wall that has enough space and can support the weight of the AC unit.
- Measure and mark the opening dimensions carefully based on the unit’s specifications.
- Cut the wall carefully, making sure to avoid any structural elements, and then install a support frame for added stability.
- Seal around the unit with weatherproof caulking and insulation to keep out air and water leaks.
- Mount and level the AC securely, making sure it has proper support and is easy to access for maintenance.
Can Your Wall Support a Built-In AC Unit? How to Check
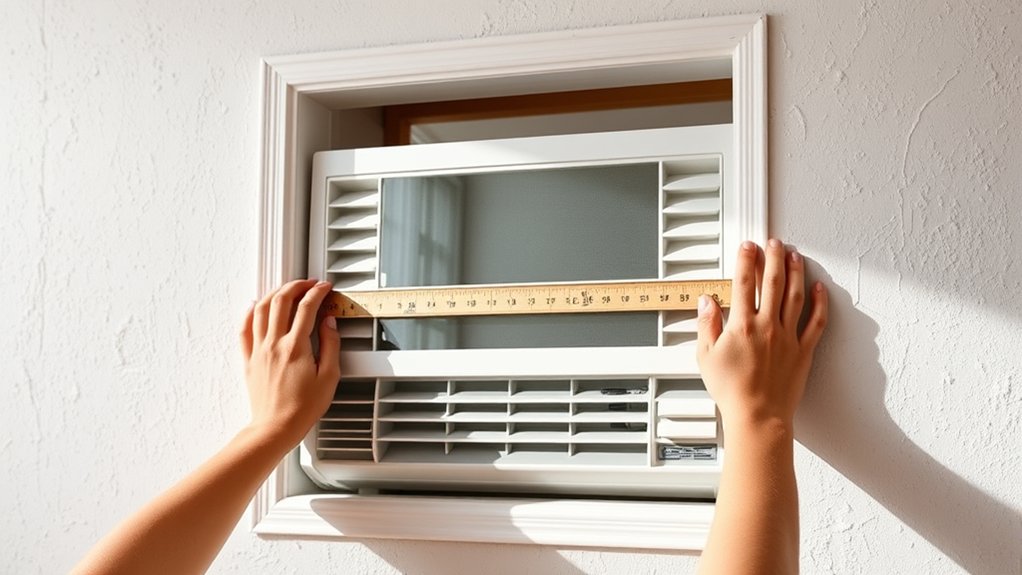
Before installing a built-in AC unit, you need to check if your wall can support its weight and structure. The wall’s durability is key to ensuring safety and stability.
Start by inspecting the wall for any signs of damage, like cracks, rot, or water stains. Support verification is crucial — you should see if the wall can handle the unit’s weight without bowing or collapsing.
Inspect the wall for damage and ensure it can support the unit’s weight safely.
Use a stud finder to locate studs, which give strong support, and confirm where they are. If your wall is made of drywall or plaster, consider the thickness and whether it can bear the extra load.
For masonry or concrete walls, you might need to drill into the material to insert anchors or brackets. When unsure, it’s best to consult a structural engineer or a professional installer to assess your wall’s capacity.
Proper support checks help prevent accidents and ensure your built-in AC stays secure for years to come.
Choosing the Best Spot for Your Wall-Mounted Air Conditioner
Selecting the most suitable spot for your wall-mounted air conditioner is key to maximizing its efficiency and comfort. Start by thinking about window placement—you’ll want the unit to face the main living area for the best cooling.
Avoid putting it directly across from heat sources like ovens or sunlight, as that can make it less effective. Also, consider noise; pick a spot that keeps disturbance to a minimum, especially if you sleep nearby or work from home.
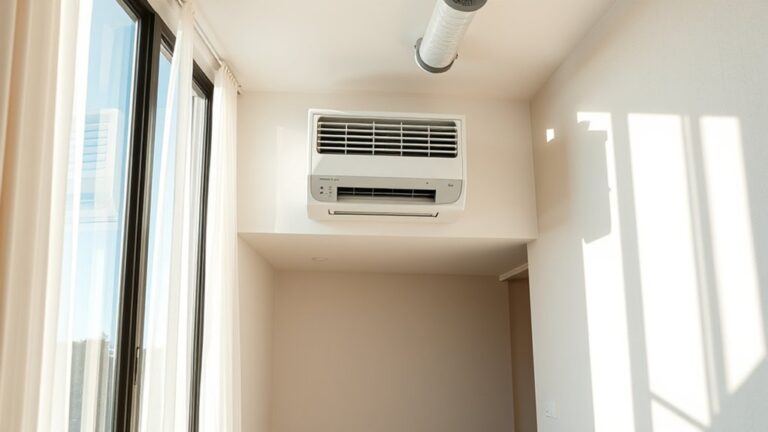
Mounting the unit higher on the wall helps spread cool air evenly and reduces noise. Make sure the spot is accessible for installation and maintenance, and keep it clear of furniture or curtains that could block airflow.
Proper placement improves performance, cuts down on noise, and makes your space more comfortable. Taking the time to pick the right spot really makes a difference in your AC’s efficiency and your overall satisfaction.
Gather the Tools and Materials You’ll Need
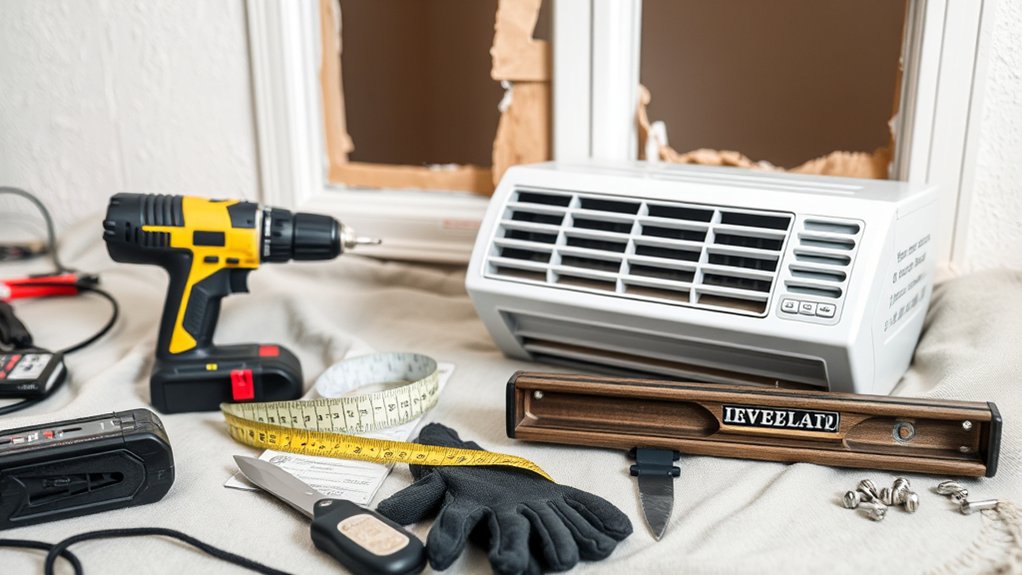
To ensure a smooth installation, it’s best to gather all your tools and materials ahead of time. Start with basic hand tools like a drill, screwdriver, level, and measuring tape.
You’ll also want a utility knife, a saw for cutting drywall or framing, and a stud finder to locate wall studs. Don’t forget safety gear like work gloves and goggles to protect yourself.
Materials include the wall sleeve or bracket designed for your AC unit, insulation, and weatherproofing materials. Think about how the unit’s placement affects air circulation and energy efficiency.
Choose materials that promote proper insulation and sealing to prevent drafts and save energy. Keep a caulking gun and weatherproof sealant handy for sealing gaps and ensuring a tight fit.
Being prepared with these tools and materials makes the installation safer and more efficient. It also helps maximize your unit’s performance and lifespan.
Proper planning now will save you time and effort when it’s time to install.
Measure and Mark the Wall Opening Carefully
When you’re ready to cut into the wall, make sure you have the right measurement tools on hand. Take your time to get the exact size for the opening—accuracy is key here. Once you’ve got your measurements, carefully mark the dimensions on the wall, making sure they match the specs of your AC unit. It’s a good idea to double-check those marks before you start cutting, just to avoid any mistakes. Better to be safe than sorry!
Select Proper Measurement Tools
Have you gathered the right measurement tools? Precise measurements are key for a proper wall opening that fits your window AC unit and allows room for decorative grilles and energy efficiency. To get accurate results, use these tools:
- A tape measure for the exact size of the unit and the opening.
- A level to keep your markings straight and square.
- A pencil or marker for clear, precise lines.
These tools help you measure and mark carefully, preventing gaps that could reduce energy efficiency or make installing decorative grilles difficult. Double-check your measurements before marking to avoid mistakes.
Accurate measurements make sure the wall opening is perfect, making installation easier and ensuring your unit runs efficiently with minimal drafts or heat loss. Using proper tools results in a cleaner, more professional finish.
Mark Accurate Opening Dimensions
Before you start marking the wall, double-check your measurements to make sure they’re accurate. Precise measurements have always helped reduce waste of materials and labor, which is better for the environment.
Use your measuring tools to confirm the dimensions from your earlier calculations. Then, carefully mark the outline on the wall. A clear outline helps prevent mistakes and ensures a snug fit for your AC unit.
Here’s a quick reference:
| Step | Action | Tips |
|---|---|---|
| Measure width & height | Confirm dimensions | Use a level for accuracy |
| Mark corners | Draw outline on the wall | Use a pencil for visibility |
| Check with template | Verify marks match AC unit size | Adjust if needed |
| Consider historical context | Proper marking avoids future repairs | Saves resources |
| Assess environmental impact | Minimize waste of materials | Plan precise cuts |
Accurate marking makes installation easier and reduces waste, which benefits both your space and the environment.
Double-Check Markings Carefully
Double-checking your markings is a crucial step to ensure your window AC fits perfectly and works properly. Accurate markings rely on precise measurement tools and careful attention to detail.
To confirm your markings are correct, re-measure the opening dimensions with a tape measure. Make sure they match your AC unit’s specifications.
Use a level to check that your markings are straight and even. This helps prevent tilting or misalignment once installed.
Double-check your measurements against the manufacturer’s instructions before you make any cuts or drill.
Taking these steps helps avoid costly mistakes and ensures a secure fit. Precise marking saves you time and effort during installation.
It makes the process smoother and more reliable. Focus on measurement accuracy for a safe, professional-looking result.
Cut Out the Wall Opening Safely and Precisely
Before you start cutting, take a moment to double-check your measurements and markings. It’s always better to be sure before making any cuts. Make sure you’re using the right tools, like a reciprocating saw or jigsaw, to get clean and precise cuts. And don’t forget to think about the wall’s structural elements — you want to avoid cutting into anything that could compromise safety or stability.
Measure and Mark Carefully
Ensuring your measurements are accurate is key for a clean, safe installation. Precise marking helps prevent mistakes that could affect the wall’s strength or the unit’s fit.
- Measure the window AC’s dimensions carefully, including height, width, and depth. Use a tape measure and double-check your readings.
- Mark the outline directly on the wall, keeping aesthetic considerations in mind like color coordination. Pick a spot that complements your room’s decor and minimizes visual disruption.
- Use a level to make sure your markings are straight and even. Accurate lines help you cut precisely, reducing waste and avoiding costly mistakes.
Taking your time with measurement and marking results in a seamless, professional-looking installation that blends well with your space.
Use Proper Tools
Using the right tools is essential for cutting out the wall opening safely and accurately. Proper tools guarantee a clean cut, which improves the window replacement process and helps seal gaps effectively, boosting energy efficiency.
Invest in a high-quality reciprocating saw, stud finder, level, and measuring tape. These tools help you avoid mistakes that could weaken the wall or cause injury.
| Tool | Purpose | Emotion |
|---|---|---|
| Reciprocating saw | Cut through drywall and framing | Confidence in precision |
| Stud finder | Locate studs and avoid mistakes | Peace of mind |
| Level | Ensure straight, perfect cut | Satisfaction |
| Measuring tape | Mark accurate measurements | Control and certainty |
Using proper tools makes your project safer, faster, and more energy-efficient.
Ensure Structural Safety
Accurately cutting out the wall opening is essential for maintaining your home’s structural integrity. Before starting, check for existing wall insulation and electrical wiring to avoid damage.
To ensure safety, follow these steps:
- Use a stud finder to locate studs and avoid cutting into load-bearing structures.
- Clear the area of wall insulation and carefully expose electrical wiring, turning off power if needed.
- Mark your cut line precisely, then cut slowly with a drywall saw or reciprocating saw, ensuring clean edges and avoiding hidden wires or pipes.
Install the Support Frame and Mounting Brackets
Have you prepared the support frame and mounting brackets yet? These parts are essential for securely holding your AC unit in the wall.
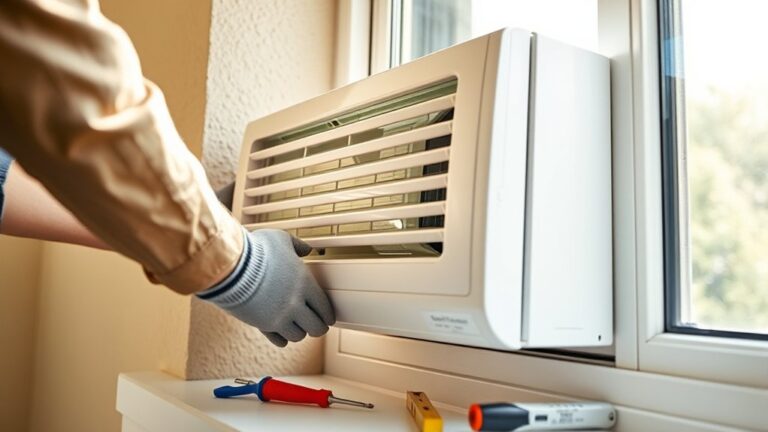
First, position the support frame inside the opening, making sure it’s level and centered. Attach it to the wall using appropriate fasteners, ensuring it’s sturdy enough to hold the weight of the AC unit.
Position the support frame in the opening, ensuring it’s level and centered before securing it with proper fasteners.
Next, install the mounting brackets onto the support frame. These brackets will hold the AC securely once installed. Use a level to check that the brackets are straight, then tighten all bolts firmly.
Double-check that the support frame is firmly anchored and that the mounting brackets are aligned correctly. Proper installation of these parts guarantees stability and safety, preventing any shifting or falling when the unit is in use.
Take your time to double-check all connections and alignments before moving on to the next step.
Secure the AC Unit Into the Wall and Ensure Stability
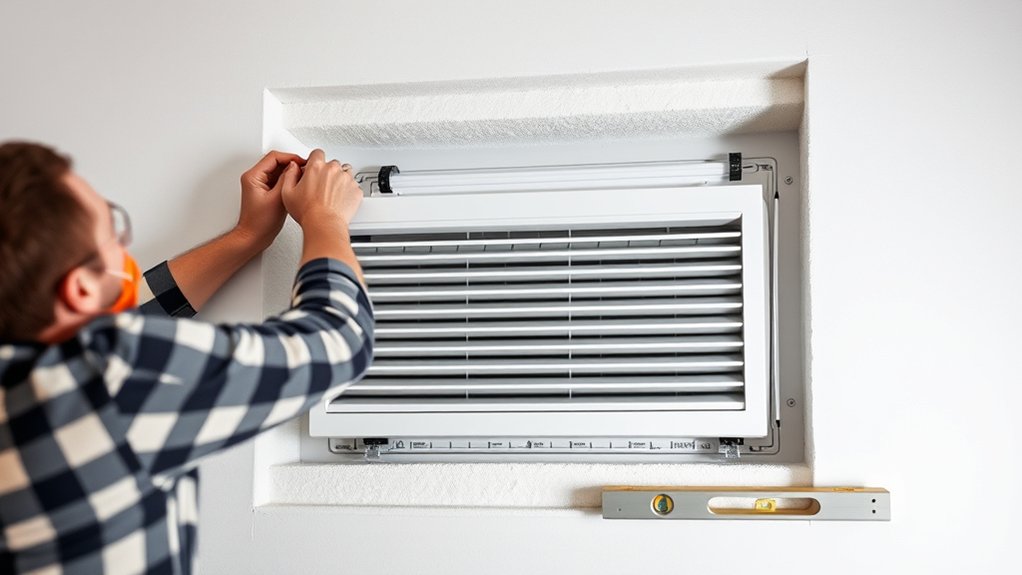
To make sure your AC unit stays secure in the wall, it’s important to properly position the support brackets. Take your time to align them correctly so everything sits straight and balanced. This way, the unit won’t wobble or shift around later on.
When it comes to securing the unit, use the right mounting techniques. Make sure you fasten everything tightly using heavy-duty screws or anchors. This will give you maximum stability and peace of mind, knowing your AC is safely in place.
Support Bracket Placement
Start by locating the support brackets that will hold your AC unit securely in the wall. Proper support bracket placement is key to ensuring stability and safety.
First, determine the wall reinforcement needed, especially if your wall isn’t thick or strong enough. Second, position the brackets so they evenly distribute the weight of the AC unit and align with stud points or reinforcements.
Third, securely attach the brackets using appropriate anchors or screws, making sure they’re level and firmly anchored into the wall’s structure. Proper wall reinforcement combined with accurate support bracket placement prevents the unit from sagging or shifting over time.
This step creates a solid foundation, ensuring your AC unit stays stable and functions safely.
Proper Mounting Technique
Once the support brackets are securely in place, you can proceed to mount the AC unit itself. Carefully lift the unit and align it with the brackets and the wall opening.
Make sure it’s level and seated firmly to maximize energy efficiency, preventing cool air leaks that waste energy. Secure the unit according to the manufacturer’s instructions, ensuring it’s stable and evenly supported.
Proper mounting minimizes vibrations that cause noise, making your space more comfortable. Check that the unit’s insulation and sealing are tight around the edges to prevent drafts and improve overall efficiency.
As you tighten mounting screws, focus on stability to avoid shifting over time. A well-mounted unit reduces operational noise and keeps your cooling system running smoothly.
Secure Fastening Methods
After aligning the AC unit with the support brackets and making sure it’s level, the next step is to secure it firmly into the wall. Proper fastening keeps the unit stable and prevents movement, which helps with energy efficiency.
First, pick the right fasteners, like heavy-duty screws or anchors, that match your wall type. Second, tighten them securely but be careful not to overtighten, as that can damage the unit or wall.
Finally, think about the color options for your mounting brackets and screws. Matching them to your wall’s color can give a cleaner look and reduce visual distraction. Secure fastening not only stabilizes the unit but also improves energy efficiency by preventing gaps that can cause air leaks.
Well-fastened units are safer, look better, and perform more efficiently.
Seal Around the Unit to Prevent Air Leaks and Water Intrusion
Sealing around the unit is essential to prevent drafts, air leaks, and water intrusion that can compromise your wall installation. First, apply a high-quality sealant around the edges of the unit where it meets the wall.
Use a caulking gun to ensure a smooth, even sealant application, filling any gaps or spaces. Proper sealant application creates a tight barrier that keeps outside air out and indoor air in, improving efficiency.
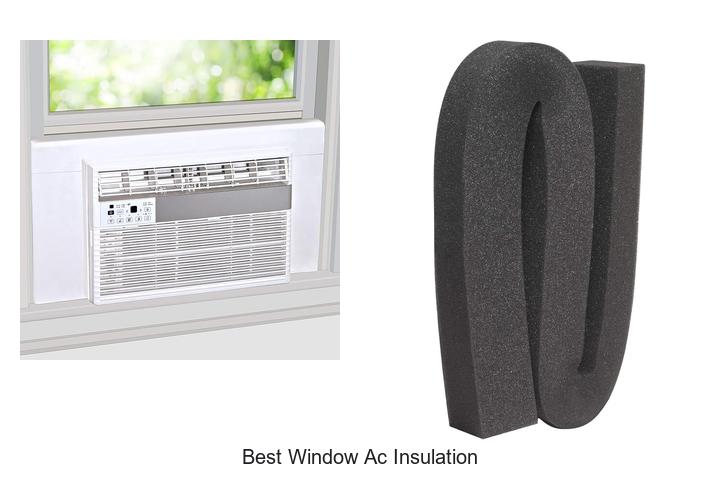
Furthermore, incorporate insulation techniques like foam insulation strips or weatherproofing foam around the perimeter. These materials help fill any remaining voids and strengthen the seal.
Make sure the sealant is compatible with your wall material and can withstand temperature fluctuations. Once in place, smooth out the sealant for a neat finish.
Proper sealing not only boosts energy efficiency but also prevents water from seeping into your wall, protecting your home from potential damage.
Connect Power and Test Your Wall-Mounted AC
Before plugging in your wall-mounted AC, make sure it’s connected properly to a power source and that the circuit can handle the unit’s electrical load. This step helps prevent tripping breakers or damaging the system. Once connected, follow these steps:
- Turn on the power and press the remote control’s power button to activate the unit. Make sure the remote’s batteries are working for smooth operation.
- Check that the unit cools air effectively, showing it’s working efficiently. Adjust the temperature settings as needed for comfort and savings.
- Test the remote control’s functions, like fan speed and mode, to confirm they’re working properly. This way, you can easily control the unit without manual adjustments.
Testing your wall-mounted AC thoroughly helps verify proper installation and optimal operation. It ensures you enjoy energy-efficient cooling and convenient control.
Troubleshooting Common Installation Issues and Maintenance Tips
Even after a successful installation and initial testing, you might encounter some common issues that can affect your wall-mounted AC’s performance. One frequent problem is reduced energy efficiency, often caused by dirty filters or blocked vents. Regularly clean or replace filters to keep airflow and cooling optimal.
Even after installation, regular filter cleaning is essential for optimal AC performance and efficiency.
If your unit seems noisier than usual, check for loose panels or debris around the fan, which can cause vibrations and noise. Proper sealing around the unit also helps improve energy efficiency and reduces noise.
Make sure the unit is level and securely mounted, as misalignment can cause leaks or strain on components. Routine maintenance like cleaning coils and inspecting electrical connections extends your unit’s lifespan and keeps it running efficiently.
Addressing these issues promptly prevents higher energy bills and ensures quieter operation. This keeps your space comfortable and energy-smart.
Frequently Asked Questions
Can I Install a Wall-Mounted AC Unit Myself Without Professional Help?
You can try installing a wall-mounted AC unit yourself, but it’s not always the best idea.
If you’re comfortable with electrical work and basic handyman tasks, you might be able to handle it.
But for safety and proper operation, it’s usually better to get a professional.
This is especially true if the installation involves complex wiring or making structural changes.
Think about your skills carefully before deciding to DIY or hire a pro to ensure a safe and effective setup.
How Do I Ensure Proper Insulation Around the AC Unit?
Think of insulation around your AC like sealing a treasure chest—you want everything secure. To ensure proper insulation, use quality materials like foam or weatherstripping around the unit.
Seal any gaps with caulking or other sealing techniques to prevent air leaks. When I installed mine, sealing every crack made my room cooler and lowered my energy bill.
Proper insulation keeps cold air in and warm air out, making your AC work efficiently.
What Safety Precautions Should I Take During Installation?
During installation, you should prioritize safety by turning off electrical wiring to prevent shocks. Make sure the wall has enough structural support to hold the AC unit securely, preventing accidents.
Use proper tools and wear safety gear like gloves and goggles. Double-check that the electrical connections are correct and insulated, and secure the unit firmly to avoid it falling or causing damage.
These precautions keep you safe and help ensure a proper, long-lasting installation.
How Do I Maintain and Clean the AC Unit After Installation?
Think of your AC unit like a garden; regular upkeep keeps it thriving. To maintain it, regularly clean or replace the air filter to guarantee good airflow and air quality.
Also, gently clean the condenser coil with a soft brush or spray to remove dust and debris. These simple steps prevent strain on the unit, improve efficiency, and extend its lifespan.
Keeping your AC in good shape will help keep your space cool and comfortable all year round.
What Are the Signs That My Wall-Mounted AC Needs Repair or Replacement?
You’ll notice your wall-mounted AC needs repair or replacement if there are unusual noises, inconsistent cooling, or increased energy bills.
Check for issues like faulty electrical wiring, which can cause power problems or sparks, and ventilation gaps that reduce efficiency and lead to leaks or overheating.
If these signs persist despite cleaning and maintenance, it’s time to consider professional repair or replacement to ensure safe and effective operation.
Conclusion
Now, imagine your wall transformed into a cool, refreshing oasis. With some careful planning and steady hands, you’ve turned a simple wall into a gateway to comfort.
As the breeze flows through your newly installed window AC unit, you’ll enjoy a perfect escape from the heat. Keep up with regular maintenance, and your DIY project will keep you cool for years.
This way, every summer feels like a breeze.