6 Easy Steps to Install Portable AC in Casement Window
Many people struggle with keeping their spaces cool, especially during hot summer days. If you’re trying to install a portable AC in a casement window, you’re not alone—many find the process tricky or confusing.
To install a portable AC in your casement window, first make certain the window opens smoothly, clears debris, and seals well to prevent drafts. Choose an energy-efficient unit with the right size for your room. Attach the exhaust hose securely, sealing all gaps to stop warm air leaks.
Test the setup, seal any leaks, and adjust as needed for ideal airflow. Proper maintenance and secure removal can extend your unit’s life and performance—keep exploring for detailed tips.
Key Takeaways
- Make sure the window opens just a little and clean the area so you get a tight, draft-free seal.
- Attach the exhaust hose securely to the window kit and fit it snugly into the window frame.
- Seal all gaps around the window and hose with weather-resistant materials to keep warm air out.
- Check that the AC unit is level and that the vents are positioned for the best airflow.
- Turn on the unit to test everything. Make sure it cools properly and there are no leaks or strange noises.
How to Prepare Your Casement Window for Portable AC Installation
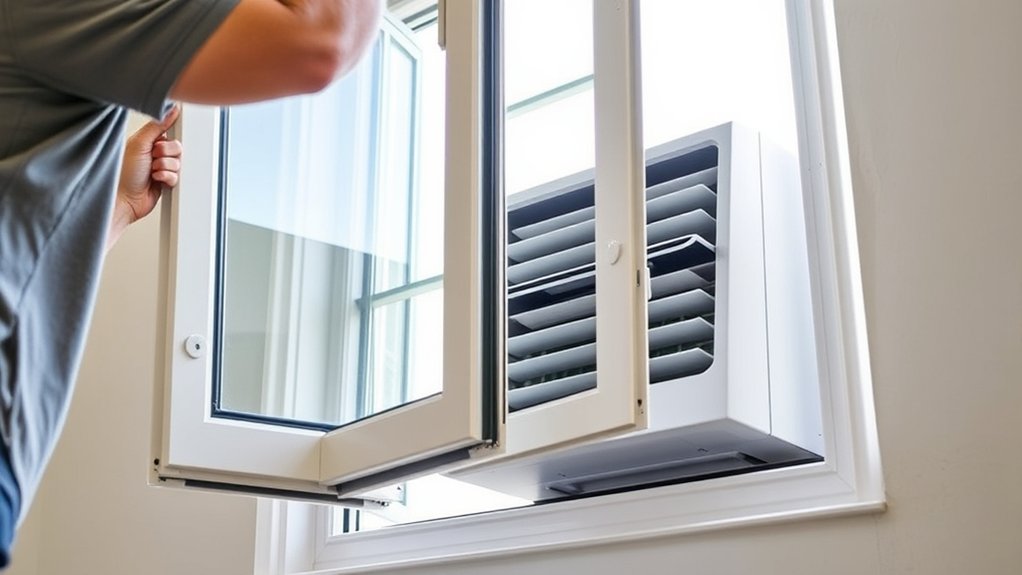
Before installing your portable AC, you need to prepare your casement window properly. Start by checking the window’s seal; adding window insulation strips can help block drafts and improve energy efficiency. Proper insulation guarantees your AC works efficiently and keeps the cool air inside.
Next, verify the window opens smoothly and can stay securely in the open position. Clear any debris or obstructions that might hinder installation. You also want to think about ventilation airflow—make sure the window can be slightly opened for exhaust or ventilation purposes if needed.
If your portable AC kit includes a sealing kit, use it to seal gaps around the unit and window frame. This prevents hot air from entering and cool air from escaping. Proper preparation of your window not only boosts cooling performance but also maintains good ventilation airflow, making your space more comfortable and energy-efficient.
Choosing the Right Portable Air Conditioner and Accessories
Are you unsure which portable air conditioner best suits your space? Focus on energy efficiency to save on power bills and reduce environmental impact. Look for units with high Energy Star ratings—they use less electricity while still cooling effectively.
Pay attention to noise levels; a quieter AC makes your space more comfortable, especially if you plan to run it during sleep or work hours. Check product specs for decibel ratings—aim for models below 55 dB for minimal disruption.
Choose models below 55 dB for quiet comfort during sleep and work.
Also, think about the size of the unit. An oversized AC may cool quickly but can be louder and more costly to run, while a smaller one might struggle with larger rooms. Accessories matter too—look for features like adjustable vents, remote controls, and easy-to-clean filters.
Choosing the right portable AC with these factors in mind will ensure maximum comfort without sacrificing energy efficiency or creating excessive noise.
Installing the Exhaust Hose in a Casement Window
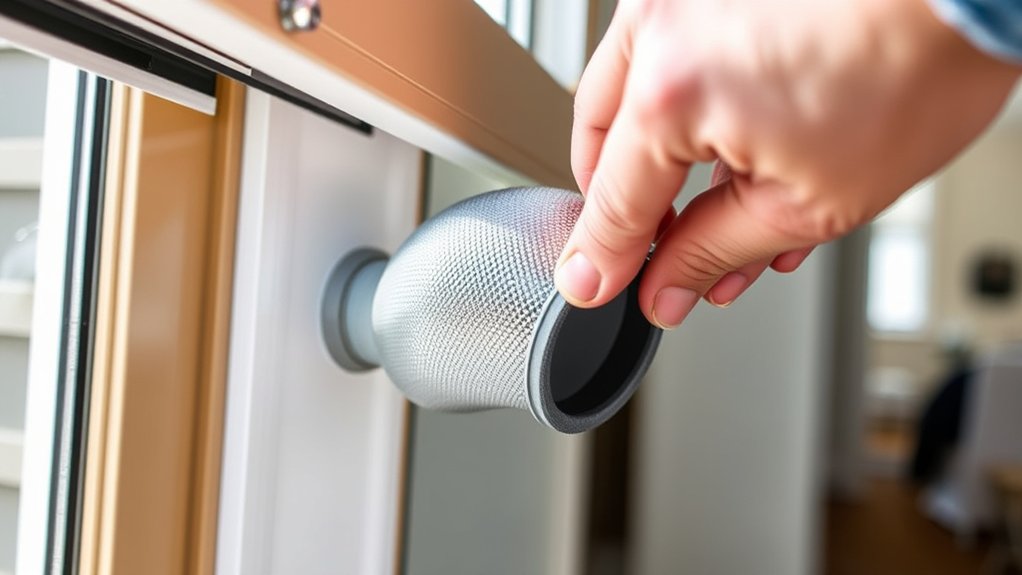
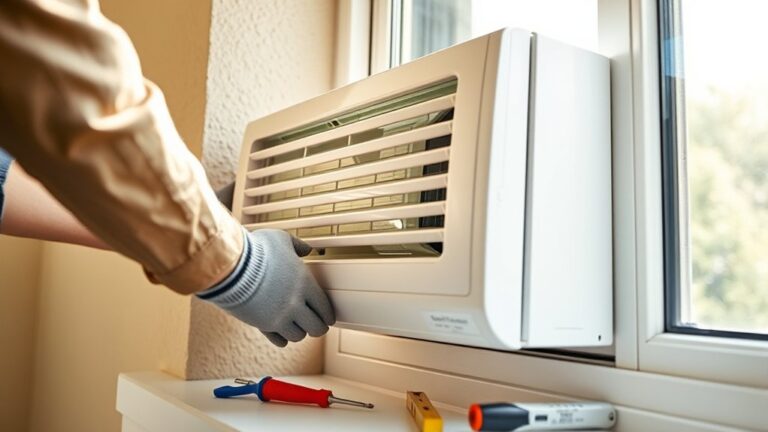
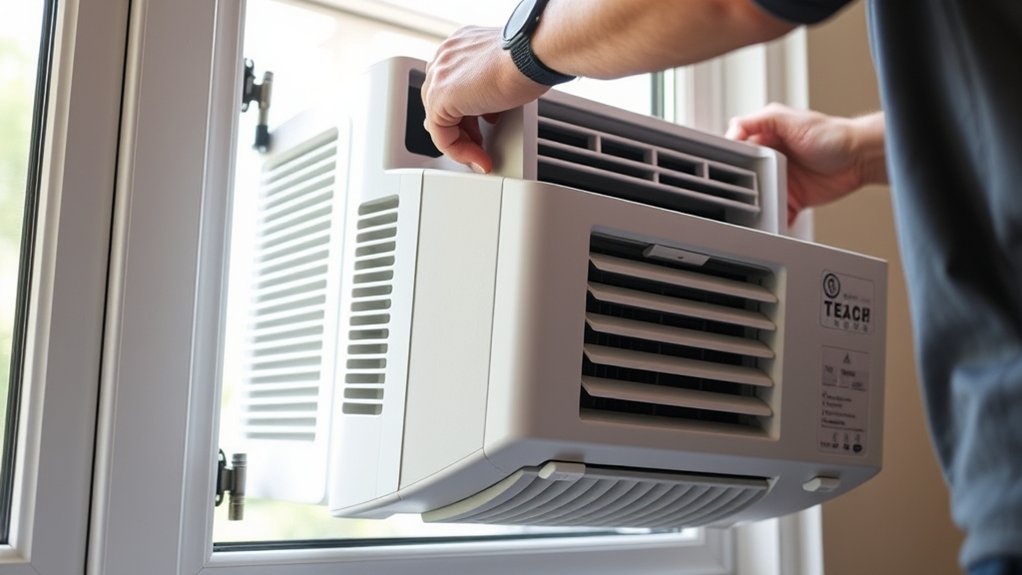
To install the exhaust hose properly, first attach it securely to the window kit. Make sure it fits tightly so there are no gaps. Once it’s attached, check all around to see if there are any places where warm air could sneak in, and seal those up.
After that, go ahead and adjust the hose and the window panel so everything feels snug and stable. This way, your setup will work efficiently, and you won’t have to worry about leaks or the hose coming loose.
Proper Hose Attachment
Have you figured out how to securely attach the exhaust hose to your casement window? Ensuring proper hose attachment is key for effective airflow.
First, check that the hose is compatible with your portable AC model. This helps prevent leaks or disconnections. Use the right size and type of connectors designed for your hose and window kit.
Next, securely fit the hose into the window adapter, making sure it’s snug and stable. Avoid any gaps or loose fittings, as these can reduce airflow and let hot air escape.
Double-check that the hose is properly aligned and fully inserted. This keeps your unit running efficiently and prevents unnecessary noise or energy loss.
Proper hose attachment not only improves cooling but also makes your portable AC easier to use and more effective.
Securing the Seal
Securing the seal around your exhaust hose is key to preventing leaks and ensuring your portable AC runs efficiently. A tight seal cuts down on warm air getting in and boosts ventilation tips, making your cooling more effective.
It also helps reduce noise by stopping vibrations and rattling. To get the best seal, use foam strips or weatherproof tape around the connection points. Make sure the hose fits snugly in the window adapter.
Here’s a quick overview:
| Seal Type | Benefits | Tips |
|---|---|---|
| Foam strips | Noise reduction, ventilation | Apply evenly for a good seal |
| Weatherproof tape | Leak prevention | Cover all gaps carefully |
| Clamps | Secure fit, noise reduction | Tighten firmly for best hold |
Proper sealing helps your AC cool better and operate quietly.
Adjusting for Fit
Since casement windows swing outward, adjusting the exhaust hose for a proper fit needs a bit of flexibility. You might have to extend or shorten the hose to line it up smoothly with the window opening.
If the hose feels loose, add foam or weatherstripping around the edges to improve the seal and increase ventilation. It’s also good to keep aesthetics in mind—try to route the hose along the window frame or hide it with a decorative cover.
Making sure the fit is snug prevents hot air from escaping and cool air from leaking out, which boosts efficiency. Take your time adjusting the hose, ensuring it’s secure and aligned for the best airflow and a clean look.
Sealing and Securing Your Window for Maximum Efficiency
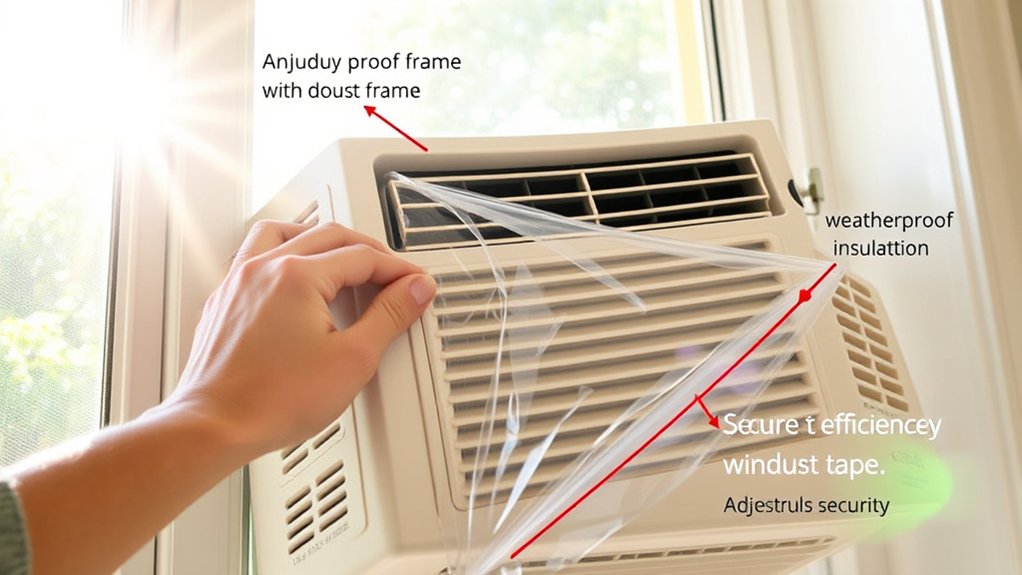
To really get the best performance from your portable AC, it’s important to make sure your window is sealed and secured properly. You want to create an airtight seal around the unit so that cool air stays inside and warm air doesn’t sneak in.
And don’t forget to lock the window securely. This helps keep everything in place, so your AC can work more efficiently without any drafts or movement. It’s a simple step that makes a big difference in keeping your space cool and comfortable.
Proper Seal Installation
Ensuring your portable AC is properly sealed in the window is key to getting the most out of it. Start by inspecting the seal to look for any gaps or leaks around the unit. If you find any, reseal those areas right away.
When choosing materials for sealing, go for durable, weather-resistant options like foam strips, weatherproof tape, or insulating panels. Picking the right materials helps create a tight fit and keeps warm air out while holding cooled air in.
Apply the seal carefully around the edges of the unit, making sure it’s flush against the window frame. Avoid gaps or overlaps that could weaken the seal. A secure, well-sealed setup helps your AC run efficiently.
This not only keeps your room cooler but also reduces your energy costs. Proper sealing makes a big difference in how well your portable AC performs.
Secure Window Locking
Securing the window lock is essential for maximizing your portable AC’s efficiency and preventing drafts. Proper window security ensures no gaps allow warm air or outdoor noise to enter, helping your unit cool more effectively.
Make sure the window lock is tightly engaged after installation. This prevents movement that could compromise the seal and keeps everything secure.
This step also improves ventilation safety, keeping pets or children from accidentally falling out or tampering with the window. Use additional locking devices if needed, especially in casement windows that might not lock firmly on their own.
Testing Your Setup and Troubleshooting Common Problems
Before fully relying on your portable AC, it’s important to test the setup to make sure everything works properly. Start by turning on the unit and checking the remote calibration. Make sure the remote communicates well with the AC and that adjustments respond quickly.
Next, listen for any unusual noises like loud or rattling sounds. These can mean the unit isn’t installed properly or there are loose fittings. If noise continues, try reseating the exhaust hose or adjusting the window seal to reduce noise.
Finally, check the airflow and cooling performance. If the cooling isn’t enough, verify the vent placement and make sure everything is sealed tight. Troubleshoot issues by tightening connections and ensuring the unit is level.
Regular testing helps catch problems early and keeps your AC running efficiently. Addressing remote calibration and noise issues ensures your portable AC runs smoothly, keeps your space comfortable, and lasts longer.
Maintaining and Removing Your Portable AC Safely
Regular maintenance and careful removal of your portable AC are key for safety and to keep it working well. To save energy and reduce noise, clean the filters once a month and check for debris.
When you’re ready to remove the unit, turn it off first and unplug it. This helps prevent any electrical hazards. Gently disconnect the exhaust hose and secure all parts for storage.
Proper storage extends your AC’s lifespan and keeps it performing at its best. Store it in a dry, cool place to protect its components and ensure it’s ready to go when you need it again.
Here’s a quick guide:
| Step | Action | Tip |
|---|---|---|
| Cleaning filters | Remove and wash filters monthly | Improves energy efficiency |
| Unplugging and disconnecting | Turn off, unplug, disconnect hoses | Ensures safe removal |
| Storage | Store in a dry, cool place | Preserves components |
Regular maintenance not only boosts energy efficiency but also helps keep noise levels down, creating a more peaceful environment. Proper removal keeps your unit safe and ready for future use.
Frequently Asked Questions
Can I Install a Portable AC in a Double or Triple Casement Window?
You can install a portable AC in a double or triple casement window, but it’s a bit more complicated.
You’ll need to make sure the window is properly sealed to prevent air leaks and improve cooling.
Think about ventilation options, like using an exhaust kit or creating a seal around the unit.
Measure your window opening carefully and pick an adapter or kit made for multi-pane casement windows to ensure a secure and effective fit.
How Do I Handle Uneven or Irregular Window Frames?
If your window frame is uneven or irregular, start by applying window insulation around the edges to create a seal.
Use shims or adjustable brackets to make frame adjustments, making sure the portable AC fits snugly.
Seal gaps with weatherstripping or foam tape to improve insulation and stop air leaks.
These steps help stabilize the unit and maximize efficiency, even with odd or uneven window frames.
Is There a Specific Height Requirement for Installing the AC?
Did you know that improper installation can reduce your portable AC’s efficiency by up to 20%? When installing, make sure to follow the manufacturer’s height restrictions and guidelines closely.
Most portable AC units are designed to fit within a certain height range to ensure proper airflow and cooling. Check your unit’s specifications to see what height works best.
Aim for a window height that allows a secure, level fit. This helps guarantee your AC performs at its best and keeps everything safe.
Can I Use My Portable AC in a Window That Doesn’T Open Fully?
You can use your portable AC in a window that doesn’t open fully, but you’ll need to consider sealing and ventilation options.
Make sure the unit fits securely and creates a proper seal to prevent air leaks.
If the window doesn’t open enough, you might need extra tools or adapters.
Proper sealing and ventilation are key for efficient cooling and to stop moisture or warm air from getting in.
What Safety Precautions Should I Follow During Installation?
During installation, make sure to unplug the unit before handling any connections. This keeps you safe from electrical shocks.
Ensure the portable AC is securely mounted to prevent falls or damage, especially if you’re installing it in a casement window.
Use the right tools and carefully follow the manufacturer’s instructions to avoid mistakes or accidents.
Check that the power cord and outlet are in good condition. Also, avoid overloading circuits to prevent electrical issues.
Taking these precautions will help keep you safe and ensure your portable AC works efficiently.
Conclusion
Installing a portable AC in your casement window is a straightforward process that can keep your space cool efficiently. Did you know that properly sealing your window can improve energy efficiency by up to 20%?
By following these simple steps, you’ll enjoy a comfortable environment and save on energy costs. Just remember to regularly maintain your unit for peak performance.
Stay cool and confident in your DIY skills, especially when installing a portable AC in your casement window.