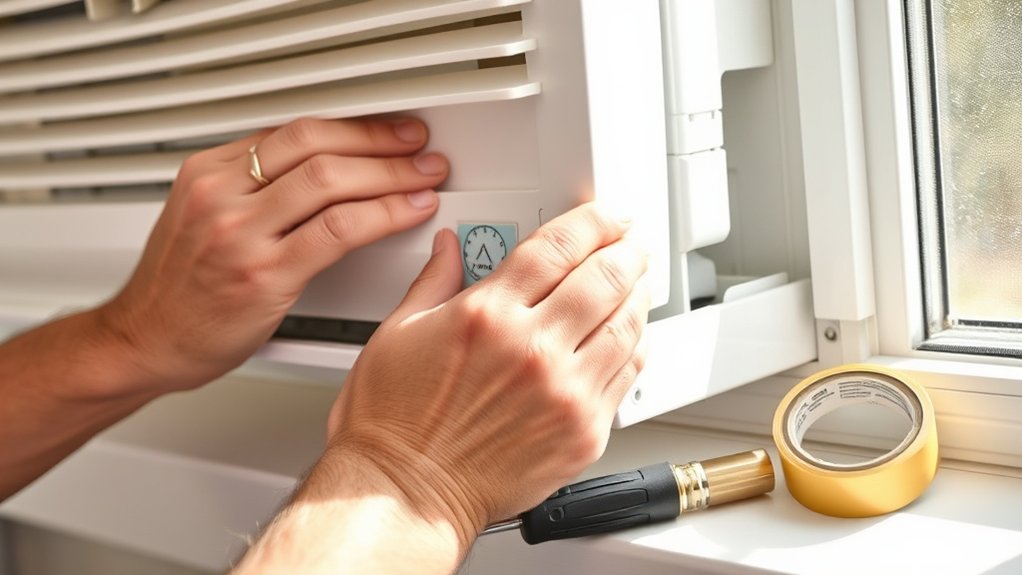
10 Simple Steps to Seal Your Window AC Unit for Efficiency
Many people struggle with keeping their window AC units running efficiently, especially when energy bills start to climb. You’re not alone—sealing your AC can make a big difference in comfort and savings.
To seal your window AC unit efficiently, start by inspecting gaps around the unit and window frame. Use tools like caulk, weatherstripping, or foam tape to fill small and large openings. Clean the area before applying any sealant for better adhesion.
Make sure the window sash fits snugly and secure it properly. Check your seals regularly and replace worn materials.
If you want to learn more tips to keep your AC running smoothly, keep exploring these simple steps.
Key Takeaways
- Check the area around the AC and window frame for gaps or cracks using a flashlight.
- Clean the surfaces thoroughly so the sealing materials stick well.
- Apply weatherstripping or foam tape to seal small gaps around the unit and window edges.
- For larger leaks or uneven spaces, use caulk or expanding foam to get a tight seal.
- Regularly test the seals by feeling for drafts or using smoke or a flashlight to make sure everything stays efficient.
Why Sealing Your Window AC Saves You Money
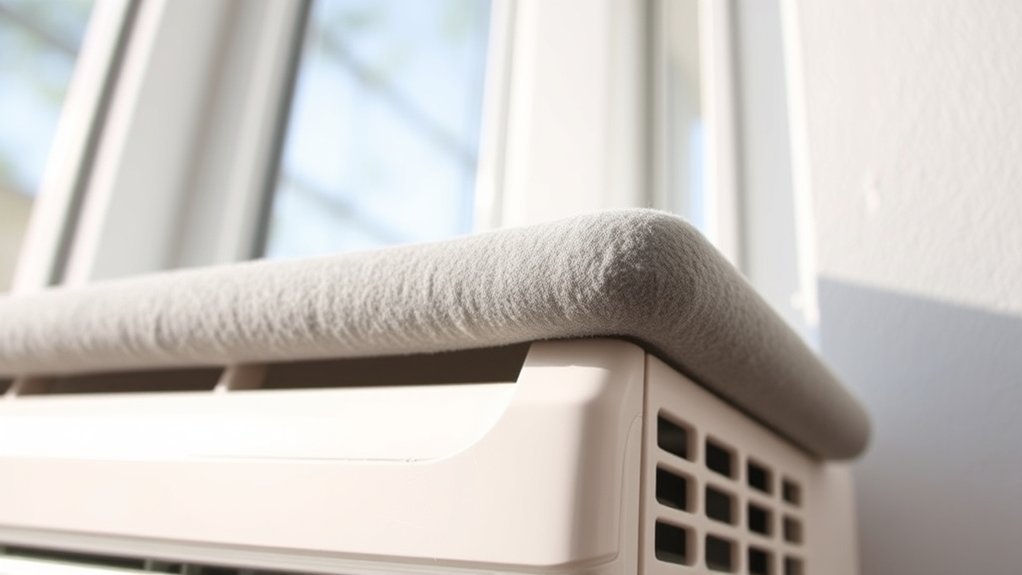
Have you ever noticed how your energy bills spike during the summer? Sealing your window AC unit is a simple step that can significantly cut those costs.
By sealing gaps around your unit, you prevent cool air from escaping and warm air from sneaking in. This helps your AC work less hard, which means lower energy consumption and smaller electricity bills.
Implementing energy-saving tips like sealing leaks isn’t just effective; it’s also cost-effective. When your AC runs efficiently, it uses less energy, so you save money each month.
Plus, sealing your unit can help extend its lifespan, reducing maintenance costs over time. It’s an easy upgrade that offers both immediate savings and long-term benefits.
How Tiny Gaps Reduce Your AC’s Efficiency
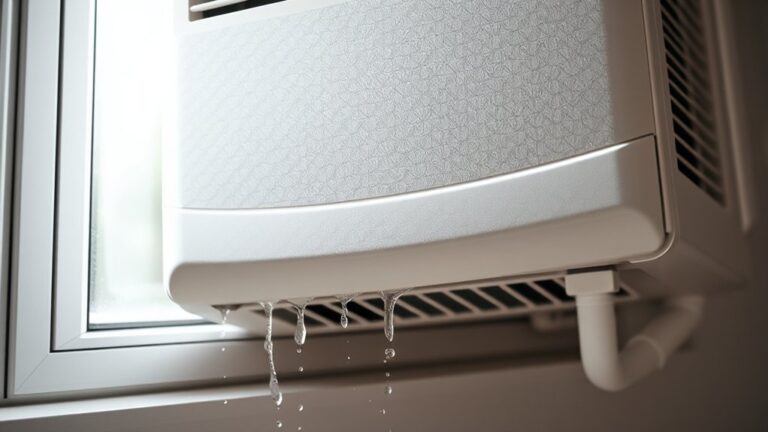
Even tiny gaps around your window AC unit can significantly lower its efficiency. These small openings let warm air sneak inside, making your unit work harder to cool the room.
Small gaps around your window AC can drastically reduce efficiency and increase energy costs.
Because of that, your energy bills go up, and your AC wears out faster. Gaps also let dust, pollen, and outdoor pollutants enter, which can worsen allergies or respiratory problems.
Plus, tiny gaps cause more noise to escape and get inside. You might hear rattling or whistling sounds that can be distracting.
Sealing these gaps improves overall comfort by keeping the cooling consistent and reducing drafts. It also helps your AC run at its best, saving energy and extending its lifespan.
Better sealing also blocks out outdoor noise, making your indoor space quieter. Fixing these small gaps is a simple, effective way to create a more comfortable, healthier, and energy-efficient home.
Gather Tools and Materials for Sealing Your AC
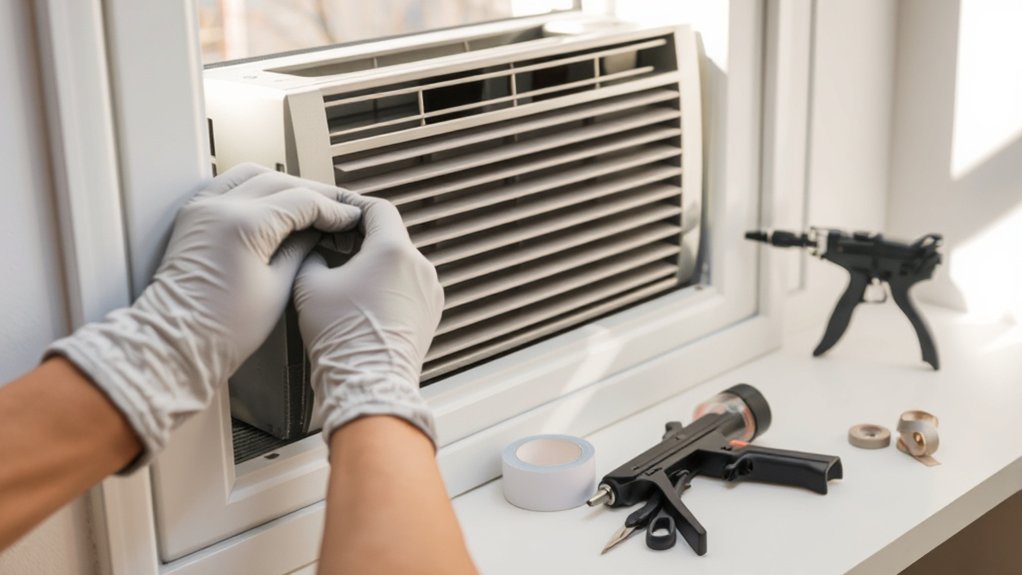
Before you dive into sealing your window AC, make sure you’ve got all the right tools handy. Grab a screwdriver, a utility knife, and a measuring tape — these will be your best friends during the process.
You’ll also want to pick up some sealing materials like weatherstripping, foam tape, or caulk. Having everything ready and within reach makes the whole sealing process much easier and smoother.
Essential Tools Needed
To effectively seal your window AC unit, you’ll need to gather a few essential tools and materials. These tools will help you make energy-efficient upgrades and guarantee proper seasonal maintenance.
Start with a screwdriver to remove panels or screws, and have a caulk gun ready for applying sealant. You’ll also need weatherstripping or foam tape to seal gaps around the unit, and a utility knife to cut materials to size.
A clean cloth or brush can help remove dust and debris for a better seal. Optional but useful tools include a measuring tape for precise fitting and a putty knife for smoothing sealant.
Having these tools prepared will streamline the sealing process, improve efficiency, and extend the lifespan of your AC unit.
Appropriate Sealing Materials
Choosing the right sealing materials is essential for ensuring your window AC unit remains energy-efficient. You want materials with good durability to withstand temperature changes and exposure to the elements.
Foam weatherstripping is a popular choice because it’s flexible and easy to install, providing a tight seal. Weatherproof tape and silicone caulk are also effective, especially for sealing gaps around the unit frame.
When selecting sealing materials, consider techniques that create a secure, long-lasting barrier. High-quality sealants prevent air leaks, helping your AC operate more efficiently.
Avoid flimsy or low-quality options that may deteriorate quickly. By choosing durable materials and applying proper sealing techniques, you’ll maximize your AC’s efficiency and reduce energy costs.
Identify and Locate Gaps Around Your Window AC
Inspecting your window AC unit for gaps is an important first step in sealing it properly. Start by carefully checking the edges of the unit and the window frame for any visible openings.
Inspect your window AC unit for gaps around the edges and window frame to ensure a proper seal and improve efficiency.
Look for small cracks or spaces where air might escape or enter. Use a flashlight to shine around the perimeter, as this can reveal hidden gaps that aren’t obvious at first glance.
Pay special attention to where the window meets the unit and the sides of the AC housing. These gaps can weaken your window insulation, making your unit less efficient and raising energy costs.
Mark any gaps you find with tape or note their locations. Once you know where they are, you’ll be ready to seal those openings effectively.
Thorough gap detection helps ensure you don’t miss any leaks, making your sealing efforts more successful. This will improve your AC’s overall performance and save you money on energy bills.
Clean the Area for a Better Seal

Before sealing your window AC, take a moment to clear away any debris and dust from the area. It’s a good idea to remove leaves or loose insulation that could get in the way.
Having a clean surface really makes a difference. It helps ensure your seal is tight, which means your AC will work more efficiently and save you energy in the long run.
Clear Debris and Dust
To guarantee a tight seal, start by removing any debris and dust from around your window AC unit. Dirt and debris can block proper contact, which reduces airflow and weakens window insulation.
Use a damp cloth or vacuum to clear away leaves, dirt, and pet hair from the surrounding area. Pay close attention to the edges and crevices where dust tends to gather.
Cleaning this area ensures there are no obstructions that could compromise the seal. When debris is cleared, the rubber gasket and insulation materials can sit flush against the window frame, boosting energy efficiency.
Keeping the surface clean also makes it easier to spot any damage or gaps that might need extra attention. This helps maximize your AC unit’s performance.
Remove Obstructions Effectively
Ensuring the area around your window AC unit is free of obstructions is essential for a tight seal. Clear away any furniture, curtains, or objects that could block airflow or interfere with the unit’s operation.
Removing these obstructions not only improves indoor air quality by allowing better ventilation but also helps the unit run more efficiently. A clutter-free space also minimizes noise, creating a quieter environment.
Check for any debris or items that might prevent the unit from sitting flush against the window frame. Keeping the surrounding area clear helps sealing materials form a proper barrier.
This maximizes energy savings and comfort. A clean, unobstructed space is key to achieving an effective, long-lasting seal.
Seal Gaps With Weatherstripping or Foam Tape
Sealing gaps around your window AC unit is a quick and effective way to boost its efficiency. You can do this by applying weatherstripping that creates a tight seal between the unit and the window frame.
Choose materials like foam tape or vinyl strips, which are easy to install and flexible enough for uneven gaps. Foam tape is especially useful because it conforms to irregular surfaces for a snug fit.
Make sure to clean the area thoroughly before applying to ensure good adhesion. Press the weatherstripping firmly into place, covering all gaps around the unit.
This simple step stops cool air from escaping and hot air from entering, reducing your AC’s workload. Regularly check the weatherstripping for wear and replace it if it gets damaged.
Properly sealing these gaps helps your unit run more efficiently and can lower your energy costs.
Caulk or Seal Larger Leaks for a Tight Fit
Large gaps around your window AC unit need a stronger seal to stop air leaks. First, do some leak detection by carefully checking for any visible cracks or gaps.
Once you find the problem spots, use a good-quality caulk that works with your window frame material. Applying the caulk is pretty simple: run a continuous bead along the edges of the gap and make sure you fill it completely.
Apply a continuous bead of quality caulk along the gaps for a weatherproof seal.
Then, use a smoothing tool or your finger to press the sealant into the gap, creating a tight, weatherproof seal. Make sure the area is dry before applying, and let the caulk cure as the manufacturer recommends before turning on your AC.
Sealing bigger leaks with caulk not only boosts energy efficiency but also eases the strain on your AC, helping it run better. This step is key to stopping drafts and keeping your indoor temperature steady.
Block Larger Gaps With Insulating Material
When gaps around your window AC unit are too big for caulk alone, adding insulating material is key to blocking drafts effectively. Proper insulation helps prevent air leaks, saving energy and cutting cooling costs.
To seal larger gaps, try using foam board, weatherstripping, or expanding foam. These fill irregular spaces and create a barrier against outside air.
Here are some good options:
- Rigid foam board for big gaps and support
- Weatherstripping tape for flexible, easy insulation
- Expanding foam for uneven, hard-to-reach spaces
- Insulating spray foam for a tight seal in tricky areas
Using these materials ensures better thermal insulation, reduces drafts, and boosts your AC’s efficiency. Focus on filling every large gap to keep cool air inside and hot air out, saving energy and keeping your space comfortable longer.
Check and Adjust Your Window Frame and Sash
After filling the gaps around your window AC unit, it’s important to make sure the window frame and sash are properly aligned and sealed. Start by inspecting the window frame for any damage or warping that could compromise the seal.
If you notice gaps or misalignment, try adjusting the sash by carefully repositioning it to fit snugly within the frame. Make sure the sash is level and fully closed to prevent air leaks.
Tighten any loose screws or hinges that might affect the window’s seal. If the sash doesn’t close properly, consider adding weatherstripping or re-caulking around the edges to improve the seal.
Proper sash adjustment and a well-maintained window frame are key to maximizing your AC’s efficiency. Keeping these components in good shape helps reduce drafts and keeps your unit running at its best.
Test Your Seal and Maintain Over Time
To keep your seal effective over time, it’s important to test it regularly for leaks or drafts. Seal testing helps maintain your window AC unit’s seal, ensuring it works at its best. Doing simple checks early can help catch problems before they get worse.
Regular seal testing keeps your window AC efficient and prevents costly repairs.
Feel around the edges on a windy day to feel for drafts. You can also use a flashlight at night to spot any light leaks. Conduct a smoke test with incense near the seals to see if the smoke moves. Also, inspect the weatherstripping for cracks or damage.
Once you find leaks, reseal or replace the weatherstripping right away. Regular testing helps you catch issues early, saving energy and cutting costs over time. Keeping your seal in good shape makes your AC run more efficiently and prevents unnecessary strain on the unit.
Make these checks part of your seasonal maintenance routine to keep your cooling system performing at its best.
Frequently Asked Questions
Can Sealing My AC Void Its Warranty?
Sealing your window AC unit usually won’t void your warranty, but it’s a good idea to check your warranty coverage and sealing restrictions first.
Some manufacturers have specific rules about modifications, including sealing. If you follow their recommended steps and avoid changing critical parts, your warranty should stay valid.
To be safe, review your warranty terms or contact the manufacturer before sealing your unit. That way, you won’t accidentally void your coverage.
What Long-Term Effects Does Sealing Have on Window Frame Integrity?
Sealing your window AC unit can cause frame deterioration over time if you’re not careful. It might trap moisture, which can lead to wood or metal parts weakening or warping.
This can damage your window frame’s integrity and shorten its lifespan. To avoid that, use quality sealants, ensure proper ventilation, and check the seal regularly.
Proper sealing helps your AC stay efficient without risking long-term damage to your window frame.
Are There Eco-Friendly Sealing Options for Window AC Units?
Sealing your window AC unit is like giving your home a gentle hug, protecting the environment too.
You can choose eco-friendly insulation and sustainable sealing materials, like recycled foam or natural latex caulk.
These options help reduce your carbon footprint and keep your space cool efficiently.
How Often Should I Inspect and Reseal My Window AC?
You should inspect and reseal your window AC unit at least once a year as part of your maintenance routine. Regular checks help keep it running efficiently by preventing leaks and drafts.
These issues can cause your unit to work harder and use more energy. During inspections, look for gaps or cracks around the seal and reseal if needed.
Doing this simple step keeps your AC running smoothly, saves energy, and helps it last longer.
Will Sealing Improve Noise Reduction From My Window AC?
Sealing your window AC can really cut down on noise, turning your space from a constant roar into a peaceful spot. The benefits go beyond just making it more efficient—sealing also improves noise insulation, so your room stays whisper-quiet.
When you seal around your unit, you block out those annoying vibrations and rattles. This creates a calmer environment and makes a big difference in how noisy your AC sounds.
Conclusion
Sealing your window AC can cut your energy costs by up to 15%, saving you money each year.
By following these simple steps, you’ll improve your unit’s efficiency and stay cooler without overworking your AC.
Regular maintenance and checks can extend its lifespan and keep your home comfortable.
Remember, small gaps can substantially impact performance, so don’t overlook even tiny leaks.
Taking these easy measures to seal your window AC ensures it runs smoothly and efficiently for years to come.