5 Easy Steps to Install a Portable AC Window Kit
Many people struggle with staying cool during hot summer days, especially when it comes to installing portable AC units. The process can seem overwhelming, but don’t worry—you’re not alone. Installing a portable AC window kit is simpler than you think with a few easy steps.
To install a portable AC window kit, start by gathering your tools and clearing the workspace. Measure your window and position the kit snugly, sealing gaps with weatherstripping. Attach the exhaust hose securely, ensuring it’s free of sharp bends. Seal any remaining gaps around the panel for a tight fit.
Finally, test everything for safety and efficiency, making sure airflow and seals are proper. Keep going to uncover each step in more detail for a smooth installation.
Key Takeaways
Gather tools, safety gear, and clear your workspace before you start installing. It makes the process smoother and safer.
Next, measure your window and position the AC kit so it fits snugly and seals well. Take your time to get it just right.
Connect the exhaust hose securely, making sure it runs smoothly without kinks or bends that could block airflow.
Seal any gaps around the panel with weatherstripping or foam to ensure everything is airtight and energy-efficient.
Finally, test your setup to check for safety, good airflow, and a proper seal before you turn on the AC.
Gather Tools and Prepare Your Workspace
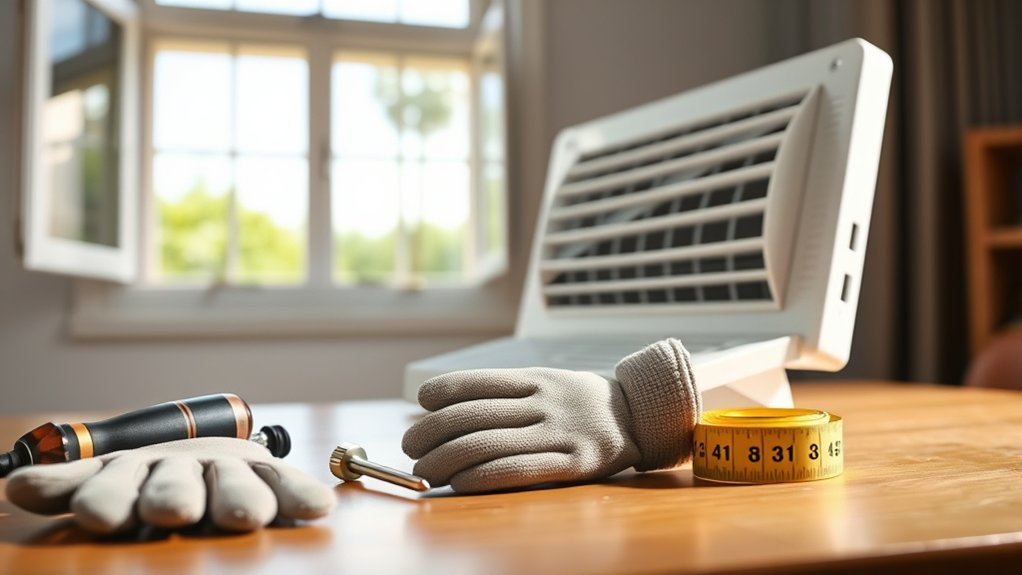
Before you start installing your portable AC window kit, gather all the tools you’ll need and clear your workspace.
Collect power tools like a drill, screwdriver, and maybe a saw if you need to make adjustments. Having everything ready means you won’t waste time searching for tools mid-project.
Next, grab safety gear such as gloves, safety glasses, and a dust mask to protect yourself during installation.
Clear the area around your window, removing any obstacles or debris that could get in your way. Make sure your workspace is well-lit and clutter-free so you can work safely and efficiently.
Double-check that your tools are in good condition and easy to reach. Proper preparation helps you avoid accidents and makes the whole process smoother and faster.
Measure and Position Your Window Kit Correctly
To guarantee a secure and proper fit, start by measuring your window opening and the dimensions of your portable AC kit. Accurate measurements ensure window compatibility and help you position the kit correctly. Use a tape measure to check the width, height, and depth of your window opening. Compare these with your kit’s specifications to confirm compatibility.
| Step | Action |
|---|---|
| 1 | Measure window width and height |
| 2 | Measure the depth of the window frame |
| 3 | Confirm dimensions match your AC kit |
| 4 | Position the kit so it fits snugly within the window |
| 5 | Use sealing techniques to prevent air leaks |
Once measurements are complete, position the kit carefully, ensuring it fits tightly. Seal all gaps with weatherstripping or foam to maximize efficiency and prevent air leaks, ensuring your portable AC works effectively.
—
Modified Text:
Start by measuring your window opening and your portable AC kit. Getting accurate measurements helps you check if everything will fit properly and work well together.
Use a tape measure to check the width, height, and depth of your window. Compare these numbers to your kit’s specs to make sure they match.
Follow these steps:
| Step | Action |
|---|---|
| 1 | Measure the width and height of your window |
| 2 | Measure the depth of the window frame |
| 3 | Make sure the dimensions match your AC kit |
| 4 | Position the kit so it fits snugly in the window |
| 5 | Seal all gaps to prevent air leaks |
After measuring, carefully place the kit so it fits tightly. Use weatherstripping or foam around the edges to keep everything sealed and your AC running efficiently.
Connect and Secure the Exhaust Hose Properly
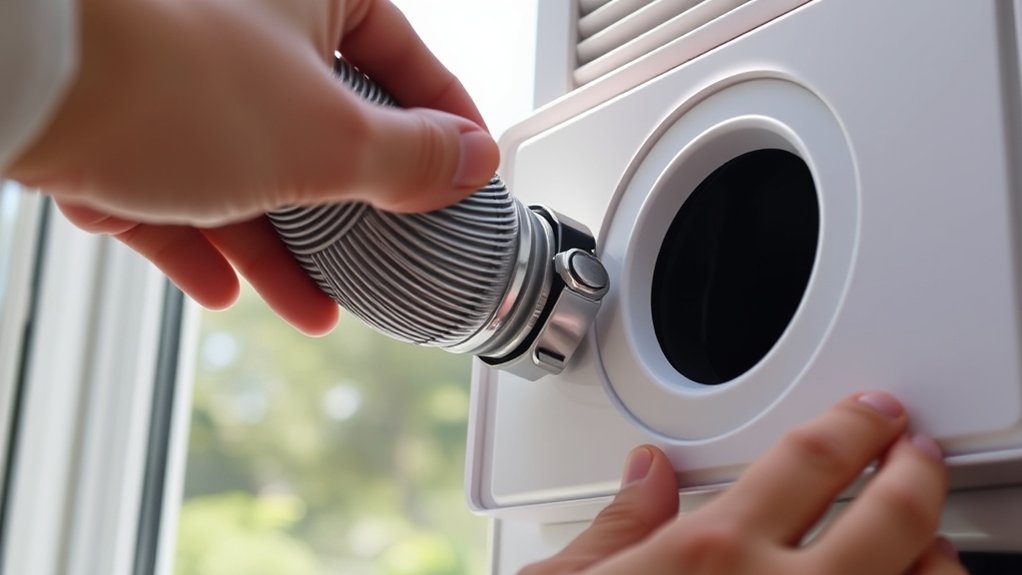
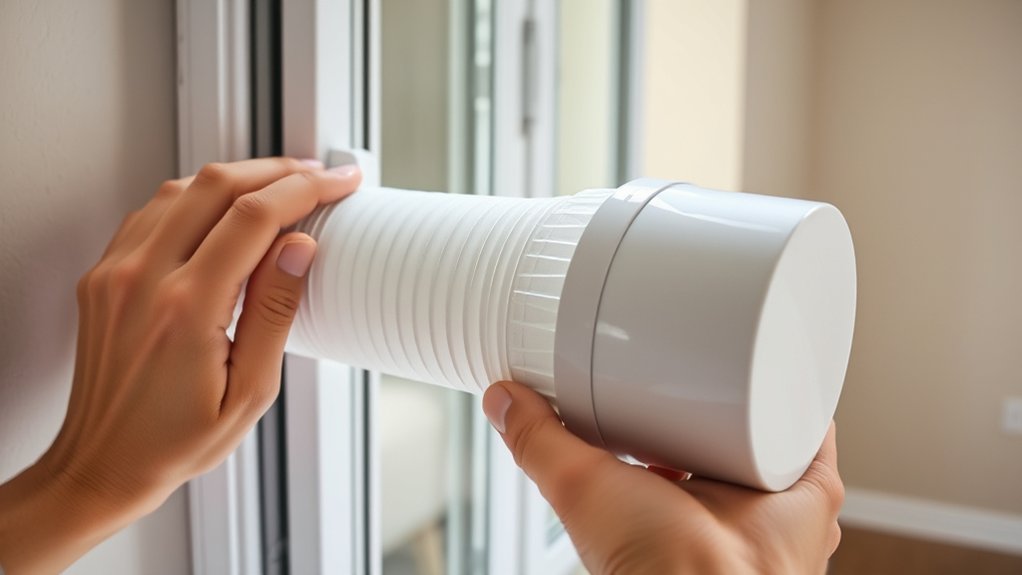
Once you’ve positioned and sealed your window kit securely, it’s time to connect the exhaust hose. Make sure the hose matches your portable AC’s ventilation needs and is compatible with your unit.
Check the hose diameter and connectors to ensure a snug fit, which helps prevent leaks and keeps things running efficiently. Attach the hose securely to the outlet on your AC, twisting or snapping it into place as instructed.
Avoid forcing the connection, as this can damage the hose or the unit. Once connected, double-check that the hose runs smoothly from the window kit to the exhaust outlet without sharp bends or kinks.
Proper connection and hose compatibility are key for maximum airflow and energy efficiency. A secure, airtight fit stops warm air from re-entering the room and helps your portable AC perform at its best.
Take your time to double-check everything before moving on to the next step.
Seal Gaps and Install the Window Panel
As you install the window panel, make sure to seal all gaps tightly. This prevents warm air from leaking in and cool air from escaping. Proper sealing boosts insulation and makes your AC more efficient, saving you money.
Use weatherstripping or foam sealant around the edges of the panel to block any gaps. A snug fit improves ventilation by reducing air leaks that can compromise cooling.
Here’s a quick guide:
| Step | Tip |
|---|---|
| 1 | Check for gaps around the panel |
| 2 | Apply weatherstripping or foam sealant |
| 3 | Press the panel firmly into place |
| 4 | Secure the panel with additional fasteners |
| 5 | Test for air leaks and seal any remaining gaps |
Test Your Setup for Safety and Efficiency
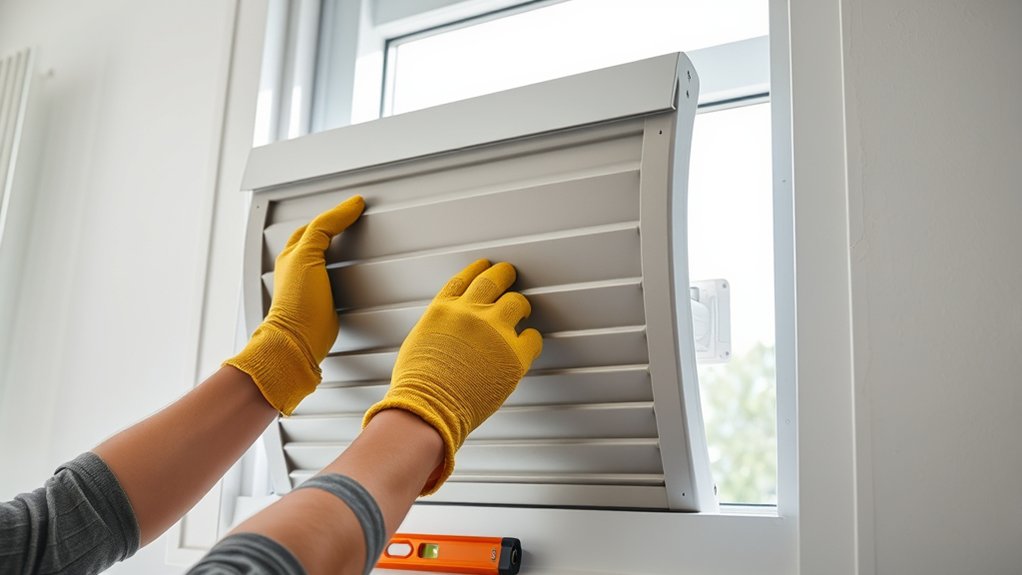
Before turning on your portable AC, it’s important to test the setup to ensure safety and good performance. Start by checking the electrical safety of your installation.
Make sure the power cord isn’t damaged, is securely plugged into a grounded outlet, and that no wires are frayed or exposed. Avoid overloading the circuit to prevent electrical hazards.
Next, verify that the window kit is securely sealed to prevent leaks and drafts, which can affect airflow. Check that the exhaust hose is properly connected and free of kinks or obstructions for proper airflow.
Turn on the unit and listen for any unusual noises that might signal a problem. Observe the airflow to confirm it’s strong and properly directed, ensuring maximum cooling.
Regularly testing your setup like this helps keep it safe, prevents electrical issues, and makes sure your portable AC runs at peak efficiency.
Frequently Asked Questions
Can I Install a Portable AC Window Kit Without Professional Help?
You can install a portable AC window kit yourself, but it’s important to think about ventilation options and noise levels.
Follow the manufacturer’s instructions carefully, making sure to seal everything properly to prevent air leaks.
Choose a window that allows good ventilation, and be prepared for some noise while it’s running.
If you’re comfortable with DIY projects and understand the setup, you should be able to do it without professional help.
Just remember to prioritize safety and proper installation throughout the process.
What Is the Recommended Height for Placing the Window Kit?
You should position the window kit at a height that balances comfort and safety, usually around eye level or slightly higher.
Proper window height ensures safe installation and helps prevent accidents or air leaks.
Keep in mind that placing it too low might make it unstable, while too high can block airflow.
Aim for a secure, level setup that maximizes efficiency and safety, making your portable AC both effective and safe to use.
How Do I Prevent Leaks During Heavy Rain?
To prevent leaks during heavy rain, you should implement rainproofing measures like sealing all gaps around your window kit with high-quality sealant options such as silicone or weatherproof caulk.
Make sure the sealant is applied thoroughly around edges and joints, creating a watertight barrier.
Furthermore, consider installing a slight tilt in the window kit to direct water away from the opening, ensuring your portable AC stays dry and protected during storms.
Will Installing a Window Kit Affect My Window’s Functionality?
Installing a window kit usually doesn’t affect how your window works if you do it right.
In fact, it can make your window more secure by adding a strong seal and help cut down outside noise. Some kits can reduce noise levels by up to 50%.
Just make sure the kit fits properly, and you’ll keep your window functioning, your home safe, and enjoy a quieter space during hot days.
How Often Should I Check the Seals for Wear and Tear?
You should check the seals for wear and tear at least once every three months. It’s a good idea to do a regular inspection to catch any cracks, gaps, or deterioration early on.
When you’re inspecting, make sure the seals are still airtight. This helps prevent air leaks and keeps your portable AC running efficiently.
If you notice any damage, don’t wait—replace or reseal immediately. This will help your AC work better and save energy in the long run.
Conclusion
Now that you’ve mastered these simple steps, your portable AC window kit is ready to keep your space cool and comfortable—just like a well-tuned symphony. Remember, a little attention to detail guarantees smooth operation and energy efficiency. So don’t rush through the setup.
Think of it as tuning your own personal climate orchestra, where every piece plays a crucial role. Staying patient and precise will ensure your portable AC runs smoothly and efficiently.
Stay cool, and enjoy the invigorating comfort you’ve created with your portable AC window kit.