How Long Does It Take to Install a Window AC Unit?
Installing a window AC unit can seem like a daunting task, especially if you’re eager to beat the heat. Many people struggle with figuring out how long the process will take or worry about making mistakes. You’re not alone—getting it right quickly and safely is a common concern.
Installing a window AC unit usually takes about 30 minutes to an hour. Factors like your experience, the complexity of the unit, and the condition of your window can make it faster or slower.
Standard models tend to be quicker, while energy-efficient or dual-hose units may take a bit longer. Proper preparation and following instructions can speed up the process.
Keep going to uncover more tips to make installation easier and more efficient.
Key Takeaways
- Installation usually takes between 30 minutes and an hour for both DIY enthusiasts and professionals.
- If the unit has extra features or venting requirements, expect an additional 10 to 20 minutes.
- Your experience level and how well you prepare can really impact how long the installation takes.
- Making sure you have the right tools and a clear space to work speeds things up.
- After installing, a quick check ensures everything is secure and working properly within the estimated time.
How Long Does It Usually Take to Install a Window AC?
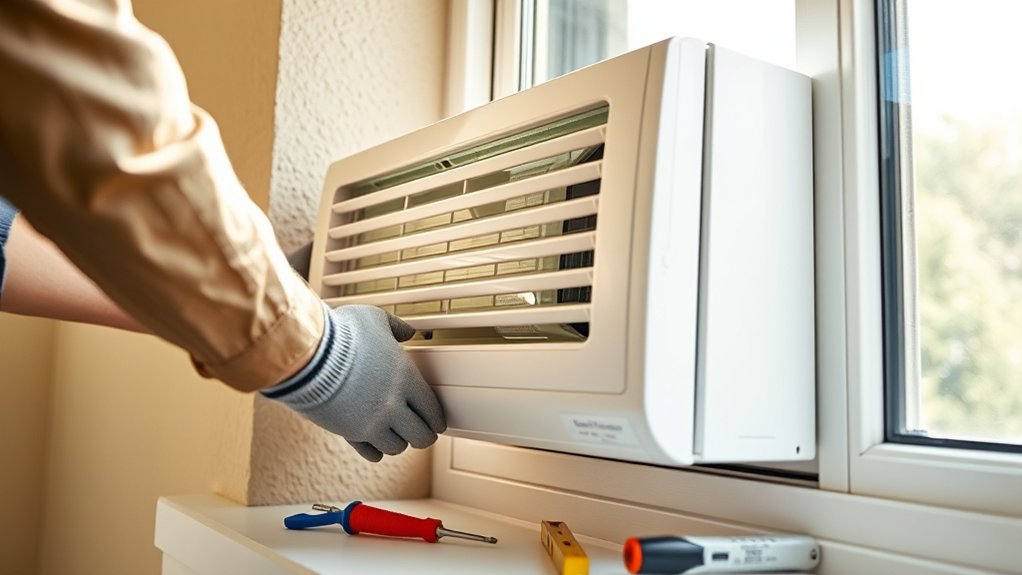
Installing a window AC unit usually takes about 30 minutes to an hour, depending on your experience and the model. If you’re familiar with basic tools, the process tends to go smoothly.
Installing a window AC typically takes 30 minutes to an hour, depending on experience and model.
New installers might need a bit more time. During installation, think about the unit’s energy efficiency, which affects your long-term savings and performance.
A properly installed unit works better and saves you money on energy bills. Noise levels matter too; a secure fit reduces vibrations and sound, making your space more comfortable.
If it’s your first time installing, set aside extra time to carefully read the instructions and make sure all parts fit right. A quick, efficient setup helps ensure the unit runs at its best.
With patience and attention to detail, you can complete the installation within the typical timeframe. This means enjoying a quieter, more energy-efficient cooling system in less time.
What Factors Affect Your Window AC Installation Time?
Several factors can influence how long it takes to install a window AC unit, making the process more or less straightforward depending on your specific situation. One key factor is the unit’s energy efficiency; higher-efficiency models might require extra setup steps, which can slightly extend installation time.
The condition of your window and surrounding area also affects how quickly you can get it done. If your window frame is damaged or doesn’t fit standard sizes, you may need modifications that slow things down.
Noise levels are another consideration. Quieter models often require careful placement and secure mounting to reduce vibrations, which can take a bit more time. On the flip side, units with simple designs and clear installation instructions tend to go up faster.
Your familiarity with tools and DIY skills also matter. If you’re experienced, the setup will likely be quicker. Overall, these factors combine to influence your installation time, making it different from home to home.
How to Prepare Your Space for a Fast, Easy Installation
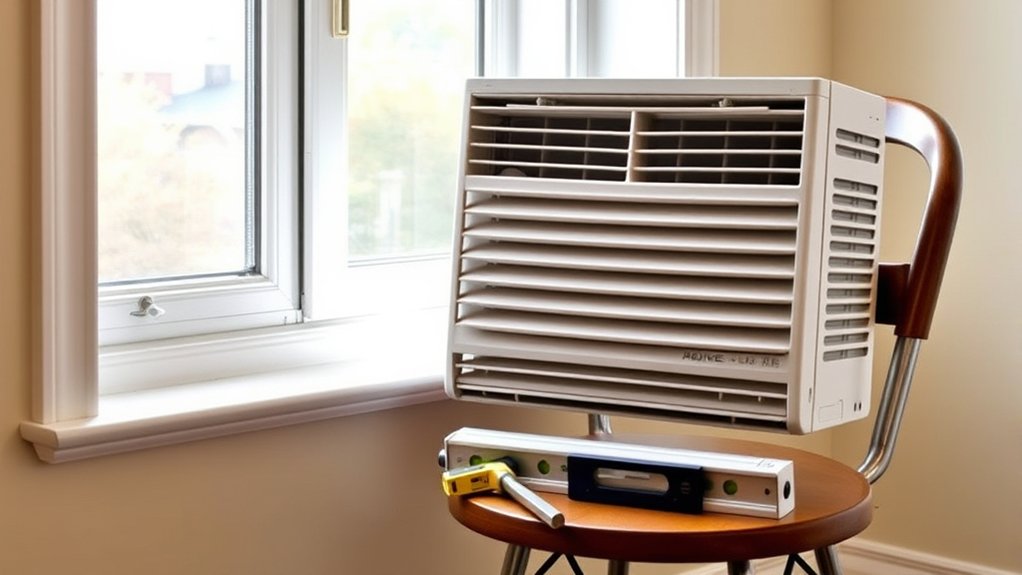
To guarantee a smooth and quick window AC installation, start by preparing your space ahead of time. Clear the area around your window, removing curtains, furniture, or any obstructions. This makes installation easier and prevents damage.
Prepare your space by clearing around the window for a smoother, damage-free AC installation.
If your window has a vintage look, check that the frame is in good condition to support the unit securely. Also, look for drafts or gaps and seal them up to boost energy efficiency once the AC is installed.
Measure your window opening to make sure the AC unit will fit properly. This will save you time during setup. Keep your tools nearby, like a level, screwdriver, and mounting brackets, so everything’s within reach.
If your window or wall has any unique features, plan how to adapt the installation accordingly. Proper preparation helps avoid delays and makes sure the unit fits snugly, which maximizes energy savings.
With these steps, you’ll streamline the process and enjoy a hassle-free installation. Whether you’re preserving vintage charm or aiming for better energy efficiency, being prepared makes all the difference.
Installing Your Window AC: Step-by-Step Guide
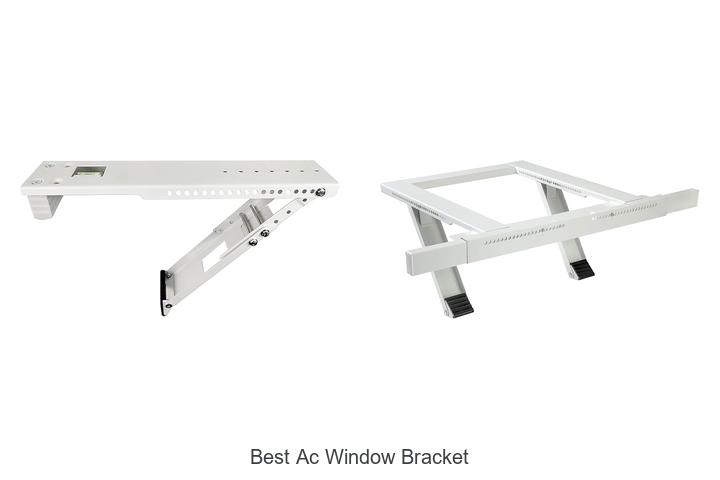
Once you’ve prepared your space and gathered all the necessary tools, start attaching the mounting brackets. Make sure they’re level to maximize energy efficiency and keep noise levels down during operation.
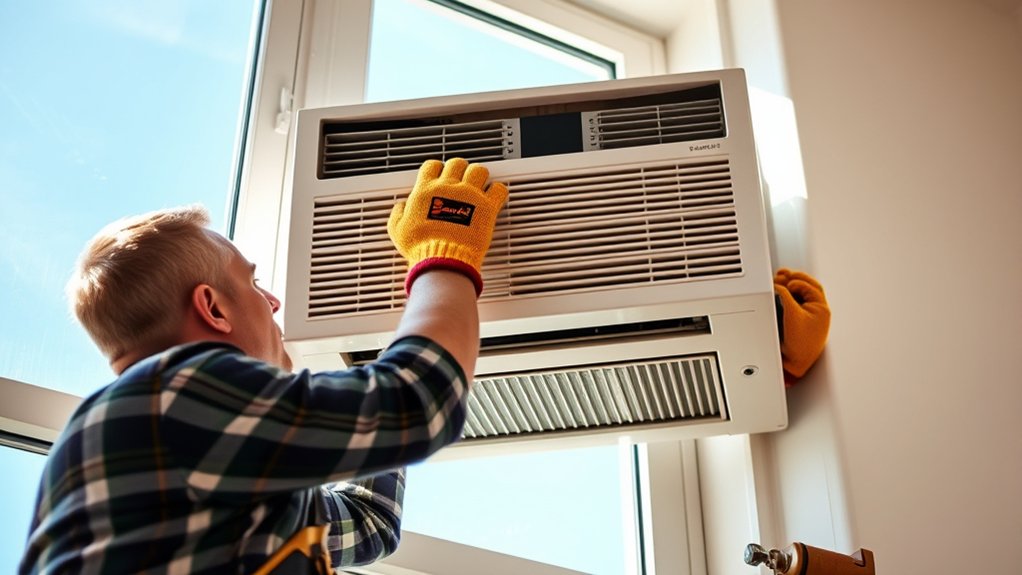
Secure the brackets firmly to support the weight of the AC unit. Then, carefully slide the unit into the window, ensuring it’s stable and properly seated against the window frame.
Use weather stripping to seal any gaps. This helps improve energy efficiency and reduces noise infiltration around the unit. Check that the exhaust and intake areas are unobstructed for proper operation.
Follow these steps to ensure your window AC is installed securely and runs efficiently for a long time.
How Long Does DIY Installation Typically Take?
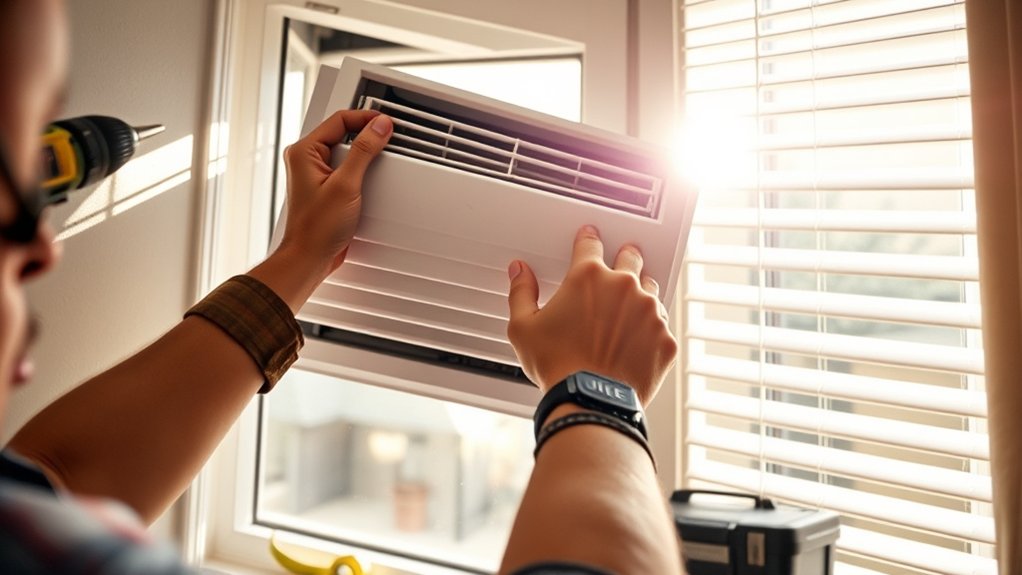
Installing a window AC unit generally takes about 30 minutes to an hour for most DIYers, depending on your experience and the specific window setup. If you’re familiar with basic tools and have prepared your workspace, the process goes faster.
For beginners, it might take closer to an hour, especially if adjustments are needed to ensure a proper fit. During installation, focus on sealing gaps to improve energy efficiency, which helps reduce energy bills and keeps your space comfortable.
Keep noise levels in mind; a secure, well-installed unit tends to operate quieter and more efficiently. Proper mounting and sealing can prevent vibrations that cause extra noise.
What’s the Timeline for Professional Window AC Installation?
Professional window AC installation usually takes about 30 minutes to an hour, depending on the window type and any adjustments needed. During the process, the technician makes sure your unit fits securely, maintains good indoor air quality, and is energy-efficient.
Here’s what you can expect during installation:
- Assessment and preparation – The technician checks your window for proper fit and accessibility.
- Mounting the unit – They secure the AC, making sure it’s level and airtight for better cooling.
- Electrical connections – Power cords are plugged in or wired, depending on your unit.
- Testing and adjustments – The technician tests the unit and tweaks it for optimal energy efficiency.
This smooth process helps get your window AC installed quickly so you can enjoy reliable cooling and better indoor air quality.
Common Delays During Installation and How to Avoid Them
Permit and inspection delays can really hold up your installation if you don’t get all the paperwork in on time. It’s a good idea to submit everything early so you’re not caught off guard.
Sometimes, equipment and material shortages can pop up unexpectedly, especially during busy seasons. To keep things moving smoothly, try to plan ahead, order your supplies in advance, and double-check what local requirements are. That way, you’ll avoid most of those common delays.
Permit and Inspection Delays
Permit and inspection delays are among the most common setbacks when installing a window AC unit, often causing unexpected hold-ups in your project timeline. These delays usually happen because of permit issues or inspection requirements that need extra paperwork or waiting time.
To avoid these setbacks, check your local regulations ahead of time to make sure you meet all permit requirements. Submitting your permit application early can help speed up the process.
Once your installation is complete, schedule your inspections promptly. It’s also helpful to follow up regularly with inspectors so any concerns can be addressed quickly.
Equipment and Material Shortages
Waiting for the right equipment and materials can cause unexpected delays during your window AC installation. Supply shortages or seasonal pricing fluctuations might leave you waiting longer than expected. To avoid delays, verify availability early, especially during peak seasons. Confirm the unit includes warranty coverage for extra peace of mind.
| Item | Common Issue | Tip |
|---|---|---|
| Window AC Unit | Out of stock during peak seasons | Buy in advance to avoid delays |
| Mounting Kit | Seasonal pricing increases | Purchase early and compare prices |
| Electrical Supplies | Shortages or backorders | Check local stores before install date |
How Long Do Different Types of Window AC Units Take to Install?
The time it takes to install different types of window AC units depends on their design and complexity. Some units might take longer because of extra features like energy efficiency or noise reduction. Here’s a quick overview:
- Standard Window Units: Usually take about 15–30 minutes. They’re simple to install with straightforward mounting and minimal adjustments.
- Energy-Efficient Models: Might add 10–20 minutes since these units often have extra components or mounting brackets to boost performance.
- Dual-Hose Units: Require around 30–45 minutes because of additional venting needed for better airflow and noise control.
- Quiet Operation Units: Typically take 20–35 minutes. These are designed with sound insulation, which may involve extra sealing or adjustments.
Knowing the type helps you estimate how long the installation will take and plan accordingly. This is especially useful if you’re concerned about speed, noise, or energy efficiency.
Tips to Speed Up Your Window AC Installation Process
Looking to install your window AC unit quickly and efficiently? Start by gathering all necessary tools and the unit beforehand to avoid delays.
Make sure the window frame is clean and sturdy. This helps with proper installation and improves energy efficiency.
Ensure the window frame is clean and sturdy for a secure, efficient AC installation.
When positioning the unit, double-check that it’s level. This reduces strain on the compressor and minimizes noise during operation.
Use a foam seal or weatherstripping around the unit to boost energy efficiency and prevent air leaks.
Read the installation instructions carefully to avoid mistakes that could prolong the process.
If possible, enlist a helper to hold the unit steady. This saves time and effort.
Properly sealing the window also reduces outside noise and keeps your cooling system running smoothly.
Taking these steps will help you get the installation done faster and ensure your window AC operates quietly and efficiently from the start.
What to Do After Installing Your Window AC
Once you’ve installed your window AC unit, the next step is to check if it’s working properly. Make sure the unit is securely in place and the window seal is tight to help save energy.
Turn it on and listen for noise levels. A quieter unit usually means it’s installed correctly and isn’t causing much disturbance. Adjust the settings to see if it cools well without making too much noise or vibrations.
Here’s what to do next:
- Verify that the unit cools the room evenly and efficiently, which helps save energy.
- Listen for any unusual noises or vibrations that might point to installation issues.
- Fine-tune the settings to get the right balance between cooling power and noise.
- Check around the unit for drafts or gaps, and seal them up to prevent air leaks and improve efficiency.
Frequently Asked Questions
Can I Install a Window AC Unit Without Professional Help?
You can install a window AC unit yourself, but be ready for some DIY challenges and possible pitfalls.
Make sure to carefully follow the instructions, check that your window frame is secure, and handle the weight of the unit properly.
If you’re not familiar with electrical wiring or window setups, mistakes could cause safety hazards or make your cooling less efficient.
Think about your experience level before trying it on your own, and don’t hesitate to get professional help if you need it.
What Tools Are Needed for Installing a Window AC?
Think of installing a window AC like building a puzzle—you need the right pieces. You’ll want a screwdriver, a level, sealant for sealing gaps, and a drill if needed.
Make sure your power supply is compatible and ready before you start. Use the sealant to secure the unit and prevent leaks.
With these tools and some preparation, you’ll put it all together smoothly and have your cool space in no time.
Is There a Specific Time of Day Best for Installation?
The best time of day to install your window AC depends on the weather and your schedule. Picking a cool, dry day makes the process safer and easier because there’s less humidity and rain.
Mornings or late afternoons are usually good options if temperatures are milder then. Try to avoid the hottest parts of the day or stormy weather, as these can make installation tougher and less comfortable.
How Long Does It Take to Remove an Old Window AC?
Removing an old window AC is like peeling off a stubborn sticker. It usually takes about 15 to 30 minutes, depending on how securely it’s installed.
First, loosen the screws holding the AC in the window frame. Then carefully disconnect the electrical wiring, being cautious not to damage the window frame or wiring.
Once the unit is free, you can easily clear the space for the new unit and start fresh.
Are There Any Safety Precautions During Installation?
During installation, you should prioritize electrical safety by turning off the power supply before handling any wiring.
Guarantee proper ventilation by opening windows or using fans to avoid fumes or dust buildup.
Wear safety gear like gloves and goggles to protect yourself from sharp edges or electrical components.
Following these precautions helps prevent accidents and ensures a smooth, safe installation process.
Always read the manufacturer’s instructions for specific safety recommendations.
Conclusion
Think of your window AC as a key to comfort, revealing a cool, peaceful haven in your home. With proper preparation and patience, you’ll turn the key swiftly, opening the door to relief from summer’s heat.
Remember, each step you take is like planting a seed—eventually blossoming into a revitalizing breeze. So, stay steady and confident; your cool oasis is just a few moments away, waiting to welcome you with open arms.
In general, installing a window AC unit takes about 30 minutes to an hour. The exact time depends on your experience and the specific model you’re installing.
If you’re new to this, take your time to read the instructions carefully. Proper installation is key to ensuring your unit works efficiently and safely.
Getting it right the first time means you’ll enjoy a quick setup and a cool space in no time. Remember, installing a window AC is a straightforward process—your comfort is just a few steps away.