7 Simple Steps to Put AC in Your Window
Feeling overwhelmed by the idea of installing a window air conditioner? You’re not alone—many people struggle with making sure their AC unit is installed safely and efficiently. But don’t worry, with a little guidance, you’ll be cooling down in no time.
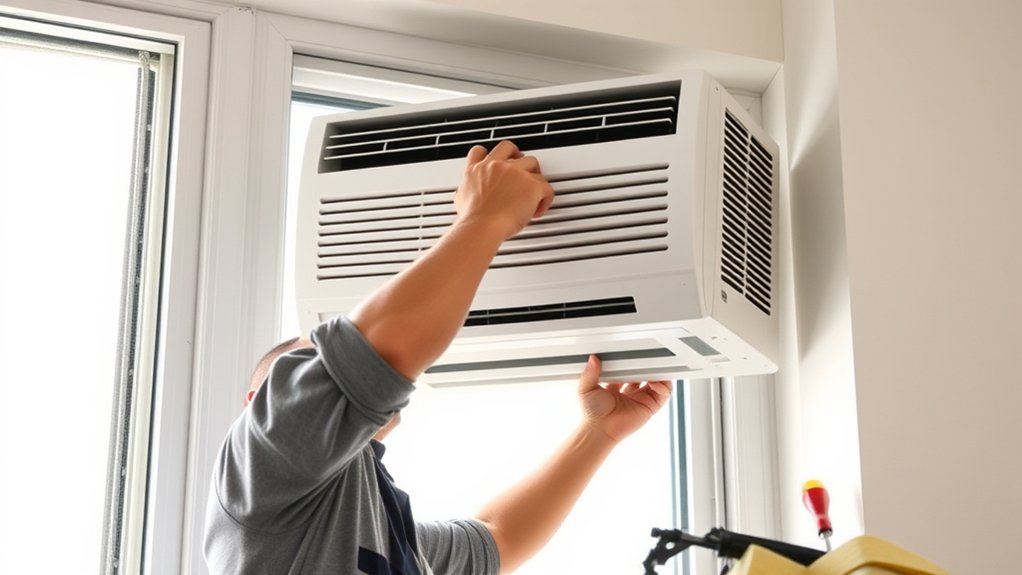
To install a window AC, start by inspecting your window and clearing the area. Gather tools like a screwdriver, level, and measuring tape. Carefully remove your old unit if needed.
Then, position the new AC, making sure it’s level and secure. Seal gaps with weatherstripping or foam for better efficiency. Test the unit to guarantee it cools properly, and regularly clean filters and coils.
If you keep going, you’ll get all the tips for a safe, efficient installation and beyond.
Key Takeaways
- Measure the window opening and pick an air conditioner unit that fits well.
- Turn off the AC, unplug it, and clear the window area of any obstructions.
- Install side panels or accordion brackets to hold the unit securely in the window frame.
- Lower the window onto the top of the AC, making sure everything is level and stable.
- Seal any gaps around the unit using weatherstripping or foam to boost efficiency and keep drafts out.
How to Prepare Your Window and Space for Installing an AC

Before installing your window AC, you need to prepare both the window and the surrounding space to guarantee a smooth and secure setup. Start by inspecting the window frame, ensuring it’s sturdy and free of damage. If the frame is weak or broken, reinforce it or consider a different window.
Ensure your window is sturdy and damage-free for a safe, secure AC installation.
Clear the area around the window, removing any obstructions that could interfere with installation. Check the ventilation options; proper airflow is essential for efficient cooling. If your window has screens or curtains, remove or adjust them to allow for a tight seal around the unit.
Measure the window opening to confirm it matches your AC’s dimensions. Ensuring the window can fully open and close without obstruction is crucial. Preparing the space now prevents issues during installation and helps your AC operate safely and effectively.
Taking these steps guarantees a secure fit and effective ventilation for your cooling unit.
Gather Your Tools and Materials for Installation
Gathering all the necessary tools and materials beforehand guarantees a smooth and efficient installation process. You’ll need basic items like a screwdriver, measuring tape, and a level to ensure proper placement.
Have the window AC unit’s remote control nearby so you can test the unit once installed. You’ll also want weatherstripping or foam insulation to seal gaps, which improves energy efficiency and prevents air leaks.
Don’t forget safety gloves and goggles for protection. Make sure you have the unit’s mounting brackets or side panels, which are essential for stability.
Having everything on hand saves time and reduces frustration during installation. Proper preparation ensures the AC operates efficiently, helping you save on energy bills.
Keep in mind, a well-prepared setup allows you to focus on aligning the unit correctly. This maximizes its cooling potential and energy efficiency right from the start.
Step-by-Step Guide to Mounting Your Window AC
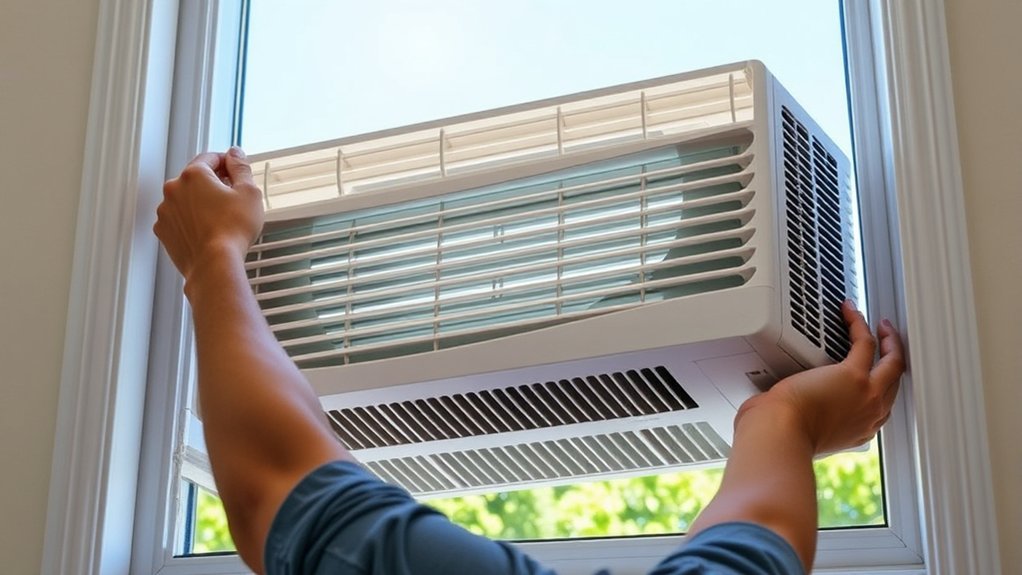
To begin mounting your window AC, start by positioning the unit on the window sill or the bottom frame, making sure it’s centered and level. This helps maximize energy efficiency, so the unit cools effectively without overworking.
Position the unit centered and level for optimal cooling efficiency and stability.
Once in place, extend the side panels or accordion brackets to fit snugly against the window frame, sealing gaps to keep warm air out. Secure the mounting brackets and tilt the AC slightly downward to help with drainage.
Proper installation minimizes vibrations, which reduces noise and creates a quieter environment. Make sure the unit is stable and well-supported to avoid shifting during operation.
Check that the window stays securely closed around the AC. A tight fit improves both energy efficiency and noise reduction. Take your time to ensure everything is aligned and fastened correctly so your window AC runs smoothly, efficiently, and quietly.
Secure and Seal Your Window AC for Better Efficiency
To keep your window AC running efficiently, it’s important to make sure it’s sealed properly in place. You can use weatherstripping or foam to close up any gaps around the unit—that way, you prevent air leaks and keep the cool air inside where it belongs.
Adding some insulation around the unit can also help boost its performance and even save you some on energy costs. It’s a simple step that makes a big difference in keeping your space comfortable and your energy bills down.
Proper Seal Installation
Have you checked that your window AC is properly sealed? A tight seal boosts energy efficiency and cuts down on noise.
Look around the unit for gaps or cracks, and fill them with weatherstripping or foam sealant.
Proper sealing keeps warm air from leaking in and helps reduce outdoor noise, making your unit quieter and more efficient.
Use the table below to identify common sealing issues and how to fix them:
| Issue | Solution |
|---|---|
| Gaps between AC and window | Apply weatherstripping or foam |
| Cracks around the frame | Seal with caulk or foam |
| Loose or damaged seals | Replace or reinforce seals |
| Unsealed vents or gaps | Use sealant or draft stoppers |
| Excessive noise transmission | Tighten or insulate gaps |
A well-sealed AC improves energy efficiency and noise reduction, keeping your space comfortable.
Insulation for Efficiency
Once you’ve sealed all gaps around your window AC, adding proper insulation can really boost its efficiency. Effective insulation stops cool air from escaping and warm air from sneaking in, helping your unit run better.
To get the best results, try these simple steps:
- Install foam weatherstripping around the edges of your window unit.
- Use reflective insulation panels on the outside to reflect heat away.
- Fill any remaining gaps with expanding foam or sealant to create a tight seal.
These insulation tricks help keep your indoor temperature steady, which means less energy used and lower utility bills. Proper insulation not only makes your AC work better but also helps it last longer, saving you money in the long run.
Test Your Window Air Conditioner and Fix Common Problems
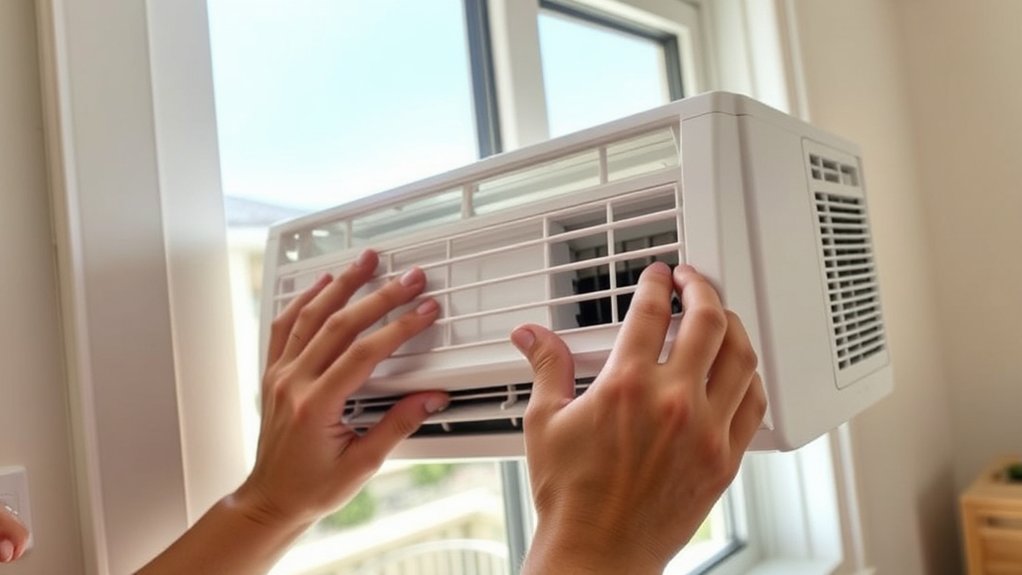
Now that you’ve got your window air conditioner installed, go ahead and turn it on to see how well it’s cooling your space. Sometimes, it might not be working as effectively as you’d like, so it’s a good idea to do a quick check.
If you notice it’s not cooling properly, one of the first things to look at is the filters—make sure they’re clean. Dirty filters can really hamper performance. Also, check if any vents are blocked or obstructed, because that can prevent the cool air from circulating properly.
Fixing these simple issues can make a big difference. Keeping your unit clean and clear helps it run smoothly and keeps your room comfortable all season long.
Check Cooling Performance
Wondering if your window air conditioner is working effectively? To check its cooling performance, focus on these key points:
- Measure the temperature. Use a thermometer to see if the room cools to your desired level within 15-20 minutes. If not, it might mean reduced cooling capacity or poor energy efficiency.
- Feel the airflow. Make sure air flows steadily from the vents. Weak airflow can be caused by blocked filters or other issues affecting cooling.
- Inspect the compressor. Listen for consistent, smooth operation of the compressor. Any unusual noises or frequent cycling could signal performance problems that impact energy efficiency.
Troubleshoot Common Issues
If your window air conditioner isn’t cooling as well as it should, troubleshooting common issues can help you find and fix the problem quickly. First, check if the unit is clean—dirty filters and coils can reduce energy efficiency and cause poor cooling.
Make sure the unit is properly sealed in the window to prevent warm air from entering, which can also affect its performance. Listen for unusual noises; excessive noise might mean loose parts or debris.
To reduce noise, tighten any loose panels and clear out any obstructions. If your AC still isn’t working well, try testing the thermostat settings or inspecting the fan and compressor.
Fixing these issues can improve energy efficiency and make your space cooler and quieter. Regular maintenance keeps your AC running smoothly and helps extend its lifespan.
How to Maintain Your Window AC and Remove It Safely
Regular maintenance and careful removal are key to keeping your window AC running smoothly and safely. Taking good care of it not only makes it last longer but also helps you save energy and keeps your space looking neat.
To maintain and remove your unit properly, start by turning it off and unplugging it. Clean or replace the filters to boost airflow and efficiency.
Next, clean the coils and fins with a soft brush or vacuum to get rid of dust, which can make the unit less energy-efficient.
When you’re ready to remove the AC, loosen the screws carefully and lift it out. Get help if needed, and store it in a dry, cool place. Keep it clean so it’s ready for next season.
Safety Tips to Follow During Installation
Before you start installing your window AC unit, it’s crucial to prioritize safety to prevent accidents or damage. Begin by disconnecting the power source to avoid electrical hazards.
Prioritize safety by disconnecting power before installing your window AC to prevent accidents and electrical hazards.
Always wear personal protective equipment, like gloves and safety glasses, to shield yourself from sharp edges and electrical parts.
Check if the window frame can support the weight of the unit and look for any structural weaknesses.
When handling the AC, lift with your legs and ask for help if needed to prevent strain or dropping the unit.
Keep the area clear of obstacles and moisture to avoid slips or electrical shorts.
Double-check that the unit is properly grounded and that your electrical outlet can handle the load.
Following these safety tips will help you avoid injuries and make the installation go smoothly.
Frequently Asked Questions
Can I Install a Window AC in Any Type of Window?
You can’t install a window AC in any type of window. First, check if your window is compatible because most units fit standard double-hung or sliding windows.
You’ll need specific tools like a screwdriver, level, and possibly a bracket or support for the installation. Measure your window opening carefully to ensure a proper fit.
If your window isn’t suitable, consider other options like a portable AC or a through-the-wall unit for effective cooling.
What Is the Ideal Size of AC for My Room?
The ideal size of your window AC depends on your room’s size, aiming for the right cooling capacity. For energy efficiency and comfort, choose an AC with the appropriate cooling capacity—generally, 20 BTUs per square foot of space.
A unit that’s too small won’t cool efficiently, while one that’s too large wastes energy. Measure your room accurately to select an energy-efficient model that provides effective cooling.
How Long Does a Typical Installation Take?
A typical window AC installation takes about 30 minutes to an hour. During installation, make sure to seal gaps and secure the unit tightly to ensure energy efficiency.
The process is usually quick, but noise levels can vary depending on the model and how well it’s installed. Proper setup helps reduce noise and improves cooling performance.
Take your time following the instructions carefully for the best results. This will help your unit run smoothly and efficiently.
Is Professional Help Necessary for Installation?
You can try a DIY install, but always keep safety front and center. Handling things incorrectly can lead to accidents or damage.
While you might not need a pro every time, consulting with an expert ensures your window unit is installed securely and works at its best. If you’re feeling unsure or uncomfortable, it’s a good idea to get professional help.
Trusting an expert helps keep everything safe and running smoothly without risking safety or efficiency.
How Often Should I Clean or Replace the Filter?
You should clean or replace your air filter every 1 to 3 months to keep it working well.
How often you do it depends on things like how much you use the AC, the type of filter, and the indoor air quality.
Checking your filter regularly helps prevent dust buildup and keeps your AC running efficiently.
If you notice less airflow or more allergies, it’s probably time to change the filter.
Keeping up with filter maintenance helps your window AC run smoothly and efficiently.
Conclusion
Installing a window AC is straightforward if you follow these simple steps. Take your time, stay patient, and don’t rush the process. Remember, “A stitch in time saves nine”—address issues early for smooth operation and longer-lasting performance.
With a little effort, you’ll enjoy cool comfort all season long. Keep safety top of mind, and you’ll have your new AC up and running in no time. Stay diligent, and you’ll reap the rewards of a cool, cozy space.
By following these steps carefully, you’ll ensure your window AC works efficiently and keeps your room comfortable. Proper installation is key to getting the most out of your new unit.